
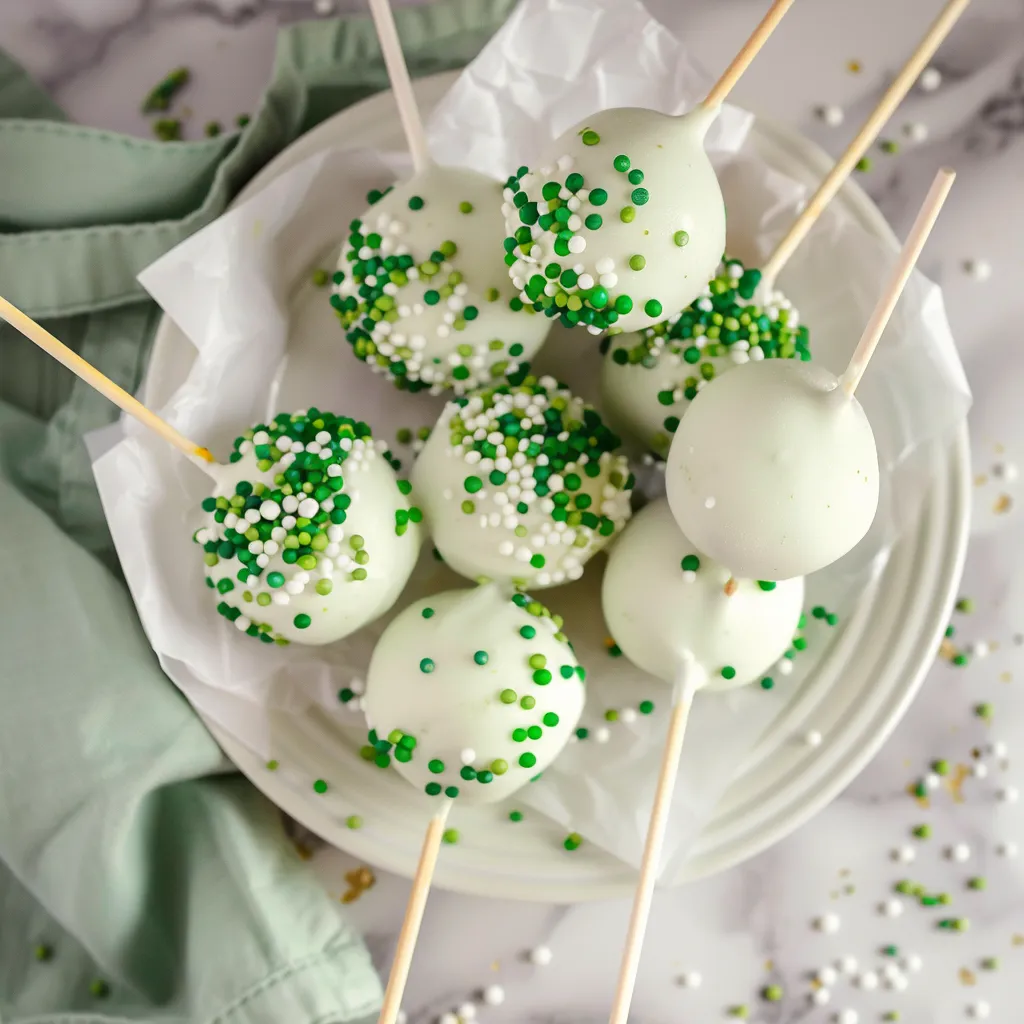
There’s something undeniably magical about celebrating St. Patrick’s Day. The vibrant greens, the cheerful spirits, and the promise of delicious treats fill me with nostalgia. Growing up, the kitchen was always a hub of activity during this festive time, with family gathered, laughter ringing out, and the sweet aroma of baked goods wafting through the air. Among all the festive goodies, cake pops stood out—tiny, bite-sized delights that everyone loved. They were the perfect balance of fun and fancy, and I remember the joy of decorating them with my siblings, each pop’s appearance reflecting our playful creativity. It’s no surprise that I still whip up these St. Patrick’s Day cake pops each March, not just because they’re charming, but because they bring back those beautiful moments spent in the kitchen.
Why You’ll Love This Recipe
Honestly, who could resist cake on a stick? These cake pops are not just adorable; they’re the perfect way to celebrate St. Patrick’s Day with a touch of whimsy. They’re quick to prepare, and the best part? You don’t need to be a professional baker to get them just right! These pops are a wonderful project for kids and adults alike; imagine diving into a world of colorful sprinkles and melted chocolate while getting your hands a little messy. They make for delightful party treats or sweet little gifts, wrapped up in cute packaging. Plus, their size means you can enjoy them without the guilt of having an entire slice of cake. Trust me, once you make them, you’ll be thinking about how to whip up a batch every holiday. You’ll want to make this again and again!
What It Tastes Like
Picture this: you take a bite, and it’s a soft, moist explosion of rich cake followed by a smooth coating of chocolate. The sweetness lingers on your tongue, balanced perfectly by the creamy texture of the frosting — it’s like a warm hug after a long day. With every pop, you might even discover little bursts of fun flavors, depending on the cake and cocoa combo you choose. It truly captures the essence of celebration, and you’ll find yourself reaching for another before you even realize it. That first bite? Pure bliss.
Ingredients You’ll Need
- Cake Mix (1 box): This is where the magic begins! Choose a green-tinged cake or vanilla for a classic flavor base.
- Eggs (3 large): Essential for giving your cake that perfect softness.
- Water or Milk (1 cup): Adds moisture and richness to your batter.
- Butter (1/2 cup, melted): Makes everything taste better; it adds a lovely richness.
- Frosting (1 cup): The secret weapon — a spoonful of frosting binds the cake crumbs and creates that delicious blend.
- Chocolate Melts (2 cups): Used for coating; they come in various colors, and for St. Patrick’s Day, green is a must!
- Sprinkles (optional): Nothing says party like a sprinkle finish!
Optional Additions: Consider adding a dash of vanilla extract to enhance the flavor or some mint essence for a refreshing twist.
Special Garnishes: Want to dress them up a little? Top your pops with edible glitter or use a drizzle of contrasting colored chocolate to create beautiful patterns!
Step-by-Step Instructions
Now, let’s get down to the nitty-gritty of creating these delightful treats, shall we?
- Preheat the oven: Start by preheating your oven to 350°F (175°C). A warm-up treat means perfectly cooked cake pops!
- Prepare the cake mix: In a large bowl, combine the cake mix, eggs, water or milk, and melted butter. Mix until smooth (no lumps, please!), and pour it into a greased 9×13 inch baking pan.
- Bake: Pop that pan into the oven and bake for about 30-35 minutes, or until a toothpick comes out clean. While it’s baking, you can catch up on some kitchen tunes!
- Cool the cake: Once baked, let the cake cool completely. I know patience is hard, especially when you’re excited about the cake pops, but trust me—this step is crucial!
- Crumble the cake: When the cake is cool, break it apart in a large bowl. You want to create fine crumbs — the finer, the better!
- Add frosting: Gradually mix in the frosting with your hands until it’s well combined. You’re looking for a dough-like consistency that can be rolled easily into balls.
- Form the balls: Roll the mixture into 1-inch balls and place them on a baking sheet lined with parchment paper. Make sure to leave some space in between them; they need room to breathe!
- Chill: Pop the tray in the fridge for about 30 minutes to help them firm up. Trust me on this one — it’s worth the wait.
- Melt the chocolate: While the cake pops chill, melt the chocolate melts in a microwave-safe bowl, heating in short increments and stirring in between to avoid any scorching.
- Dip the sticks: Take your lollipop sticks and dip them about an inch into the melted chocolate before inserting them into the cake balls. This helps keep them secure when you dip them later!
- Dip the cake pops: Now, take each cake pop and dip it into the melted chocolate, gently swirling it to cover completely. Let the excess chocolate drip off for a perfect finish!
- Add sprinkles: Before the chocolate sets, decorate your pops with sprinkles or any special garnishes you’ve chosen.
- Let them set: Place your decorated cake pops upright in a piece of foam or a decorated stand to dry. And voila! You’ve made St. Patrick’s Day magic.
Recipe Variations
Looking to mix things up? Here are some fun ideas:
- Flavor swaps: Replace the vanilla cake mix with chocolate or lemon for a new twist!
- Frosting flavors: Experiment with different frostings, like cream cheese or chocolate hazelnut, for varied taste profiles.
- Dietary needs: Gluten-free cake mixes work beautifully if you have someone avoiding gluten, and dairy-free options are available too!
Serving & Storage Tips
These cake pops are best served at room temperature, so have them ready for guests! Arrange them on a beautiful platter, or present them in small cups for a fun, café-style treat. Want to save some for later? Store your cake pops in an airtight container in the fridge for up to a week. You can let them sit on the counter for a bit before enjoying them again. If you’ve got leftovers, consider repurposing them into a cake shake by blending them with some milk and ice—so decadent!
Helpful Tips
Let me share a couple of insights I’ve gathered over the years to make your baking experience even smoother:
- Don’t overmix: When mixing your cake batter, a few lumps are okay—overmixing can lead to a dense cake.
- Temperature matters: Make sure your melted chocolate isn’t too hot, or you’ll melt the cake pops when you dip them—the delicate balance is key!
- Stay cool: If your pops start to soften while dipping, pop them back in the fridge for a few minutes before continuing.
Special Equipment
- Lollipop sticks: Essential for making the pops fun to eat! I usually pick a thicker stick for sturdiness.
- Foam block: This will help your pops stand upright for ease in dipping and drying. You can even cover it with decorative paper!
- Microwave-safe bowl: A must when melting your chocolate; it allows for easy and quick melting.
Frequently Asked Questions
Can I use homemade cake instead of cake mix?
Absolutely! Just make sure the cake is moist to achieve that perfect texture when crumbled.
How far in advance can I make these cake pops?
You can prepare your cake pops 1-2 days ahead of time. Just keep them properly stored in the fridge, and they’ll still taste fresh.
Can I freeze cake pops?
Yes, they freeze well! Just wrap them tightly in plastic wrap and place them in an airtight container. When you’re ready, let them thaw in the fridge overnight.
What other occasions are these cake pops great for?
These pops work wonderfully for birthdays, weddings, or any celebration! Feel free to adjust colors and decorations for themed events.
Conclusion
Making these St. Patrick’s Day cake pops is so much more than just whipping up a treat; it’s about creating memories, sharing joy, and celebrating the spirit of the day. I hope this recipe brings as much happiness to your kitchen as it does to mine. And don’t forget to share your creations with friends and family—they’ll love you for it! Remember, the most delightful moments come from making something special, so roll up those sleeves, grab some sprinkles, and enjoy every step of the process. I can’t wait to hear how yours turn out—please drop a comment and share your experience!
Print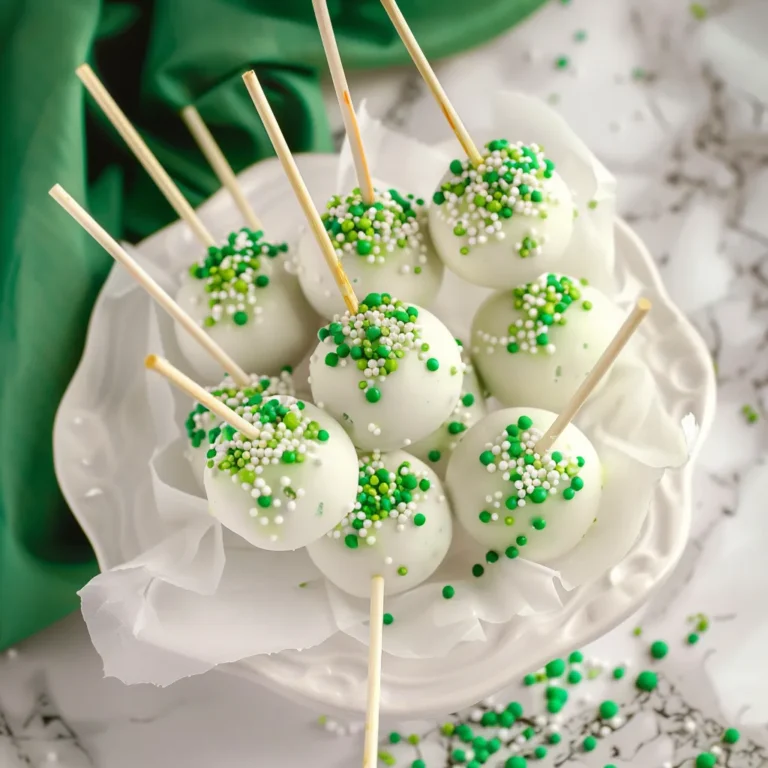
Delicious St Patricks Day Cake Pops Youll Love Making
Celebrate St Patricks Day with these delightful cake pops Easy to make and bursting with festive flavors Perfect for sharing try it today
- Total Time: 1 hour 5 minutes
- Yield: 24 cake pops 1x
Ingredients
Instructions
Notes
Celebrate St. Patrick’s Day with these delightful cake pops that combine fun and flavor in a magical way.
- Prep Time: 30 minutes
- Cook Time: 35 minutes
- Category: Dessert
- Cuisine: Irish
Nutrition
- Serving Size: 24 cake pops
- Calories: 150
- Sugar: 10g
- Fat: 7g
- Carbohydrates: 20g
- Fiber: 1g
- Protein: 2g
Keywords: St. Patrick’s Day, cake pops, dessert, festive treats, chocolate


