
There’s something magical about the arrival of St. Patrick’s Day that warms my heart and spirit. Growing up, our kitchen was always bustling during this time, filled with the intoxicating scent of baked goods and laughter. My grandmother had a way of blending festive cheer with delicious treats, and her sugar cookies were the star of the show. Soft, tender, and decorated to perfection, they turned even the dreariest March day into a celebration of color and joy. This recipe brings back those cherished memories and is perfect for sharing with friends and family. Trust me, they are not just adorable; they are irresistibly delightful!
Why You’ll Love This Recipe
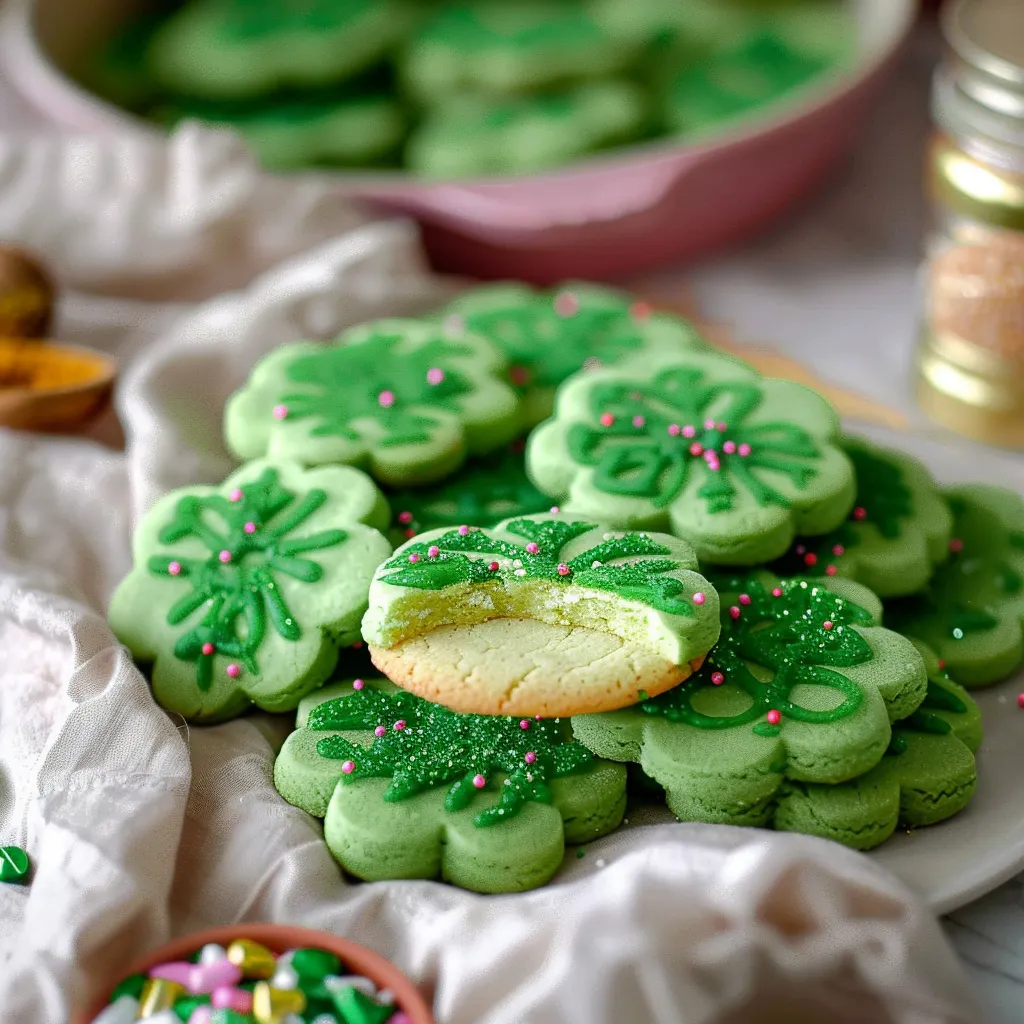
These St. Patrick’s Day sugar cookies are easy to make, which means less hassle in the kitchen and more time for you to enjoy the festivities. With a few simple ingredients, you can whip up a batch that will impress your guests or family. What’s more, these cookies are customizable – turn them into shamrocks, rainbows, or even little leprechauns! They’ve got a sweet flavor that balances perfectly with a touch of vanilla and butter, plus they are soft and chewy with a delightful crunch on the edges. You’ll want to keep this recipe in your back pocket for all your future celebrations!
What It Tastes Like
Oh, let me tell you! These cookies are like pure joy in every bite! Imagine the comforting taste of buttery goodness paired with just the right level of sweetness. The center is soft, almost like a cloud… but the edges have that delicate crunch that makes each bite satisfying. They carry a hint of vanilla, whispering warm memories of home. It’s the kind of treat you savor—like that first warm bite after a long day. And the best part? You can decorate them however you like, making them as festive as you desire.
Ingredients You’ll Need
- 2 ¾ cups all-purpose flour: This is the foundation of your cookies, giving them the right structure.
- 1 cup unsalted butter, softened: Adds that creamy richness we all adore.
- 1 ½ cups granulated sugar: Sweetens the deal and helps achieve that lovely golden color.
- 1 large egg: Binds everything together, adding moisture and richness.
- 1 teaspoon vanilla extract: Brings warmth and depth to the flavor.
- ½ teaspoon baking powder: Gives the cookies that soft and tender texture.
- ¼ teaspoon salt: Balances out the sweetness.
Optional Additions: Want to mix things up? Try adding ½ teaspoon of almond extract for an extra layer of flavor, or fold in some green food coloring to give your cookies that festive touch. Ever tried them with sprinkles? They add a delightful crunch and a pop of color!
Special Garnishes: Decorate your cookies with royal icing or simple powdered sugar glaze to make them shine. Use quickly melted chocolate or colored icing for a fun finishing touch.
Step-by-Step Instructions
Let’s get cooking! This part is easy and fun. Just follow along:
- Preheat your oven: Set it to 350°F (175°C) and let it warm up while you prepare your cookie dough.
- Mix the wet ingredients: In a large bowl, cream together the softened butter and granulated sugar until light and fluffy. It should look a bit pale in color. Add the egg and vanilla extract, mixing until well combined.
- Combine the dry ingredients: In another bowl, whisk together the flour, baking powder, and salt. This ensures the leavening agents are well distributed. And trust me, don’t skip this part—it’s where the magic happens!
- Bring it all together: Gradually add the dry ingredients to the wet mixture, stirring gently until just combined. Avoid overmixing; it’s key to keeping your cookies soft!
- Chill the dough: Feel free to chill the dough in the fridge for about 30 minutes if you want cookies that hold their shape beautifully. But if you’re in a hurry, you can roll them out right away.
- Shape your cookies: Roll the dough out on a floured surface to about ¼-inch thick. Cut into fun shapes using your favorite cookie cutters.
- Bake: Lay them out on a lined baking sheet and bake for 10-12 minutes, or until the edges are lightly golden. Be careful not to overbake—they should remain soft!
- Cool and decorate: Let them cool on the baking sheet for a few minutes before transferring them to a wire rack. Once cool, decorate with icing and sprinkles as desired.
And that’s it—pretty easy, right? You’ll be enjoying these festive treats in no time!
Recipe Variations
Feeling adventurous? There are so many ways to customize these cookies! Add citrus zest for a refreshing twist, or throw in some chocolate chips for an extra indulgence. If you’re looking for a gluten-free option, substitute the all-purpose flour with a cup-for-cup gluten-free blend. Want some spiced goodness? A sprinkle of cinnamon or nutmeg can be a delightful addition to the dough.
Serving & Storage Tips
These cookies are best enjoyed fresh, but you can store any leftovers in an airtight container at room temperature for up to a week. If you plan to decorate them later, keep the unbaked cookies in the fridge so they stay firm, and bake them when you’re ready!
Should you have extra cookies, they can easily be frozen. Just wrap them tightly in plastic wrap and store them in a freezer bag—perfect for surprising someone on a rainy day or a sudden craving for a sweet treat!
Helpful Tips
Here’s the funny part—I used to overbake mine until I learned that the cookies will continue to set on the baking sheet after removing them from the oven. So take them out while they’re still a bit soft in the center. Make sure to keep an eye on the cookies while they’re baking, since every oven is different. It’s always good to set a timer and check a minute or two early.
Also, when it comes to rolling out the dough, don’t be shy with the flour. Ensure your surface is well-floured to prevent sticking—and if it does stick, just sprinkle more flour over the top before rolling out again!
Special Equipment
- Rolling Pin: This handy tool is essential for rolling out your dough evenly.
- Cookie Cutters: Any shapes will do, but I recommend seasonal ones for that extra festive cheer!
- Baking Sheets: Low-sided baking sheets allow for better air circulation around the cookies as they bake.
- Parchment Paper: This makes for easy clean-up and helps prevent sticking.
Frequently Asked Questions
Can I chill the dough overnight?
Absolutely! Chilling the dough overnight is a great way to enhance the flavors and makes rolling out easier.
What if I don’t have cookie cutters?
No worries! You can use a glass or any round object to cut out simple circles. Or, get crafty and form them by hand into fun shapes.
Can I use whole wheat flour instead of all-purpose flour?
That’s doable! Whole wheat flour will make the cookies a bit denser and give them a nutty flavor, so consider doing half-and-half for a nice balance.
How can I make these cookies gluten-free?
Just swap out the all-purpose flour for a gluten-free flour blend that has a one-to-one ratio. It’s that simple!
Conclusion
So there you have it—delicious St. Patrick’s Day sugar cookies that will bring joy to your celebrations. They’re perfect for any occasion, and trust me, once you make these, they’ll become a favorite in your household. I can’t wait for you to try them out! Please do let me know how your baking adventure goes. Share your delicious creations in the comments! 🍀 Happy baking!
Print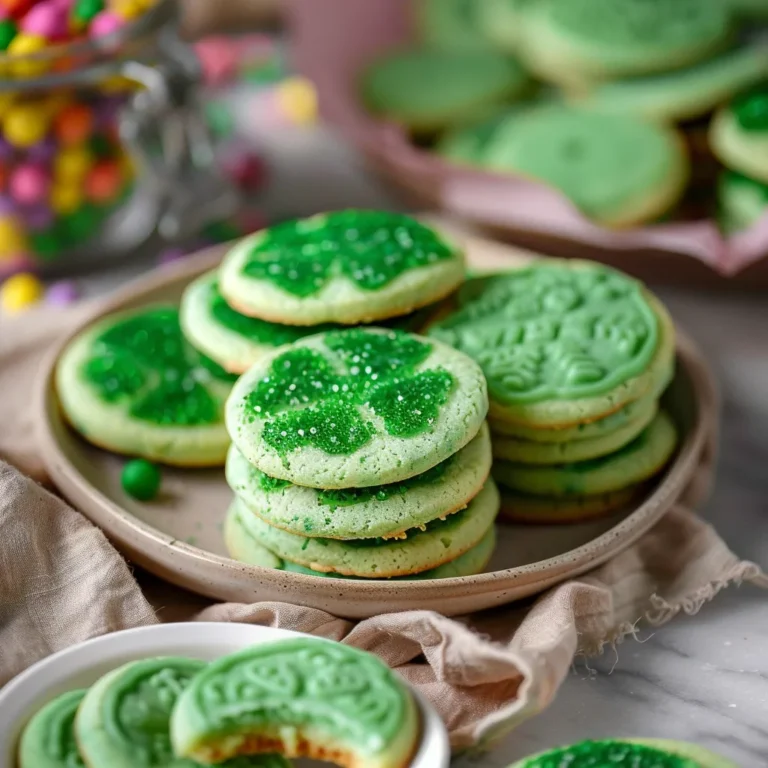
Delicious St Patricks Day Sugar Cookies for Festive Delight
Bake festive St Patricks Day Sugar Cookies with a minty twist Perfect for celebrations and easy to make Try it today for a fun treat
- Total Time: 42 minutes
- Yield: 24 cookies 1x
Ingredients
Instructions
Notes
Delightful St. Patrick’s Day sugar cookies that are soft and chewy, perfect for festive celebrations. Easy to customize with fun shapes and decorations!
- Prep Time: 30 minutes
- Cook Time: 12 minutes
- Category: Dessert
- Cuisine: Irish
Nutrition
- Serving Size: 24 cookies
- Calories: 150
- Sugar: 10g
- Fat: 7g
- Carbohydrates: 22g
- Fiber: 0g
- Protein: 2g
Keywords: St. Patrick’s Day, sugar cookies, festive cookies, baking, dessert recipe


