
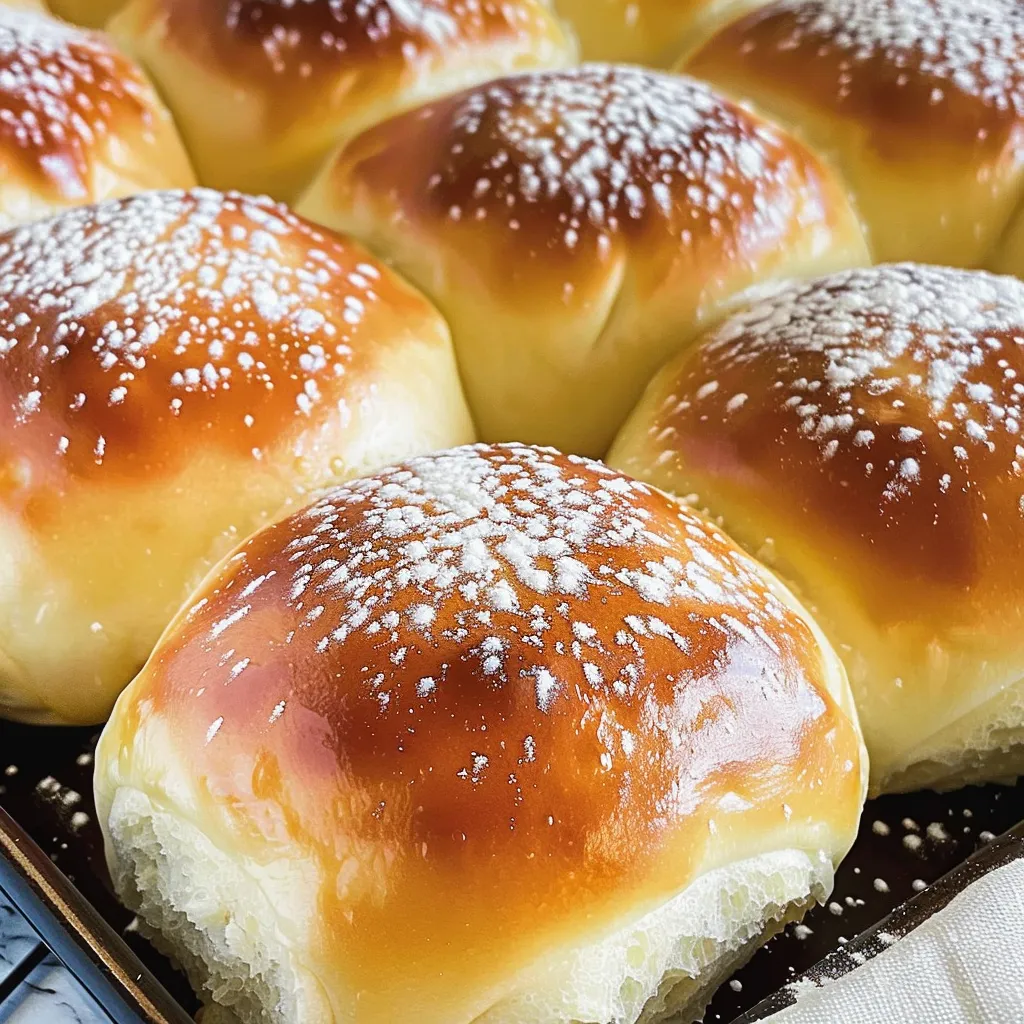
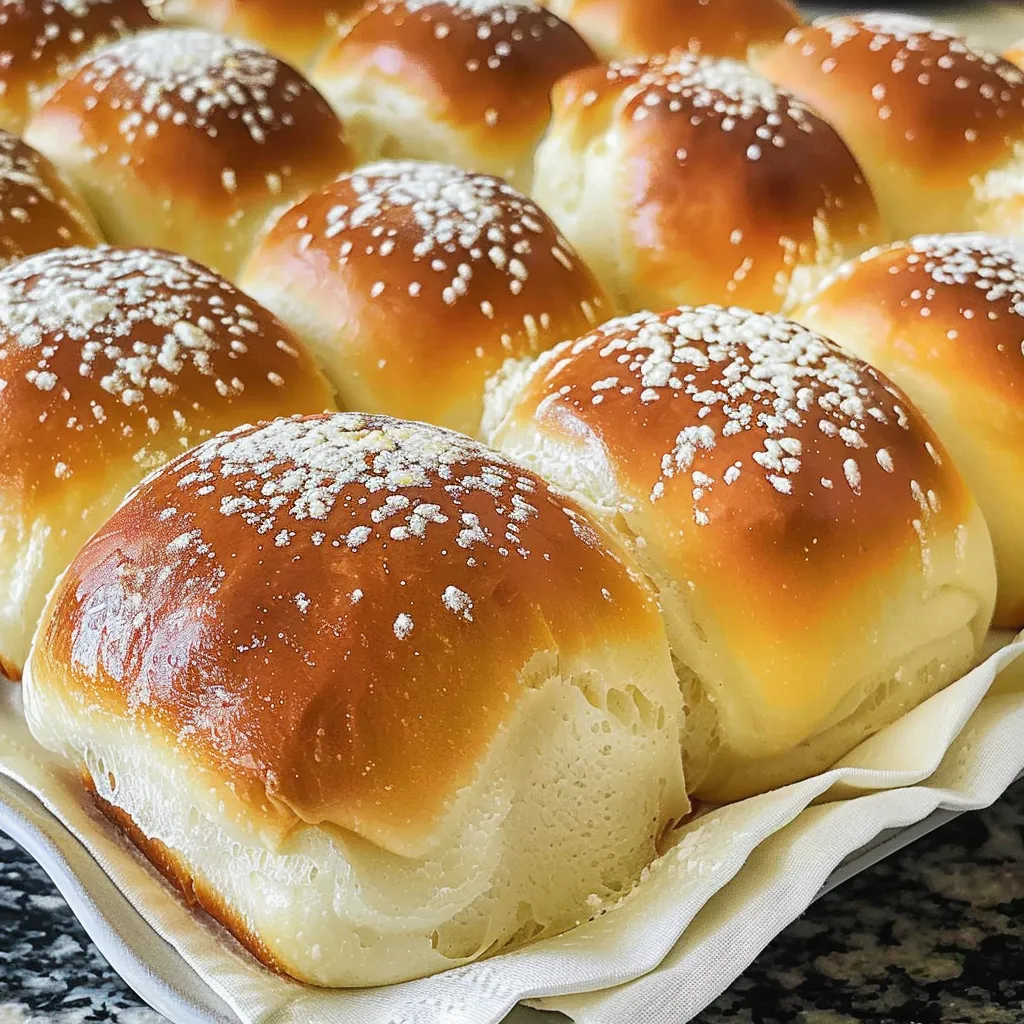
There’s something undeniably magical about the scent of freshly baked bread. It whispers of warmth and coziness, painting a picture of home that’s quite hard to resist. I remember the first time I tried Japanese milk bread; it was at a cute little bakery I stumbled upon while exploring a quaint neighborhood. The moment I took a warm roll, fluffy and soft in my hands, I knew I had discovered something special. These rolls are not just bread; they’re an experience crafted with precision and a touch of love. Today, I’m sharing my take on these delightful Japanese milk bread dinner rolls that will elevate your next family gathering or cozy night in.
Why You’ll Love This Recipe
Now, let’s get real for a moment—who doesn’t love dinner rolls that practically melt in your mouth? This recipe is a hug for your taste buds and is surprisingly easy to make. The best part? You’ll impress all of your friends and family, who’ll think you spent hours in the kitchen, while in reality, it comes together quite seamlessly. Whether you’re serving them alongside a hearty stew, slathering them with butter for breakfast, or just stealing the first few rolls hot from the oven, these little delights are sure to be a hit. Plus, you can feel good knowing that baking at home is more satisfying (and healthier) than store-bought options!
What It Tastes Like
Oh my, where do I even begin? Picture this: soft, pillowy goodness that’s slightly sweet, enriched with a creamy taste from the milk. Each bite feels like a warm hug, reminiscent of lazy Sunday mornings spent with loved ones. These rolls have a delicate crunch on the outside, while the inside is airy and moist, creating that perfect contrast. If you’ve ever had a really good brioche, you’ll know what I mean. It’s comfort food at its finest—just imagine sinking your teeth into one of these after a long day!
Ingredients You’ll Need
- 3 ½ to 4 cups bread flour: The backbone of our rolls; gives them that ideal structure and chewiness.
- 1 cup whole milk: Adds richness and contributes to that wonderful soft texture.
- ¼ cup granulated sugar: Just the right amount of sweetness that enhances the flavor without overpowering.
- 1 teaspoon salt: Balances out the sweetness in the dough; a must-have in any bread recipe.
- 2 teaspoons instant yeast: Helps our rolls rise beautifully without a long wait.
- 1 large egg: Adds richness and an alluring golden color.
- 2 tablespoons unsalted butter (softened): For that irresistible richness and added moisture.
Optional Additions: Feel free to go wild! A tablespoon of honey can add that extra depth of flavor, and if you want to get a little fancy, toss in some herbs or garlic for a savory touch.
Special Garnishes: A sprinkle of flaky sea salt or a drizzle of honey just before serving can elevate these rolls even more.
Step-by-Step Instructions
Ready to create something special? Here’s how to do it:
- Mix dry ingredients: In a large bowl, combine 3 ½ cups of bread flour, sugar, salt, and instant yeast. Mix them well.
- Add wet ingredients: Next, add the milk, egg, and softened butter into the dry mixture. Stir until everything is combined.
- Knead the dough: Transfer the dough to a floured surface and knead until smooth—this usually takes about 8-10 minutes. Tip: If it’s too sticky, feel free to add that extra ½ cup of flour gradually.
- First rise: Place the dough in a lightly greased bowl, cover it with a damp cloth or plastic wrap, and let it rise in a warm spot until doubled in size—about 1 hour.
- Shape the rolls: Punch down the dough, divide it into 12 equal pieces, and shape each piece into a small ball. Place these in a greased baking dish, ensuring they are close but not touching.
- Second rise: Cover the shaped rolls and allow them to rise again until puffy, about 45 minutes.
- Bake: Preheat your oven to 350°F (175°C). Once the rolls have puffed, pop them into the oven and bake for about 20-25 minutes, or until they are golden brown.
- Cool down: Allow them to cool for a few minutes before diving in—though let’s be honest, I’m often too impatient for this step!
Recipe Variations
Want to switch things up? Here are some fun ideas!
- Sweet Cinnamon Rolls: After rolling out the dough, sprinkle a mixture of cinnamon and sugar before re-rolling for a delightful twist.
- Herb-Infused Rolls: Mix chopped fresh herbs like rosemary or thyme into the dough for a fragrant, savory option.
- Rolls with a Surprise: Fill your rolls with a chocolate piece or a dollop of jam before rolling them up.
Serving & Storage Tips
These rolls are best served fresh out of the oven, maybe with a bit of butter melting on top. If you have leftovers (though I’d be shocked if you did!), let them cool completely and store them in an airtight container at room temperature for up to three days. To reheat, pop them in a warm oven for a few minutes or microwave them for about 10-15 seconds. And if you’re feeling fancy, toast them for a crispy exterior!
Helpful Tips
Now, just a few things I wish I knew before diving into this recipe:
- Don’t skip the kneading—this is where the gluten develops, giving the rolls that soft, airy structure.
- Be patient with the rises! This dough loves to grow, and skipping those times would lead to less fluffy rolls.
- Learn from my mistake: I once accidentally used expired yeast, which resulted in cardboard-like rolls. Always check that tiny packet!
Special Equipment
- Mixing Bowls: A set of good mixing bowls is essential for combining your ingredients smoothly.
- Dough Scraper: This handy tool helps portion the dough and keeps your workspace tidy.
- Baking Dish: A high-sided dish works well to only allow the rolls to rise into each other, creating that lovely shape together.
- Kitchen Scale (optional): Weighing your ingredients gives more accuracy, especially with baked goods!
Frequently Asked Questions
Can I make this dough ahead of time?
Absolutely! You can prepare the dough and store it in the refrigerator overnight. Just make sure to bring it back to room temperature before the second rise.
What if I don’t have instant yeast?
No worries! You can use active dry yeast instead. Just remember to activate it first in warm water with a pinch of sugar before adding it to your dry ingredients.
Can I freeze the rolls?
Yes, you can freeze these rolls! After baking and cooling, store them in a freezer-safe bag. Reheat them straight from the freezer when you need them.
How can I make these rolls gluten-free?
If you’re going for a gluten-free option, use a 1:1 gluten-free flour blend. Do keep in mind that the texture might differ slightly!
Are these rolls suitable for a vegan diet?
You can replace the milk with a non-dairy alternative and swap out the egg for a flax egg—just mix one tablespoon of flaxseed meal with three tablespoons of water and let it sit until it thickens!
Conclusion
There you have it—light, fluffy, and utterly delicious Japanese milk bread dinner rolls that will make your kitchen smell incredible and your heart feel full. This recipe isn’t just about bread; it’s about bringing people together, sharing meals, and creating memories. So, the next time the craving hits or you find yourself wanting to impress someone special, give these lovely rolls a try. I can’t wait to hear how they turn out for you—be sure to share your experiences in the comments below! And remember, the joy of baking is just as important as the delicious end product!
Print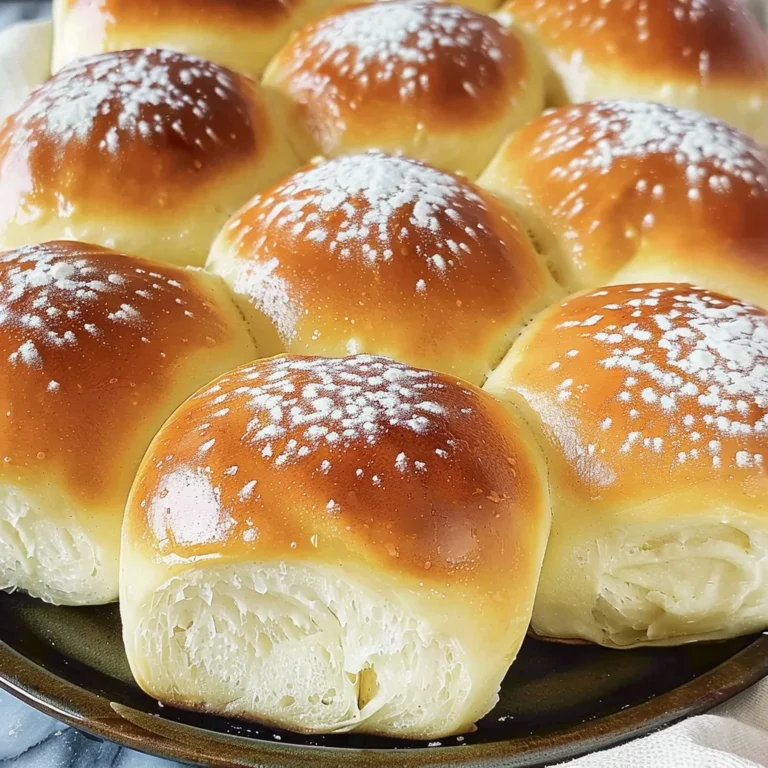
Fluffy Japanese Milk Bread Dinner Rolls Soft Irresistible
Experience the soft fluffy goodness of Japanese Milk Bread Dinner Rolls perfect for any meal Try them today for a delightful homemade treat
- Total Time: 1 hour 55 minutes
- Yield: 12 rolls 1x
Ingredients
Instructions
Notes
Light, fluffy, and utterly delicious Japanese milk bread dinner rolls that will elevate your next family gathering or cozy night in.
- Prep Time: 30 minutes
- Cook Time: 25 minutes
- Category: Side Dish
- Cuisine: Japanese
Nutrition
- Serving Size: 12 rolls
- Calories: 150
- Sugar: 2g
- Fat: 3g
- Carbohydrates: 25g
- Fiber: 1g
- Protein: 4g
Keywords: Japanese milk bread, dinner rolls, fluffy rolls, baking, easy recipe


