
There’s something about the warm glow of summer evenings that makes me nostalgic for simple, comforting foods. Growing up, I’d often find my parents grilling outdoors, the smoky aroma weaving through our backyard as I played with friends. But what lingers most in my memory are those delightful Yaki Onigiri — grilled rice balls that my mom would expertly prepare. Often, they’re perfectly triangular, with a golden crust that crackles with every bite, and they warm my heart just as much as they satisfy my appetite.
As a passionate home cook, there’s an undeniable thrill in creating these comforting bites. They’re surprisingly easy to make, and the ability to customize them with your favorite fillings is just a cherry on top. Whether enjoyed at a backyard cookout, a cozy picnic, or even as a lovely after-school snack, Yaki Onigiri has a way of connecting us and bringing smiles to faces.
Why You’ll Love This Recipe
Here’s the thing: Yaki Onigiri is one of those recipes that keeps giving. First, they’re shockingly easy to whip up, making them perfect for a weeknight dinner or an impromptu get-together. Second, they’re incredibly versatile — you can stuff them with whatever your heart desires! Whether you want salmon, umeboshi (pickled plum), or just some good old soy sauce, the world is your oyster… or, in this case, your rice ball.
Plus, who doesn’t love a good grilled flavor? The crispy, outer layer juxtaposed with the chewy softness of the rice is pure magic. Honestly, I’m convinced these are a universal crowd-pleaser, and if you bring them to any gathering, they’re bound to disappear faster than you can say “Yaki Onigiri!”
What It Tastes Like
Picture this: as you take your first bite, the warm, slightly smoky exterior gives way to the tender rice inside, each grain a tiny explosion of flavor. The umami notes from the toasted seaweed and maybe a hint of soy sauce dance on your palate. It’s like that first warm bite after a long day — cozy, comforting, and just the food hug you didn’t know you needed. You might even find yourself dreaming of them long after the last bite.
Ingredients You’ll Need
- Cooked Japanese short-grain rice (2 cups): The star of the show! This rice is sticky and provides that perfect chewy texture.
- Salt (1 teaspoon): Just a little sprinkle to enhance that natural rice flavor.
- Soy sauce (optional, for brushing): Adds a lovely depth; if you’re feeling adventurous, try it with a splash of mirin for sweetness.
- Cooking oil (for grilling): A little oil helps prevent sticking and gives that gorgeous golden crust.
- Optional Fillings: Here’s where you can get creative! A bit of cooked salmon or tuna, bits of pickled plum, or even a touch of cream cheese can add an exciting twist.
- Special Garnishes: A sprinkle of furikake, sesame seeds, or chopped green onions can dress up your onigiri beautifully!
Step-by-Step Instructions
Ready to get cooking? Let’s dive into the fun part — making these delightful rice balls!
- First things first: Make sure your rice is cooked and somewhat warm. You want it to be sticky so it forms nicely.
- Seasoning: In a large bowl, mix the warm rice with the salt, gently folding it in. This is where the magic starts — don’t be overly rough, or you’ll break the grains!
- Shaping the rice balls: Wet your hands with a bit of water (this helps prevent sticking) and take a handful of rice. Form it into a triangle or oval shape, making a small indentation in the center. Fill this with your chosen filling, then cover and mold the rice around it, sealing it well.
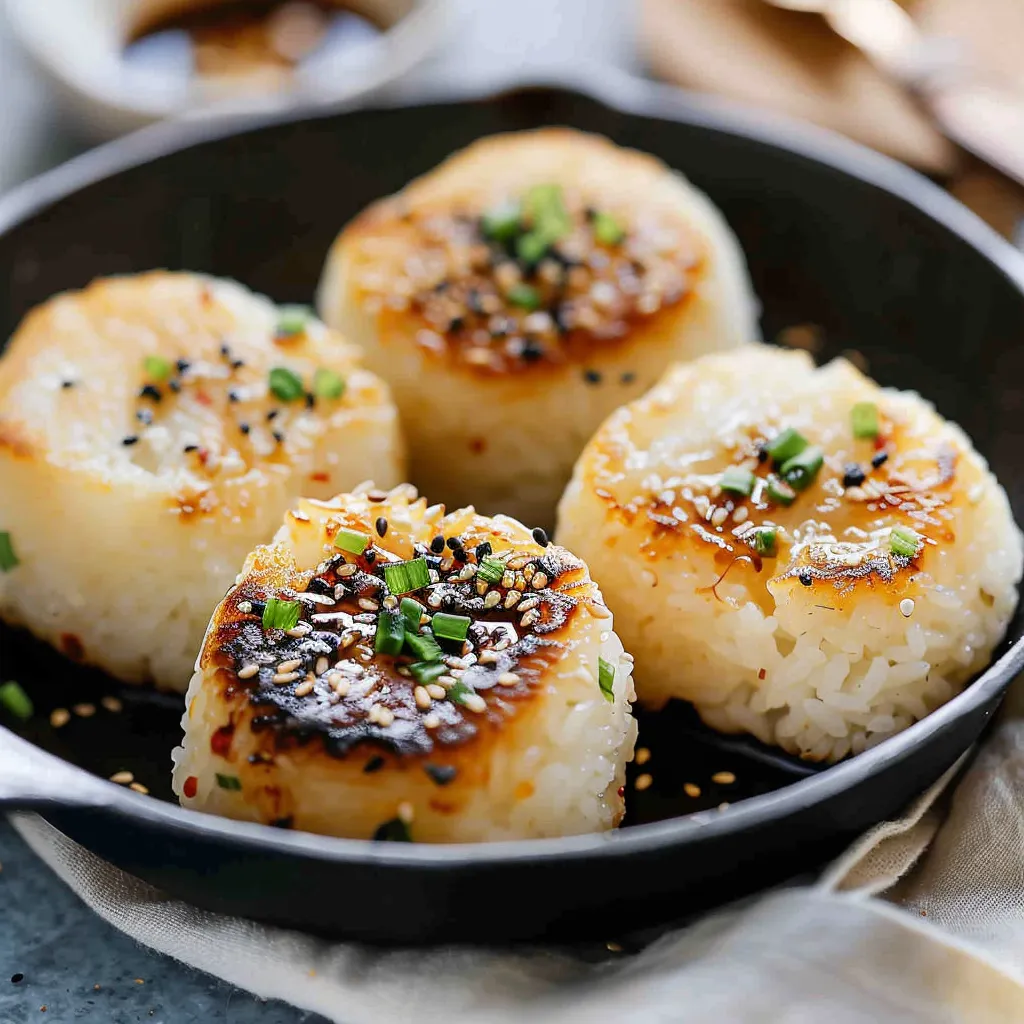
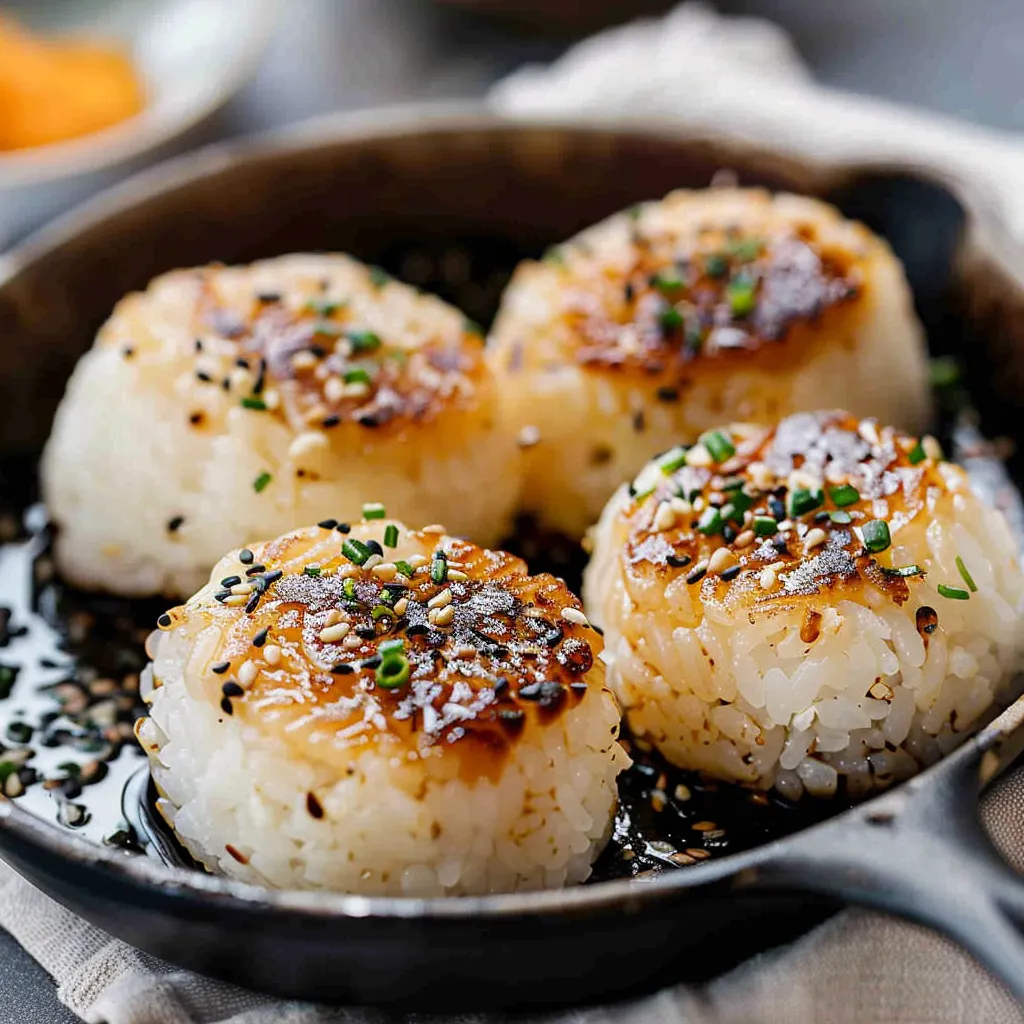
- Grilling: Heat a pan over medium heat and lightly coat it with oil. Once hot, carefully place the onigiri on the pan. Grill for about 3-4 minutes on each side until they form a beautiful golden crust.
- Brushing with soy sauce: If you want, brush the rice balls with soy sauce before flipping them for extra flavor. You might want to do this a minute before they’re done on each side.
- Serving: Once they’re perfect, serve your Yaki Onigiri hot, maybe with a splash of extra soy sauce and a sprinkle of sesame seeds for flair!
That’s it—pretty easy, right?
Recipe Variations
If you’re looking to elevate your onigiri game, try these tasty twists:
- Herbed Rice: Mix in some fresh herbs or diced vegetables into your rice for an extra kick.
- Spicy Option: Adore a little heat? Add some Sriracha or chili flakes to your filling!
- Sweet Treat: Ever tried a sweet twist? A dollop of fruit preserves or a piece of chocolate tucked inside could make a unique dessert version!
Serving & Storage Tips
Yaki Onigiri is best served warm and fresh off the grill. However, you can absolutely store leftovers in an airtight container in the fridge for a few days. When you’re ready to enjoy them again, simply reheat in a skillet over medium heat for a few minutes, adding a little oil if necessary. They’ll still have that crispy exterior you love!
Helpful Tips
Now, let me share a few nuggets of wisdom from my own kitchen escapades:
- Don’t skip out on wetting your hands when shaping the rice. I still remember the time I tried to form them dry — what a mess! They simply wouldn’t hold their shape.
- If you like a crispy outer layer, don’t be shy with the oil while grilling. Just balance it out so they don’t get greasy!
- Experiment with fillings, but start simple until you get the hang of it. My first batch was stuffed with way too much onion — let’s just say they were a bit overwhelming!
Special Equipment
You really don’t need much for this recipe, but having a few handy tools can make the process easier:
- Rice Cooker: Trust me on this one; it’ll simplify your life and help produce perfectly cooked rice every time.
- Non-stick Skillet: A good non-stick skillet is essential for that golden crust, without the stress of cleanup.
- Spatula: A wide spatula helps in flipping those delicate rice balls without mangling them!
Frequently Asked Questions
Can I use any type of rice for onigiri?
It’s best to use Japanese short-grain rice because it’s sticky and holds together well. Other types might not give you that satisfying texture.
How long can I store leftovers?
Store leftover Yaki Onigiri in the fridge for up to 3 days. Just reheat them gently to keep that crispy edge!
What if I don’t have a grill or grill pan?
No worries! A regular skillet will do. Just add a little more oil to ensure they don’t stick and still achieve that crispy finish.
Can I freeze Yaki Onigiri?
Absolutely! Just cool them completely, wrap them well, and pop them in the freezer. When ready to eat, thaw and reheat in a skillet.
What are some good fillings?
Some popular choices include canned tuna mixed with mayo, grilled salmon, or even pickled vegetables. Be as adventurous as you like!
Conclusion
And there you have it — delightful Yaki Onigiri that bring a taste of nostalgia and comfort straight to your plate! I truly hope you give these a try soon; they’re perfect for any occasion and so fun to customize. So, whether you’re grilling them at a backyard party or treating yourself to a cozy night in, don’t forget to share your experience in the comments. I can’t wait to hear about your own onigiri adventures!
Happy cooking, friends! You’ll want to make this again and again.
Print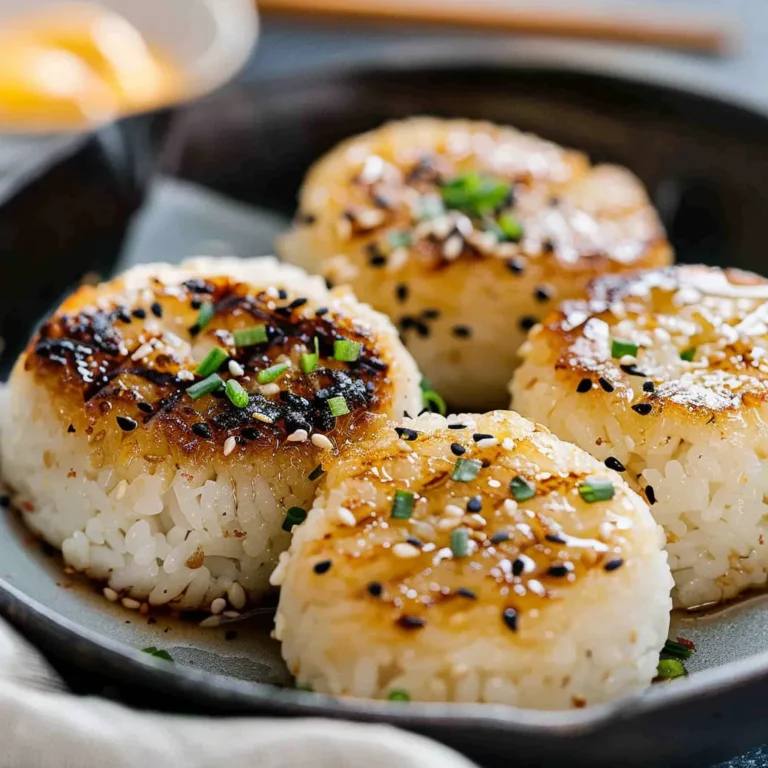
Delicious Yaki Onigiri Easy Grilled Rice Balls to Savor
Savor the deliciousness of Yaki Onigiri Grilled Rice Balls with simple ingredients and bold flavors Perfect for weeknights Try it today
- Total Time: 22 minutes
- Yield: 4 servings 1x
Ingredients
Instructions
Notes
Delightful grilled rice balls, or Yaki Onigiri, are easy to prepare and customizable with various fillings. Enjoy them warm for a comforting snack!
- Prep Time: 10 minutes
- Cook Time: 12 minutes
- Category: Snack
- Cuisine: Japanese
Nutrition
- Serving Size: 4 servings
- Calories: 180
- Sugar: 0g
- Fat: 2g
- Carbohydrates: 34g
- Fiber: 1g
- Protein: 4g
Keywords: Yaki Onigiri, Grilled Rice Balls, Japanese Rice Balls, Comfort Food, Easy Recipes


