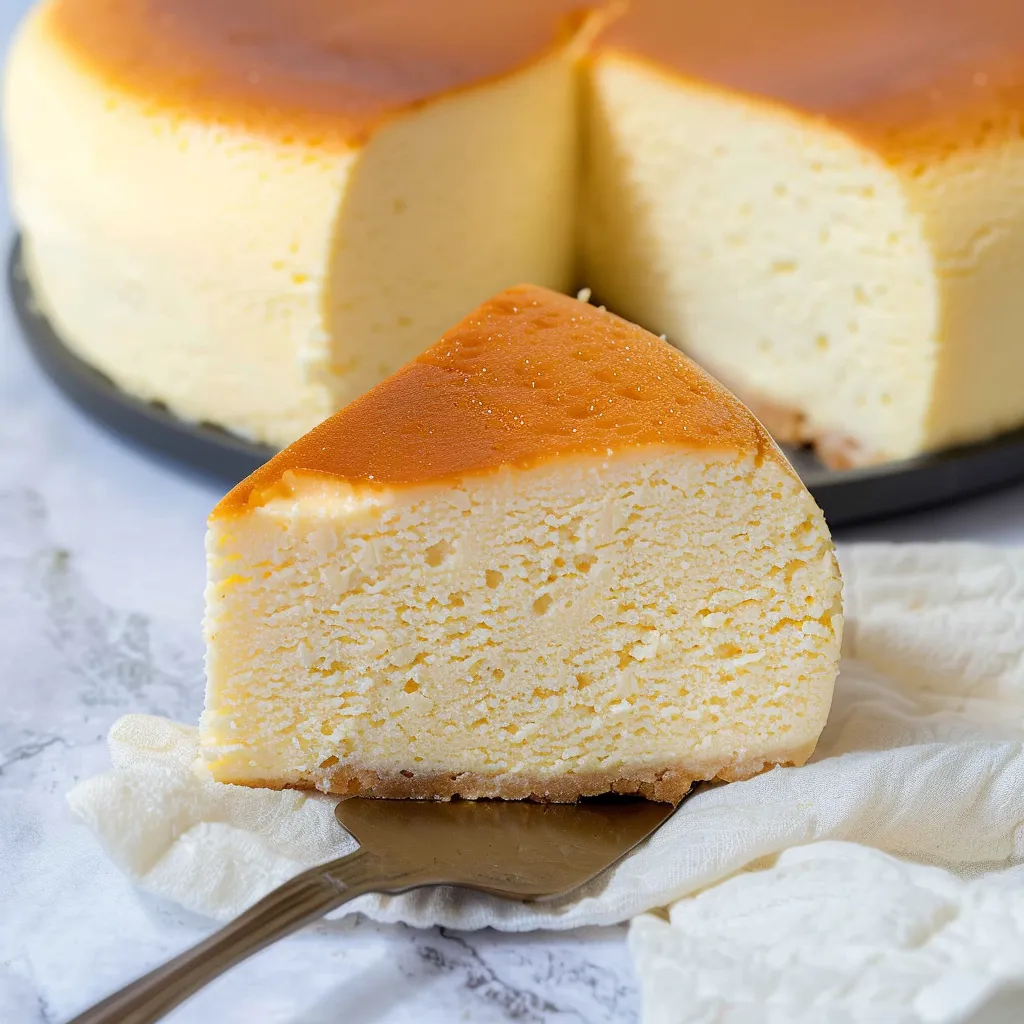
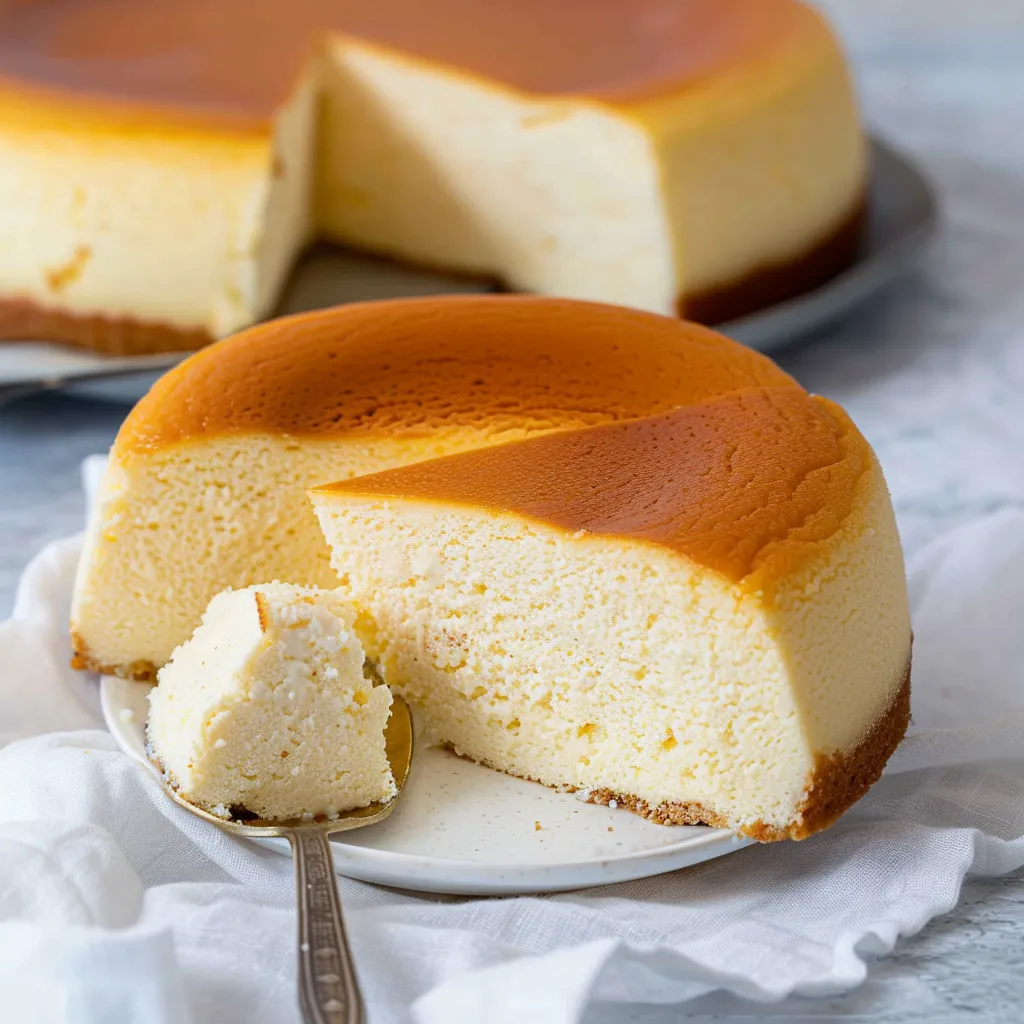
There’s something so magical about a Japanese cheesecake. Picture this: a cozy evening at home, flickering candlelight, and the sweet aroma wafting through the kitchen, inviting you to dive into a slice of this extraordinary dessert. The first time I made a jiggly Japanese cheesecake, I had guests over—full of laughter, chatter, and, you guessed it, a slight competition to see who could perfect a beautiful jiggly slice. It was a beautiful sight to behold! That delightfully light and airy texture, paired with a creamy flavor, has kept it at the top of my dessert list ever since. Trust me, you’ll want to make this one more than once! Not only is the prep pretty straightforward, but the end result feels like you’ve created something truly special—it’s the perfect mix of effort and reward.
Why You’ll Love This Recipe
Honestly, there are so many reasons to fall head over heels for this recipe! First, it’s surprisingly easy to whip together, making it perfect for both seasoned bakers and those just dipping their toes into the world of dessert-making. Second, the texture—oh, the texture! It’s light, jiggly, and oh-so-fluffy—like a cloud on your plate! And let’s not forget about the taste; it’s lightly sweet, giving a nod to traditional cheesecakes without being overwhelming. Perfect for a gathering or a simple night in, this cheesecake is sure to leave your loved ones asking for seconds (or thirds!). Plus, it’s a delightful twist on two classics—manual labor never tasted more delicious!).
What It Tastes Like
Imagine sinking your fork into a slice that jiggly wiggles in delight, just waiting for you to take a bite. As you take that first bite, the creamy sweetness dances across your tastebuds — it’s rich and tangy from the cream cheese, yet light enough to make you feel like you’re floating on air. The hint of citrus from the lemon juice adds a refreshing zing that balances everything beautifully. Pair that with a slight hint of vanilla, and you’ve got a dessert that’s reminiscent of a cozy café in Tokyo on a sunny afternoon—simple yet utterly comforting. Just like a warm embrace after a long day.
Ingredients You’ll Need
- 8 ounces cream cheese: Adds a creamy touch that brings together the tangy notes.
- 1/3 cup granulated sugar: Sweetens the batter perfectly without overpowering the delicate flavors.
- 1/4 cup milk: Keeps the mix smooth and adds moisture.
- 1/4 cup vegetable oil: Helps create that soft, tender crumb!
- 3 large eggs: Essential for structure—don’t skip this step; it’s where the magic happens!
- 1 teaspoon vanilla extract: Adds a warm, fragrant undertone to the cheesecake.
- 1 tablespoon lemon juice: A zing of brightness that complements the creaminess beautifully.
- 1/3 cup all-purpose flour: A small amount goes a long way in ensuring the cake holds together.
- 1 tablespoon cornstarch: Adds a lovely lightness to the texture.
Now, here’s where you can get a bit creative:
- Optional Additions: Ever tried it with a hint of matcha powder or a swirl of fruit puree? You should!
- Special Garnishes: Top with a dusting of powdered sugar or fresh berries for a professional touch!
Step-by-Step Instructions
Alright, let’s get this baking party started!
- Preheat your oven to 320°F (160°C). This is key for getting that perfect texture.
- In a large mixing bowl, beat the cream cheese and sugar until it becomes light and fluffy—about 3 to 4 minutes. Scrape down the sides to make sure everything gets well combined.
- In a separate bowl, mix together milk, vegetable oil, and vanilla extract. Slowly add this to the cream cheese mixture while stirring. Looking good so far!
- Add the eggs one at a time, making sure to mix well each time—you want to whip up that fluffy texture!
- Now, in a small bowl, whisk together the flour and cornstarch. Gradually fold this into the wet mixture. Be gentle here—no need for excess air!
- Finally, add the lemon juice and mix until everything’s well incorporated. You’re almost there!
- Pour your mixture into a greased 8-inch round cake pan lined with parchment paper (don’t skip this part—it’ll help in getting it out!).
- Now comes the fun part. Place the cake pan into a larger baking dish and fill it with hot water until it reaches halfway up the sides. This water bath helps create that ultra-soft texture.
- Bake for 45–50 minutes, or until the cake is jiggly but set in the center. You’ll know it’s done when the edges are lightly golden.
- Once finished, turn off the oven and let it cool in there for about an hour. This gentle cooling helps to keep it from collapsing!
- After an hour, remove it from the oven and let it cool to room temperature before transferring it to the fridge for at least 4 hours (or overnight, if you can wait!). When you’re ready to serve, remove it from the pan and slice away!

Recipe Variations
Feeling adventurous? Here are a few quick ideas to jumpstart your creativity:
- Add some citrus zest for an invigorating hint of flavor—lemon or lime pairs particularly well.
- Swirl in your favorite fruit puree (think strawberry or mango!) before baking for a pop of color and flavor.
- Swap the all-purpose flour for a gluten-free blend if you’re accommodating dietary needs.
Serving & Storage Tips
When it’s time to serve, slice your cheesecake and plate it with a light dusting of powdered sugar and some fresh fruit on the side. Perfect for impressing your guests!
As for leftovers (if there are any!), simply cover and refrigerate for up to 3 days. When you’re ready to enjoy that last piece, grab it straight from the fridge for the best texture. No need to reheat—it’s just as delightful cold!
Helpful Tips
Here’s the funny part—when I first started making this cheesecake, I would seriously overbake mine, thinking I needed to ensure it was fully set. But here’s the trick: don’t be scared of the jiggle! It’s what makes this cheesecake unique. Also, make sure your cream cheese is at room temperature before starting; it’ll blend in much easier.
Special Equipment
- 8-inch round cake pan: Ideal for the perfect jiggly cheesecake shape!
- Mixing bowls: A must-have for combining all that goodness!
- Baking dish: For the water bath—this keeps your cheesecake from drying out.
- Hand mixer or whisk: Necessary for achieving that light and fluffy texture.
Frequently Asked Questions
Can I make this cheesecake gluten-free?
Absolutely! Just swap the all-purpose flour for a gluten-free blend, and you’re good to go!
What should I do if my cheesecake cracks?
Don’t worry—cracking is quite common! To help prevent it, avoid overbaking and let your cheesecake cool gradually in the oven.
How can I tell when the cheesecake is done?
Look for a slightly golden edge with a jiggly center. It should not be completely set, as it will continue to firm up while cooling!
Can I freeze leftovers?
Yes! Wrap slices tightly in plastic wrap, and they can be frozen for up to two months. Just thaw in the fridge before enjoying!
Conclusion
There you have it, friends! A jiggly Japanese cheesecake that’s sure to bring a smile to anyone’s face. It’s simple yet sophisticated—a lovely treat that feels like a hug from Japan. I hope you try it soon and savor every bite! Don’t forget to share your experience in the comments; I’d love to hear how yours turns out. Happy baking, and may your kitchen be filled with warmth and joy!
Print
**Fluffy Jiggly Japanese Cheesecake Recipe for Light, Delicious Treats**
Discover the light and airy delight of our Jiggly Japanese Cheesecake Recipe. Perfect for weeknights, this treat melts in your mouth. Try it today!
- Total Time: 70 minutes
- Yield: 8 servings 1x
Ingredients
Instructions
Notes
A delightful light and airy Jiggly Japanese cheesecake that has a creamy flavor and a fluffy texture, making it a perfect dessert for gatherings or simple nights in.
- Prep Time: 20 minutes
- Cook Time: 50 minutes
- Category: Dessert
- Cuisine: Japanese
Nutrition
- Serving Size: 8 servings
- Calories: 250
- Sugar: 10 grams
- Fat: 15 grams
- Carbohydrates: 25 grams
- Fiber: 0 grams
- Protein: 6 grams
Keywords: Japanese cheesecake, jiggly cheesecake, dessert recipes, easy cheesecake recipe, creamy cheesecake


