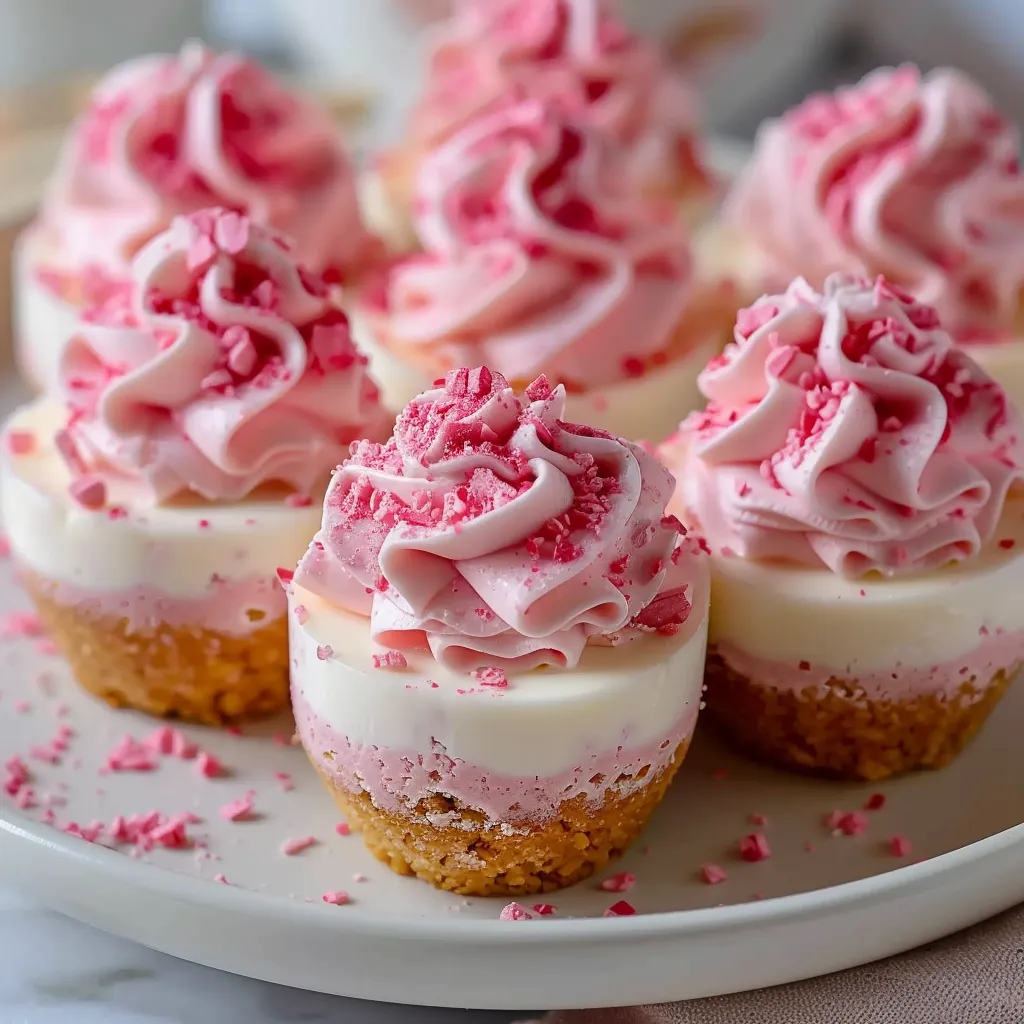
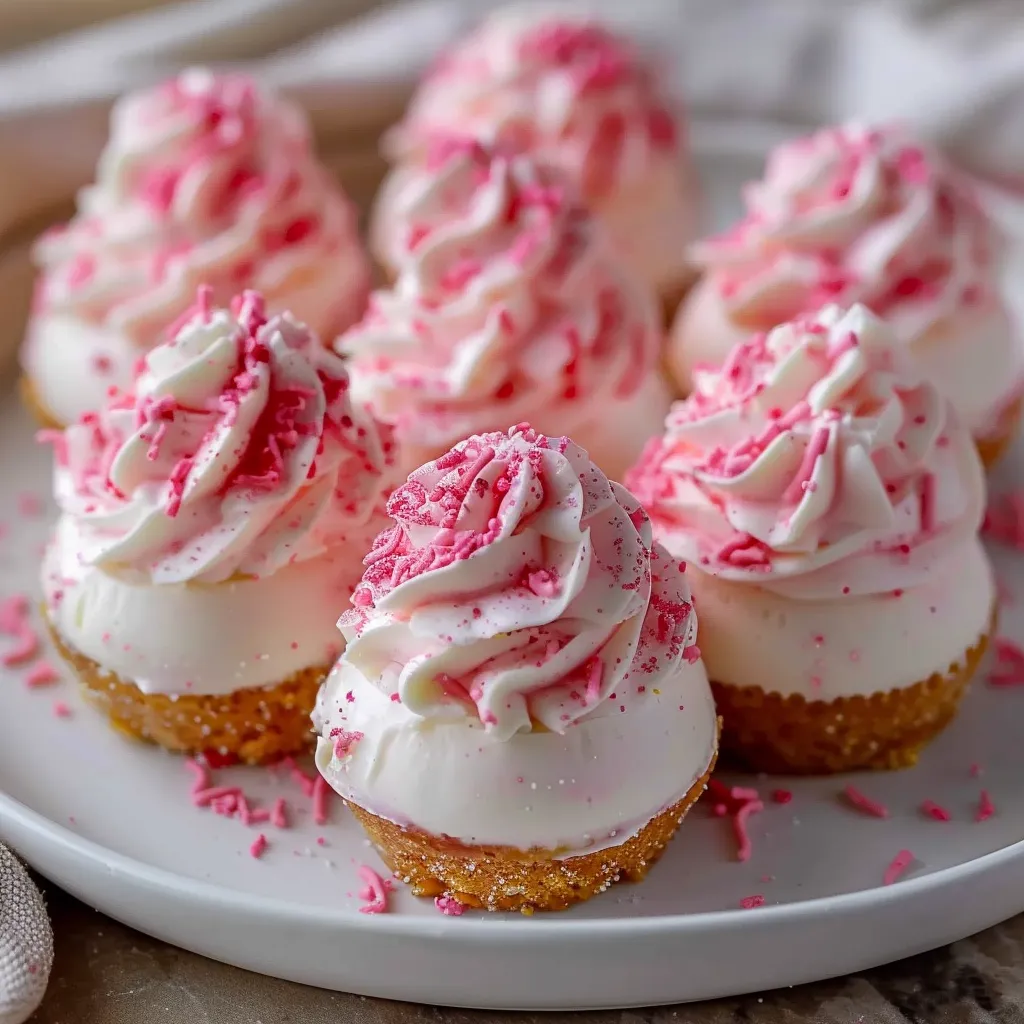
There’s something undeniably enchanting about a bite-sized treat that combines creamy cheesecake with the playful charm of bright pink velvet. I remember the first time I whipped up a batch of these No-Bake Pink Velvet Cheesecake Bites for my friends during a cozy summer get-together. The afternoon sun streamed through the kitchen windows, and the air was filled with laughter and the sweet aroma of melting chocolate. As I took the first bite, it felt like a nostalgic embrace, reminding me of birthday parties filled with laughter and frosting-covered faces. These delightful bites are not just a feast for the taste buds; they’re a reminder of simpler times, a celebration of joyous gatherings, and the perfect treat for any occasion.
Why You’ll Love This Recipe
Honestly, if you’re looking for a crowd-pleaser that’s both easy to make and gorgeous to look at, these bites are it! They’re quick to prepare, don’t require any baking, and pack a flavor punch that everyone will love. With just a handful of ingredients and a little bit of patience (okay, maybe a lot of drooling while they chill), you’ll have a delightful dessert that’s perfect for parties, potlucks, or just that cozy night in when you want a treat that feels special. Plus, they’re pretty—and you know how much I love food that’s as pretty as it is delicious!
What It Tastes Like
Imagine sinking your teeth into a silky, creamy cheesecake that melts in your mouth, perfectly balanced with a hint of contrasting tanginess from the cream cheese. The subtle vanilla kicks in, sending your taste buds dancing, and just when you think it can’t get any better, a whisper of sweetness lingers on your lips thanks to the sugar. These bites have a lovely velvety texture, reminiscent of that first warm bite after a long day, hugging your soul and inviting you back for more. It’s like a playful embrace in dessert form—a little slice of happiness that you’ll find yourself reaching for again and again.
Ingredients You’ll Need
- 8 oz cream cheese: This is the magic ingredient that gives our bites that rich, creamy texture. Make sure it’s softened for the best results!
- 1 cup powdered sugar: Adds just the right level of sweetness without making them too sugary.
- 1 tsp vanilla extract: This isn’t just for flavor; it adds warmth and depth to your cheesecake mix.
- 1 ½ cups whipped topping: Airy and light, it makes the cheesecake feel indulgent yet fluffy—trust me, you don’t want to skip this!
- 1 cup crushed graham crackers: These will be the base for your bites, adding a crunch that perfectly complements the soft filling.
- 1/2 cup unsalted butter (melted): This binds the crust together beautifully, ensuring you’ve got that delicious crunch in each bite.
- Pink food coloring: This is where the fun begins! A few drops will transform your cheesecake into that lovely pink hue.
Optional Additions:
- Swirl in some strawberry puree for a fruity twist.
- Add a sprinkle of sea salt for that sweet-and-salty effect.
- Dive into a sprinkle of graham cracker crumbs for a fun topping!
Special Garnishes:
- Fresh berries like strawberries or raspberries add a pop of color.
- Mint leaves are great for a fresh touch.
- Chocolate shavings or a drizzle of chocolate sauce for the ultimate treat.
Step-by-Step Instructions
Let’s dive into making these cheesecake bites! This part is straightforward, and I promise you’ll love every minute of it.
- Prepare the crust: In a mixing bowl, combine the crushed graham crackers with melted butter until it resembles wet sand. Line a muffin tin with cupcake liners and spoon the graham cracker mixture evenly into each liner. Press it down firmly with your fingers—don’t skip this step; it’s where the magic happens!
- Make the cheesecake filling: In another large bowl, mix softened cream cheese and powdered sugar until well combined. It should be smooth and creamy. Add in the vanilla extract and a few drops of pink food coloring, mixing until you achieve your desired shade—this is where the fun begins!
- Fold in whipped topping: Gently fold in the whipped topping, embracing the light and airy texture. This is what makes these bites so creamy and dreamy. Be careful not to overmix; we want to keep that fluffiness!
- Fill the crust: Spoon the cheesecake mixture onto the prepared graham cracker crust in each liner, smoothing the tops as you go. You can use a spatula or the back of a spoon for this. Make them as pretty as you want!
- Chill: Pop the muffin tin into the refrigerator and let them chill for at least 4 hours (or overnight, if you can wait). This will give them time to set properly and enhance those flavors!
- Serve and enjoy: When you’re ready to serve, peel away the cupcake liners, add your chosen garnishes, and watch as everyone digs in!
Recipe Variations
If you’re up for it, there are so many ways to put your spin on these cheesecake bites! For a chocolatey twist, swap a bit of the powdered sugar for cocoa powder. Want to cater to gluten-free friends? Just use gluten-free graham crackers for the crust. You could also try different colorings or flavors like lemon zest or almond extract for an extra zing. The possibilities are endless!
Serving & Storage Tips
These cheesecake bites are as delicious the next day as they are fresh! To serve beautifully, arrange them on a lovely platter and garnish with fresh berries or mint leaves. If you have leftovers (which, let’s be real, you might not!), store them in an airtight container in the fridge. They should stay good for about a week—if you can resist eating them all at once! I’ve even enjoyed them straight from the fridge—it’s like having a little secret treat waiting for you.
Helpful Tips
Here’s the thing—I used to overwhip my cream cheese, making it too airy and less creamy. Now I just mix until everything is combined; think of it this way: we want to be gentle like a hug. Also, make sure your cream cheese is well softened; this will save you from any lumps! And remember, it’s perfectly okay if the bites crack a little when you remove them from the liners. They’re going to taste amazing, no matter how they look!
Special Equipment
- Muffin tin: Essential for shaping your bites perfectly—plus, it’s great for portion control!
- Mixing bowls: You’ll need a couple of these; I like to use a bigger bowl for the filling to give me room to mix.
- Spatula: This will help you scoop the creamy filling effortlessly—your best friend in this recipe!
Frequently Asked Questions
Can I make these cheesecake bites ahead of time?
Absolutely! In fact, they’re best when chilled overnight. You can easily make them a day or two in advance and just pull them out when you’re ready to serve.
How do I know when they’re set?
When they’re firm to the touch and hold their shape after being removed from the muffin tin, you’ll know they’re ready to go! A little wobble is fine, but they shouldn’t be liquidy.
Can I freeze these cheesecake bites?
Yes, you can! Just make sure to wrap them tightly in plastic wrap and place them in an airtight container. They should last up to three months in the freezer. Let them thaw in the fridge before enjoying!
Conclusion
And there you have it—No-Bake Pink Velvet Cheesecake Bites that are as easy to make as they are to devour. They bring a pop of color and flavor to any occasion, creating memories with every bite. I can’t wait for you to try this recipe! Whether you’re hosting a gathering or just craving something sweet, these bites are bound to be a hit. If you make them, please let me know how they turn out in the comments. I’d love to hear your stories and any tweaks you might try! Until next time, happy baking!
Print
Decadent No-Bake Pink Velvet Cheesecake Bites Recipe to Savor
Enjoy the delightful sweetness of No-Bake Pink Velvet Cheesecake Bites, a simple yet elegant dessert perfect for any occasion. Try it today!
- Total Time: 4 hours 20 minutes
- Yield: 12 servings 1x
Ingredients
Instructions
Notes
These No-Bake Pink Velvet Cheesecake Bites combine creamy cheesecake with a delightful pink hue, perfect for any occasion.
- Prep Time: 20 minutes
- Category: Dessert
- Cuisine: American
Nutrition
- Serving Size: 12 servings
- Calories: 160
- Sugar: 10g
- Fat: 9g
- Carbohydrates: 19g
- Fiber: 0g
- Protein: 2g
Keywords: cheesecake bites, no-bake dessert, pink velvet dessert, easy cheesecake recipe, party treats


