
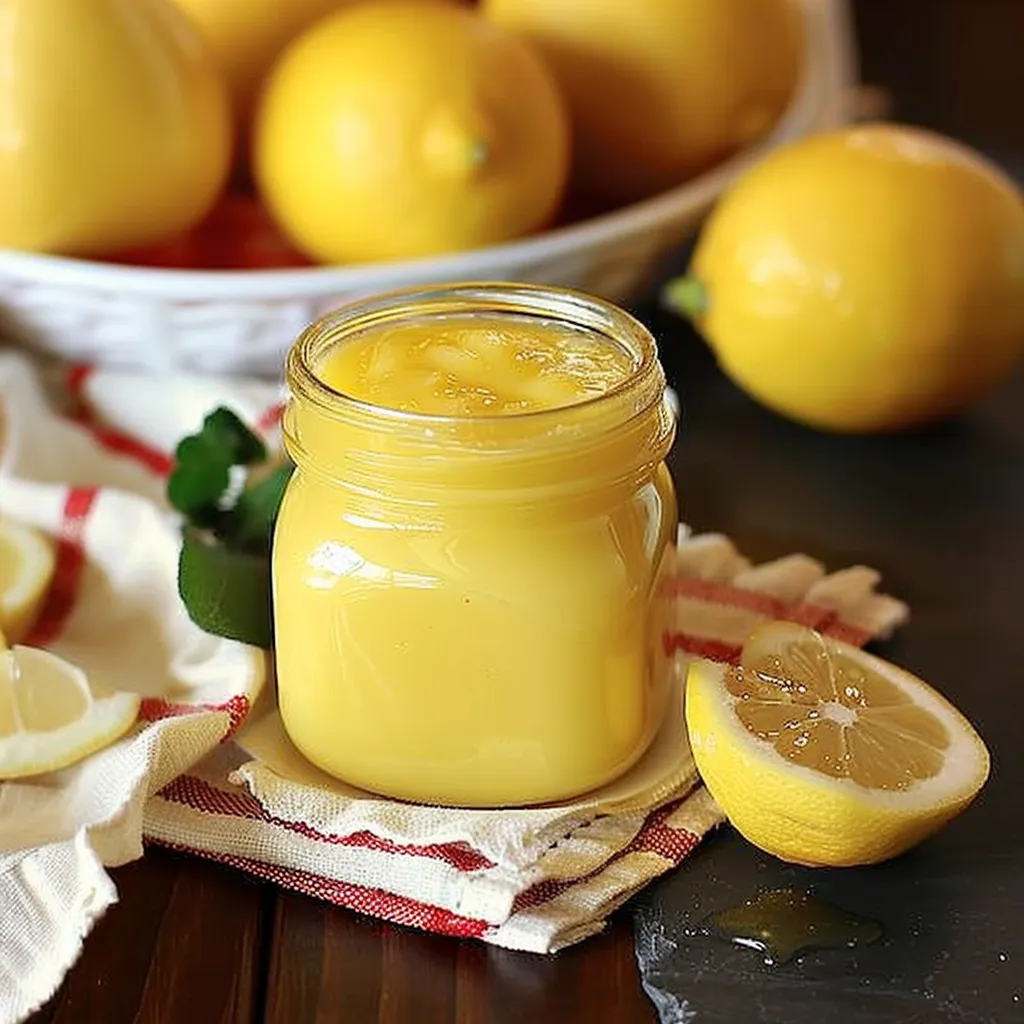
There’s something magical about the way sunlight filters through the kitchen window on a warm afternoon, casting a golden glow on everything it touches. I remember sitting on my grandmother’s counter, watching her whisk egg yolks and sugar until they transformed into something remarkable. It was during one of those lazy summer days that I fell in love with the tart, sweet, and creamy concoction known as lemon curd. It’s a vibrant burst of sunshine that captures the essence of fresh lemons and brings joy to every dessert it graces.
Lemon curd has a special place in my heart because it’s so versatile. Slather it on scones for breakfast, fill a tart shell for dessert, or swirl it into yogurt for a refreshing snack. It’s easy to prepare, and I love how it captures the vibrant spirit of fresh lemons. The best part? This recipe is adaptable, allowing you to play with flavors and put your personal spin on each batch. So let’s roll up our sleeves and dive into this delightful treat together!
Why You’ll Love This Recipe
Truth be told, there are countless reasons to adore homemade lemon curd. For one, it’s incredibly quick to whip up! In less than 30 minutes, you can have a batch ready to brighten your day. It’s perfect when you’re craving something tangy yet sweet and creamy. Plus, it’s a crowd-pleaser — everyone loves that punch of citrus goodness that dances on the palate.
But here’s the kicker: making lemon curd from scratch beats anything store-bought by a mile. The flavor is fresher, the texture is wonderfully creamy, and you get to control the sweetness to just how you like it. Whether you’re pairing it with tea, spreading it on toast, or using it in a decadent dessert, this lemon curd will bring a smile to your face every time you taste it. You’ll want to make this again and again!
What It Tastes Like
Imagine sitting back after a long day and enjoying that first spoonful of lemon curd. It’s like sunshine on your tongue — bright, tangy, and sweet. The texture is luxurious, creamy, and somehow both rich and light all at once. Each bite is like a refreshing kiss of summer; the bright lemon flavor bounces around your mouth, balanced with just the right amount of sweetness, leaving you wanting more. It’s reminiscent of the excitement of biting into a freshly picked lemon on a warm day, with just the right acidity to keep your taste buds tingling.
Ingredients You’ll Need
- 4 large egg yolks: They add a rich, creamy touch that gives the curd its lush texture.
- 1 cup granulated sugar: This sweetens the tartness of the lemons, creating a harmonious balance.
- 1/2 cup fresh lemon juice: The star of the show, it provides that zesty kick we crave!
- 1 tablespoon lemon zest: Adds an extra punch of flavor and a lovely fragrance.
- 1/2 cup unsalted butter: Gives the curd its silky smoothness and rich mouthfeel.
Now, here’s a few optional additions to consider:
- Look out for some fresh herbs: a touch of lavender or mint can create a delightful twist.
- If you’re feeling adventurous, try adding a splash of vanilla extract or a bit of ginger for a spiced kick!
For garnish, consider:
- A sprinkle of extra lemon zest for that professional touch.
- Fresh berries beautifully arranged atop your finished dish.
Step-by-Step Instructions
Prepare yourself to unlock the deliciousness of lemon curd with these straightforward steps:
- Gather Your Ingredients: Ensure all your ingredients are fresh — it makes a difference!
- Whisk Yolks and Sugar: In a medium heatproof bowl, combine the egg yolks and sugar. Whisk until you see a pale yellow hue, which signals the sugar has begun to dissolve. This step is crucial for achieving that glossy finish!
- Combine Lemon Juice and Zest: In a different bowl, mix the lemon juice with the zest, then gradually add this mixture to your egg yolk concoction while whisking continuously. This is where the magic begins! Don’t skip this step; it’s where those vibrant flavors meld together.
- Heat Up: Set your bowl over a saucepan of simmering water (a double boiler setup). Stir gently while it heats. The mixture needs to reach about 170°F (check with a thermometer) — it’ll begin to thicken, coating the back of a spoon. Keep stirring to prevent it from cooking unevenly or scrambling!
- Beat in the Butter: Once thickened, remove your bowl from the heat and add in the butter, a few tablespoons at a time. Keep whisking until it’s completely melted and combined. Now, take a moment and enjoy that rich, lemon-scented aroma!
- Strain (Optional): For an ultra-smooth texture, pass your lemon curd through a fine-mesh strainer to remove any zest or accidental lumps. This step isn’t necessary, but it makes a big difference in texture.
- Cool It Down: Allow the curd to cool in the same bowl at room temperature, then transfer it to an airtight container. Pop it in the fridge — it’ll thicken further as it chills.
That’s it — pretty easy, right? You’ll have your delicious lemon curd ready to enjoy! Now, just try not to sneak spoonfuls before serving!
Recipe Variations
While the classic lemon curd is hard to beat, there are tons of fun variations to try:
- Swap out lemons for limes or oranges for a tropical twist.
- Mix in some berries, like pureed strawberries or blueberries, to create a fruity blend.
- For those who love a bit of spice, add a dash of cayenne pepper or a pinch of cardamom for an unexpected flavor bomb.
These variations not only keep things interesting, but they also allow you to tailor the lemon curd to different desserts and occasions. Trust me on this one; they’re worth the experiment!
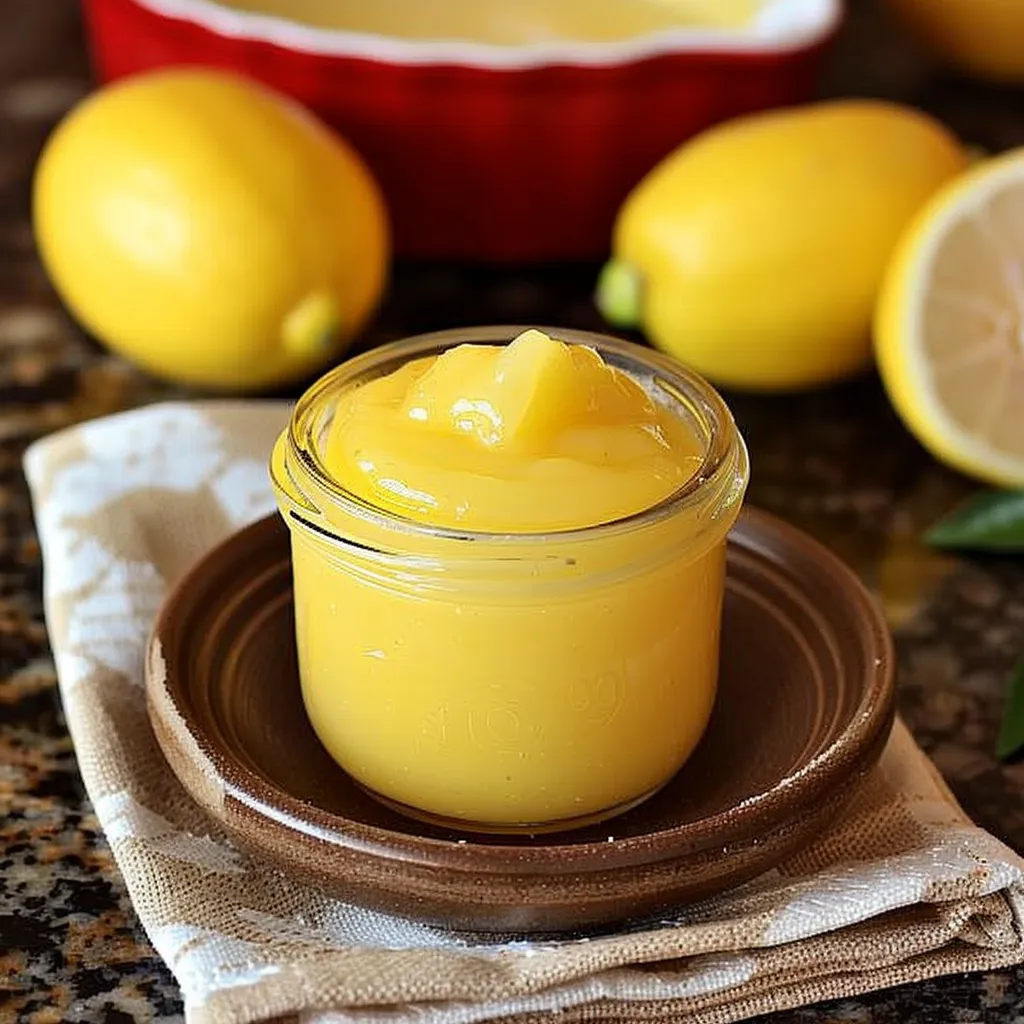
Serving & Storage Tips
Your homemade lemon curd can be served in so many delectable ways! Spread it on freshly baked scones, mix it into yogurt, or use it as a filling for cakes and pastries. You can also dollop it over ice cream for an extra zing. The possibilities are endless!
As for storage, your lemon curd will keep well in an airtight container in the fridge for about one to two weeks. Remember to give it a stir before using, as it may separate slightly. If you find yourself with leftovers, consider using it as a topping for pancakes or even in a salad dressing — yes, it’s that versatile!
Helpful Tips
Ah, the small things can make all the difference! Here are some nuggets of wisdom I’ve gathered from my kitchen adventures:
- Use Fresh Lemons: Trust me, don’t even think about using bottled lemon juice. Fresh juice makes a world of difference!
- Invest in a Good Thermometer: Make sure that mixture doesn’t scramble on you. A thermometer helps you keep things in check.
- Practice Patience: If the mixture seems to be taking too long to thicken, don’t crank up the heat. Low and slow is the way to go!
- Experiment and Enjoy: The first time I made lemon curd, I was worried it wouldn’t turn out. Accept that it’s a learning process; every spoonful of this bright delight becomes part of your kitchen story.
Special Equipment
You really don’t need much to make lemon curd, but here are a couple of tools that will make life easier:
- Whisk: A good whisk will be your best friend! Use it to combine your ingredients and get that silky texture.
- Double Boiler or Heatproof Bowl: This helps to gently cook the curd without risk of scorching. If you don’t have a double boiler, you can easily DIY one using a saucepan and a heatproof bowl.
- Fine-Mesh Strainer: If you’re going for a smooth texture, this tool is a must-have.
Frequently Asked Questions
How long does homemade lemon curd last in the fridge?
Homemade lemon curd can last in the refrigerator for about one to two weeks, stored in an airtight container.
Can I freeze lemon curd?
Absolutely! You can freeze lemon curd for up to three months. Just make sure to store it in an airtight freezer-safe container — though don’t be surprised if it goes fast!
What can I use lemon curd in?
The options are endless! Use lemon curd in tarts, cakes, pastries, as a spread for scones, or even mixed into yogurt for a zesty treat.
Can I make this recipe with less sugar?
Sure! You can adjust the sugar to your taste, though keep in mind the sweetness helps balance the tartness of the lemons.
Why is my lemon curd too runny?
If your lemon curd is runny, it may not have cooked long enough to thicken. Next time, keep whisking until it fully coats the back of a spoon.
Conclusion
There you have it! A simple, delightful recipe for making lemon curd that brings a little bit of sunshine into your kitchen. Whether you enjoy it simply on toast, or as part of a more elaborate dessert, this lemon curd has a way of making everything feel a little brighter. I hope you’ll give this recipe a try soon and share your own kitchen stories in the comments. Every batch is a chance to make new memories, and I can’t wait to hear about yours. Happy cooking!
Print
How to Make Lemon Curd: Quick & Zesty Homemade Delight
Learn how to make lemon curd at home with this quick and zesty recipe. Perfect for spread or dessert—try it today for a citrusy treat!
- Total Time: 30 minutes
- Yield: 1 cup 1x
Ingredients
Instructions
Notes
A delightful recipe for making lemon curd that captures the essence of fresh lemons, bringing joy to every dessert it graces.
- Prep Time: 10 minutes
- Cook Time: 20 minutes
- Category: Dessert
- Cuisine: American
Nutrition
- Serving Size: 1 cup
- Calories: 100
- Sugar: 10g
- Fat: 5g
- Carbohydrates: 12g
- Fiber: 0g
- Protein: 1g
Keywords: lemon curd, dessert, recipe, homemade lemon curd, citrus, cooking, baking


