
There’s something magical about the first hint of spring, isn’t there? The air gets a bit warmer, the flowers start to bloom, and there’s a ripple of excitement as Easter approaches. Growing up, Easter was a time for family gatherings, colorful egg hunts, and of course, plenty of sweets! My mom always had a batch of chocolate chip cookies waiting for us after a long day of festivities, and they became synonymous with celebration for me. These Easter Chocolate Chip Cookies are my heartfelt nod to those lovely memories — soft, chewy, and generously studded with chocolate. The sprinkles add a festive touch that brings a smile to anyone’s face. So grab your apron, and let’s embark on a baking adventure together!
Why You’ll Love This Recipe
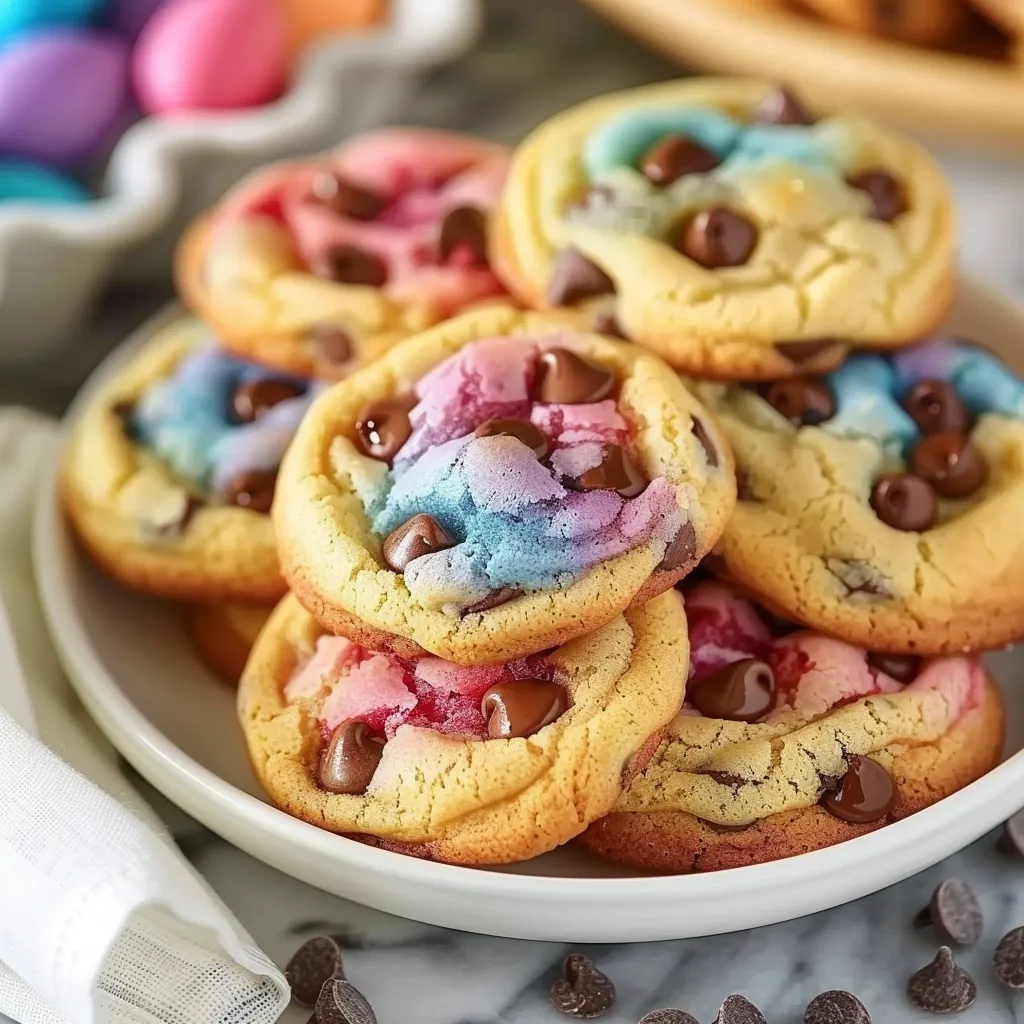
If you’re looking for a cookie recipe that’s not just easy but also remarkably delicious, you’ve stumbled upon a gem. These Easter Chocolate Chip Cookies are quick to whip up and even quicker to disappear — trust me on that one! They capture that blissful balance between crispy edges and soft, gooey centers. Plus, they’re adorable with their rainbow sprinkles, making them perfect for the holiday. They involve simple ingredients you probably already have in your kitchen, allowing for a stress-free baking experience. Seriously, everyone will rave about them; you might just become the cookie boss of your family gatherings!
What It Tastes Like
Now let’s talk about flavor and texture. Imagine biting into a perfectly baked cookie, the outer edge slightly crispy while the inside remains tender, almost melting in your mouth. The rich, velvety chocolate oozes out as you take a bite, mingling with the sweet buttery goodness. Those little bursts of colorful sprinkles? Like confetti in your mouth, adding just the right amount of crunch and joy! It’s like a hug in cookie form — cozy, comforting, and reminiscent of happy moments spent with loved ones. Honestly, it’s the perfect treat after a long day or during a cheerful brunch with family.
Ingredients You’ll Need
- 2 1/4 cups all-purpose flour: This is the backbone of your cookies, giving them that wonderful structure.
- 1/2 teaspoon baking soda: Helps the cookies rise and gives them that classic chewy texture.
- 1 cup unsalted butter, softened: Adds richness and a wonderful flavor. Don’t skimp on the quality here!
- 3/4 cup granulated sugar: Balances out the flavors and adds sweetness.
- 3/4 cup packed brown sugar: Infuses the cookies with a lovely caramel taste.
- 1 teaspoon salt: Enhances all the flavors beautifully. Trust me — don’t leave it out!
- 2 teaspoons vanilla extract: Because who doesn’t love that warm, inviting aroma?
- 2 large eggs: Binds everything together while also helping the cookies to rise.
- 2 cups semisweet chocolate chips: The stars of the show! Go for high-quality ones for the best experience.
- 1/2 cup colorful sprinkles: A fun, festive touch that makes these cookies perfect for Easter!
Optional Additions: For a twist, you could try adding chopped nuts for some extra crunch or a swirl of peanut butter for a delightful flavor combo. Ever tried mixing in some shredded coconut? You should!
Special Garnishes: Once the cookies are cool, consider drizzling a bit of melted chocolate on top, then sprinkling more festive decorations. It’s an easy way to elevate their appearance!

Step-by-Step Instructions
Alright, time to get our hands a little messy — let’s bake some cookies!
- Preheat the Oven: Start by preheating your oven to 350°F (175°C). Trust me, getting this right ensures even baking!
- Mix Dry Ingredients: In a medium bowl, whisk together the flour and baking soda. Set it aside; this is where the magic begins.
- Cream Butter and Sugars: In a large bowl, using a hand mixer or stand mixer, beat the softened butter, granulated sugar, brown sugar, and salt together until the mixture is light and fluffy. This step is crucial; don’t rush it!
- Add Eggs and Vanilla: Mix in the eggs, one at a time, followed by the vanilla extract. Ensure everything is well combined.
- Combine Wet and Dry: Gradually add the dry ingredients into the wet ingredients, mixing just until combined. You don’t want to over-mix, or your cookies may end up tough — and nobody wants that!
- Fold in the Chocolate Chips: Gently fold in the chocolate chips and then the colorful sprinkles. The dough will start looking like a festivity in a bowl!
- Chill the Dough (Optional): For added flavor and texture, consider chilling the dough for about 30 minutes in the fridge. It allows a deeper flavor to develop, though it’s not mandatory.
- Scoop and Bake: Line a baking sheet with parchment paper. Use a cookie scoop to drop rounded tablespoons of dough about 2 inches apart. Pop them in the oven for 10-12 minutes, until the edges are golden brown and the centers still look soft.
- Cooling Time: Allow the warm cookies to cool on the baking sheet for a few minutes before transferring them to racks to cool completely. This is where the kitchen fills with that heavenly aroma!
That’s it — pretty easy, right? You’ll want to make this again and again!
Recipe Variations
Feel like mixing it up a bit? How about trying one of these variations:
- Chocolate-Orange Zest: Add some grated orange zest into the dough for a bright, citrusy twist!
- Nut-Free Option: If you want to make it nut-free, just leave out any nuts while keeping the chocolate. They still pack a delightful punch!
- Oatmeal Chocolate Chunk: Swap 1 cup of flour for old-fashioned oats for a chewy texture that’s hard to resist!
Mix and match to find your favorite flavor profile — the only limit is your imagination!
Serving & Storage Tips
Serving your cookies shouldn’t be a chore. Stack them high on a pretty plate, sprinkle some extra colorful confetti over the top, and watch how quickly they vanish! For those glorious leftovers (if there are any), store them in an airtight container at room temperature. They’ll stay fresh for about a week — but trust me, they’ll be gone long before then! If you want to freeze them, make sure they’re cool completely, then pop them into a freezer-safe bag. They keep well for up to three months. Just let them thaw at room temperature or warm them up in the oven for that just-baked experience.
Helpful Tips
Here are a few insights I’ve gathered over the years to help you avoid any baking blunders:
- Room Temperature Ingredients: Make sure your butter and eggs are at room temperature for better mixing. It makes a difference in texture!
- Don’t Skip Chilling: I remember burning my first batch because I was too eager to bake them right away. Chilling the dough can prevent spreading too much while baking!
- Watch the Time: Every oven is a little different. Keep an eye on your cookies as they bake; they can go from perfect to overbaked in just a minute!
Special Equipment
- Baking Sheet: A heavy-duty baking sheet helps distribute heat evenly for perfectly baked cookies.
- Parchment Paper: Using parchment paper means less mess and easy cleanup — plus, it prevents the cookies from sticking!
- Cookie Scoop: This handy tool ensures your cookies are uniform in size, which helps them bake evenly.
Frequently Asked Questions
Can I use whole wheat flour instead of all-purpose flour?
Yes, you can! Just keep in mind the texture will be a tad denser, but they’ll still be delicious!
What happens if I overmix the dough?
Overmixing can lead to tough cookies. Just mix until the ingredients are barely combined for a soft, chewy texture.
Can I leave out the eggs for a vegan version?
You could replace the eggs with flaxseed meal or applesauce for a great egg substitute.
How do I know when my cookies are done baking?
Look for lightly golden edges while the center still appears soft. They’ll continue to bake slightly after being removed from the oven.
Can I add nuts or dried fruit to the dough?
Absolutely! Feel free to customize; just be careful not to overload the dough. Sometimes, simpler is better!
Conclusion
There you have it — a delightful recipe for Easter Chocolate Chip Cookies that’s sure to become a cherished favorite in your kitchen. The joy of baking is not just in the final product but in the shared moments and memories it creates. So get those ingredients ready, crank up your favorite tunes, and let the aroma of freshly baked cookies fill your home. I can’t wait to hear how your batch turns out! Share your baking stories in the comments — let’s create a delicious community together!
Print
easter chocolate chip cookies
Make your Easter special with these chocolate chip cookies that melt in your mouth! Easy to make and delightful in taste. Try it today!
- Total Time: 27 minutes
- Yield: 24 cookies 1x
Ingredients
Instructions
Notes
These Easter Chocolate Chip Cookies are soft, chewy, and generously studded with chocolate, making them perfect for holiday celebrations.
- Prep Time: 15 minutes
- Cook Time: 12 minutes
- Category: Dessert
- Cuisine: American
Nutrition
- Serving Size: 24 cookies
- Calories: 150
- Sugar: 10g
- Fat: 8g
- Carbohydrates: 20g
- Fiber: 0g
- Protein: 2g
Keywords: Easter cookies, chocolate chip cookies, holiday baking, dessert recipes, spring cookies


