As the first hints of winter whisper through the trees and the scent of pine fills the air, I find myself pulled into the kitchen more than ever. There’s something so comforting about cozy evenings spent baking, surrounded by the warm glow of fairy lights and the delightful sounds of holiday music in the background. It’s during these moments that I stumbled upon a blend of two of my favorite treats: brownies and peppermint bark. These peppermint bark brownies are like a warm hug on a chilly day; rich, smooth, and decadently delicious. Perfect for gatherings, cozy nights in, or even as a last-minute gift, they embody the spirit of the season and make it so easy to share a little sweetness wherever you go.
Why You’ll Love This Recipe
Honestly, what’s not to love? These peppermint bark brownies are simple to whip up, making them perfect for both novice bakers and seasoned pros alike. They’re not just crowd-pleasers; they’re magical little squares that bridge the gap between the comforting richness of classic brownies and the festive cheer of peppermint bark. If you’re someone who loves a chocolate hit with a refreshing twist, these brownies will quickly become a favorite. Plus, they’re easy to customize to suit your taste, making them wildly versatile (and addictive!). Trust me on this one—you’ll want to make these over and over again!
What It Tastes Like
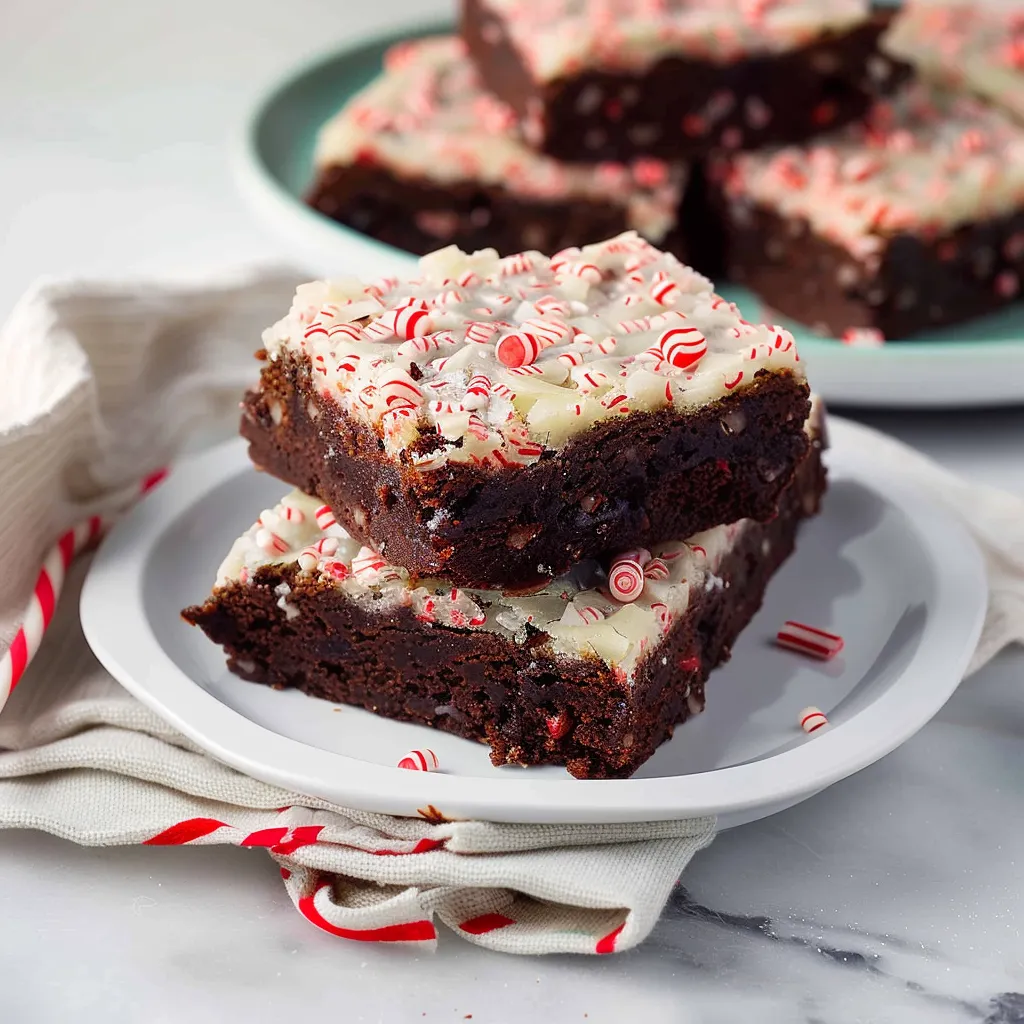
Imagine sinking your teeth into a fudgy brownie that’s dense and rich but somehow lightened by the cool, invigorating notes of peppermint. The silky chocolate pairs beautifully with the crunchy peppermint bark that you sprinkle on top, creating a symphony of textures and flavors in every bite. It’s like taking a stroll through a winter wonderland while holding a cup of hot cocoa in your hands. The sweetness of the chocolate and the crispness of the peppermint dance on your palate, each bite enveloping you in that cozy, festive feeling. Honestly, it’s the kind of dessert that warms you from the inside out—a safe haven when life gets a bit too busy.
Ingredients You’ll Need
- 1 cup unsalted butter – Adds a rich, creamy base that’s essential for that ultimate fudgy texture.
- 2 cups granulated sugar – Sweetens the brownies beautifully while balancing the dense chocolate.
- 4 large eggs – These bind everything together, making the brownies luscious and moist.
- 1 cup all-purpose flour – Provides structure; too much will lead to dense brownies, so stick to the measurement.
- 1 cup cocoa powder – The star of the show; it gives the brownies that rich, chocolatey flavor we all crave.
- 1 teaspoon vanilla extract – Adds warmth that rounds out the flavors perfectly.
- 1 teaspoon peppermint extract – The secret to that refreshing peppermint flavor that defines this treat.
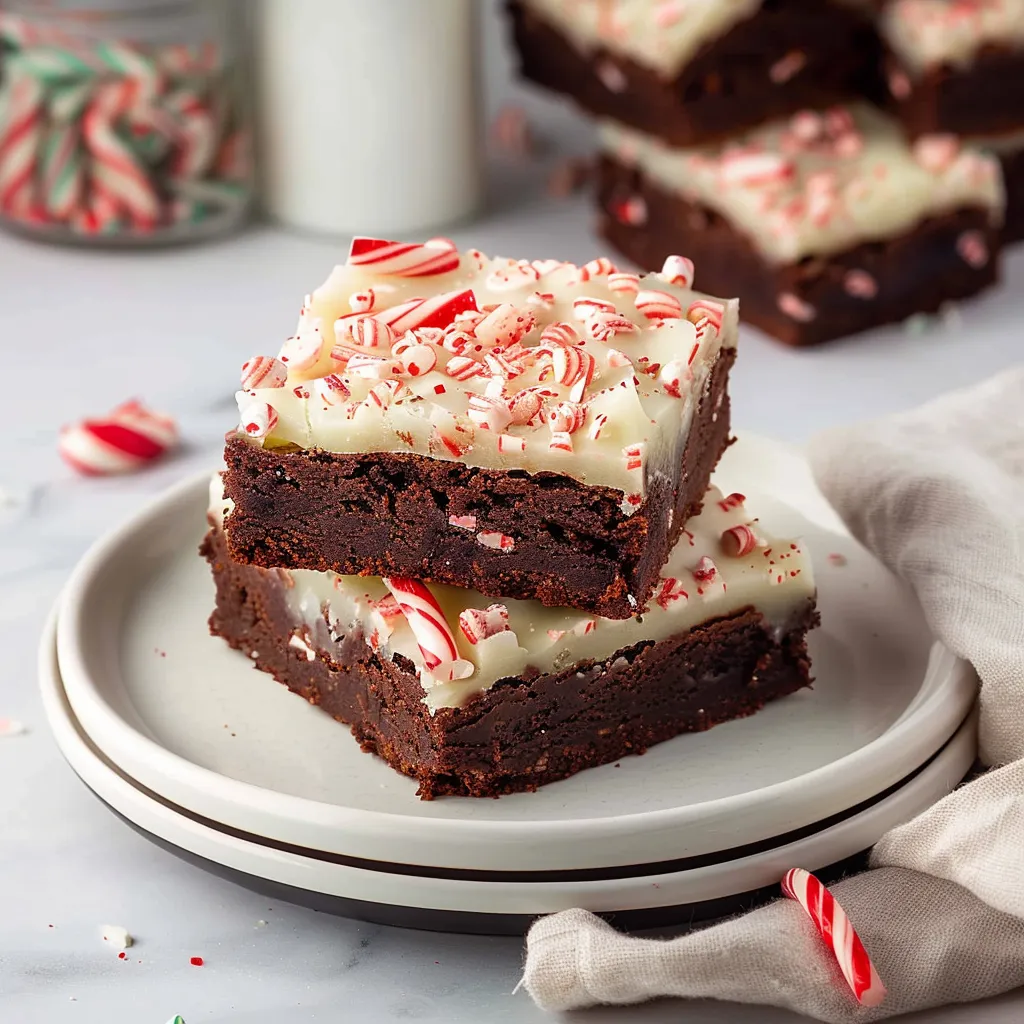
- 1 cup crushed peppermint bark – For topping, it adds a delightful crunch and holiday flair.
Optional Additions: Ever tried throwing in some chocolate chips or candy canes? You should! They add even more layers of flavor and texture.
Special Garnishes: A sprinkle of powdered sugar on top before serving makes these beauties even more festive.
Step-by-Step Instructions
Now, let’s get those aprons on and dive into the fun part—baking!
- Preheat your oven: Set it to 350°F (175°C) and grease a 9×13-inch baking pan.
- Melt the butter: In a medium saucepan over low heat, gently melt the butter. Keep an eye on it—no one likes burnt butter! Once melted, remove it from the heat.
- Add sugar and mix: Stir in the granulated sugar until fully combined; this helps to dissolve it a bit before adding eggs.
- In go the eggs: Beat in the eggs, one at a time, mixing well with each addition. Then add the vanilla and peppermint extracts. Get ready for that lovely scent!
- Whisk together the dry ingredients: In a separate bowl, mix the flour and cocoa powder. Gradually add it to the wet mixture, stirring gently until just combined. Don’t overmix; we want those brownies fudgy!
- Pour and spread: Pour the batter into the greased baking pan and spread evenly. Tap the pan on the counter just to release any bubbles.
- Bake: Bake for 25-30 minutes. Insert a toothpick in the center to check; it should come out with a few moist crumbs. That’s perfection!
- Cool down: Let the brownies cool completely in the pan before you sprinkle on the crushed peppermint bark. This allows the chocolate to settle into its gooey texture.
That’s it—pretty easy, right?
Recipe Variations
Want to switch it up? You could sub half of the cocoa powder for different flavored powders like espresso or even white chocolate for a fun twist! For those with dietary needs, using a gluten-free flour mix will provide a similar texture without much change in flavor. If you’re looking to make them less sweet, consider reducing the sugar or using dark chocolate cocoa for a more intense chocolate experience. Ever tried them with a layer of cream cheese frosting? Oh, you’re gonna love that!
Serving & Storage Tips
These brownies are best served chilled, as the peppermint bark on top really shines through when the brownies are set. To store leftovers, simply wrap them in plastic wrap and keep them in the fridge for up to a week. If you want to get fancy, layer them between parchment paper in an airtight container! These little gems can be popped in the microwave for about 10-15 seconds to bring back that warm, gooey texture you love.
Helpful Tips
Here’s the funny part—I remember burning the first batch of brownies I ever made. It was tragic! But I learned quickly that it’s crucial to keep the oven thermometer close by and check on them a few minutes before the timer goes off. Always trust your instincts! Also, don’t be tempted to skip the cooling time; adding the peppermint bark while hot will just make it melt so you won’t get that lovely crunch. A gentle touch goes a long way.
Special Equipment
- 9×13-inch baking pan: This is the classic but necessary tool to get those brownies to the right thickness.
- Medium saucepan: Your trusty companion for melting butter—make sure it’s heavy-bottomed to prevent scoring!
- Mixing bowls: I like using a large bowl for the wet ingredients and a smaller one for the dry—it just makes everything so much easier.
- Whisk: A good whisk is a must for keeping those eggs fluffy and emulsified!
FAQ Section
Can I make these brownies ahead of time?
Absolutely! They actually taste even better the next day, as the flavors meld. Just be sure to store them properly in the fridge.
How do I know when the brownies are done?
The toothpick test is the way to go! You want it to come out with a few moist crumbs, not completely clean.
What’s the best way to crush the peppermint bark?
Pop it in a ziplock bag and give it a few gentle hits with a rolling pin. It’s a fun way to release any baking stress, too!
Can I freeze these brownies?
Yes, they freeze beautifully! Just wrap them well in plastic, and they’ll last up to three months. When you’re ready, just thaw them in the fridge overnight.
Conclusion
So there you have it—peppermint bark brownies that are perfect for any chilly night or festive gathering! These treats are a beautiful blend of rich chocolate and refreshing peppermint, making them a sure hit for everyone who tries them. I hope you’re inspired to give them a shot and enjoy the cozy moments they bring. Let me know how yours turn out in the comments; I love hearing your stories and experiences! Until next time—happy baking and enjoy every sweet bite!
Print
Decadent Peppermint Bark Brownies Easy Holiday Treats to Savor
Indulge in these decadent peppermint bark brownies a simple holiday treat bursting with festive flavors Perfect for weeknightstry it today


