No Bake Red Velvet Snowballs Truffles
As the chilled winter wind rustles through the trees outside, I find myself cozied up in my kitchen, a warm cup of cocoa in one hand and a bowl of rich, velvety goodness in the other. There’s something soul-soothing about crafting treats that evoke nostalgic feelings—and these No Bake Red Velvet Snowball Truffles are at the top of my holiday must-bake list. They remind me of those festive gatherings where laughter fills the air, and each bite is a bite-sized hug. Easy to whip up and a delightful surprise to share, these truffles are everything you need for a cozy night in, a holiday party, or even just to sprinkle a little joy on an ordinary day.
Why You’ll Love This Recipe
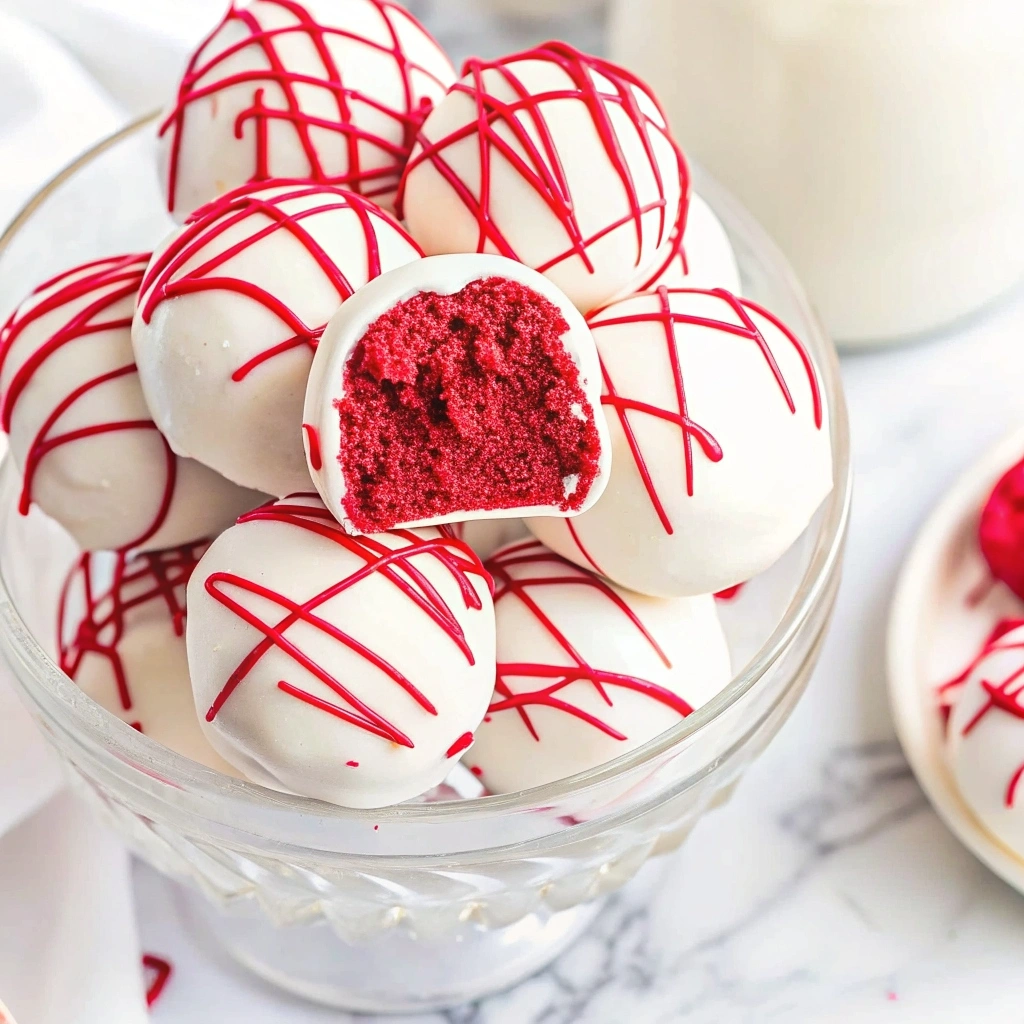
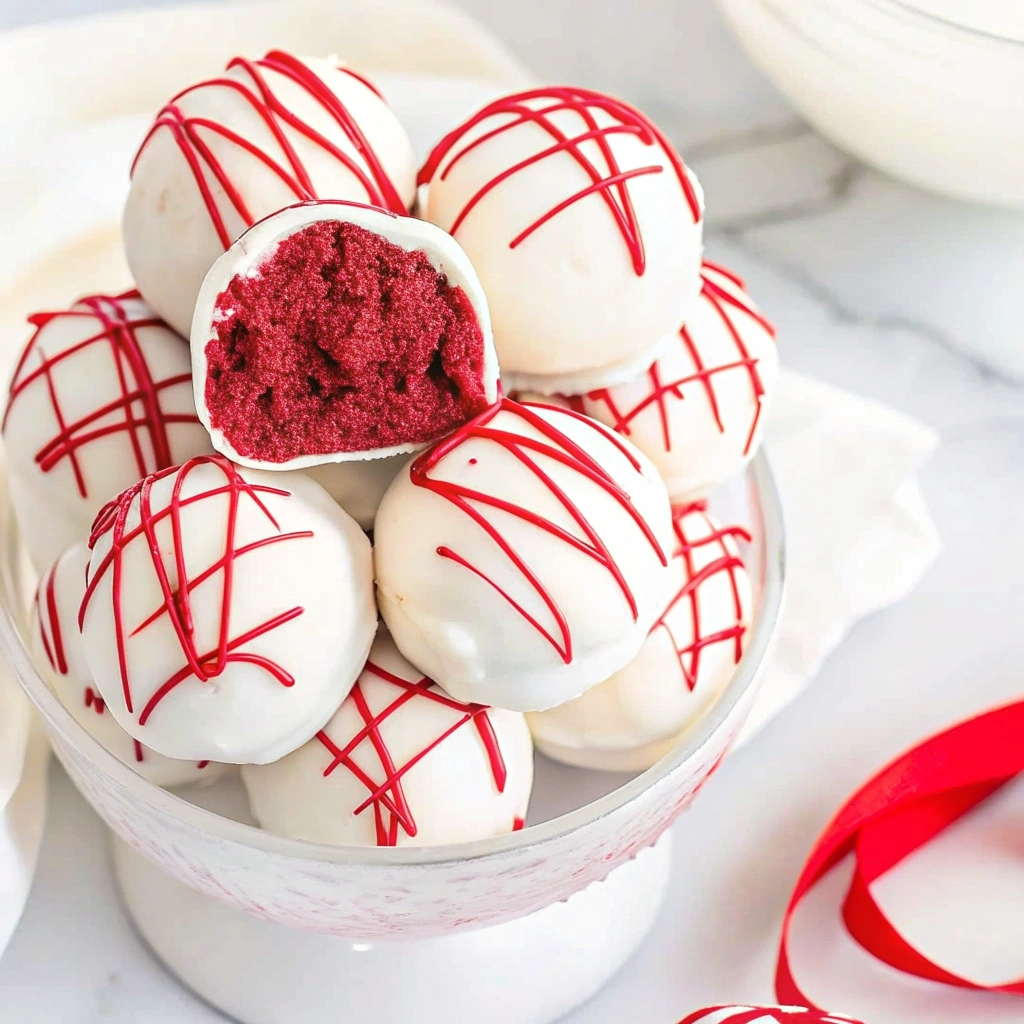
If you ask me, these no-bake truffles have a special charm. They’re quick to make, which means you can whip them up with minimal fuss and time. Plus, they’re crowd-pleasers—you bring these to any gathering, and folks will be lining up for seconds (trust me!). With luscious red velvet flavor rolled into bite-sized balls and a snowy white coating, they’re not just tasty; they’re also visually stunning. Who can resist a pop of color in their dessert table? Whether you’re a beginner in the kitchen or a seasoned chef, this recipe welcomes all levels with open arms.
What It Tastes Like
Imagine sinking your teeth into a fresh truffle; the first bite is soft, and rich, and practically melts in your mouth. The flavor is reminiscent of a classic red velvet cake—slightly chocolaty with that signature tang from cream cheese. The texture? Oh, it’s a beautiful dance of smooth creaminess wrapped in a light, fluffy interior. It’s like that first warm hug after coming in from the cold—comforting and familiar, with just enough sweetness to leave you smiling. All in all, these truffles are both delightful and decadent, making each bite an indulgent treat!
Ingredients You’ll Need
- 1 cup of Red Velvet Cake Crumbs: These provide the base, bringing that classic flavor and vibrant color.
- 8 oz cream cheese, softened: Adds a creamy touch that balances the tangy notes of the cake.
- 2 cups powdered sugar: Sweetens the mixture and gives it a delightful texture.
- 1 teaspoon vanilla extract: Enhances the overall flavor with a hint of warmth.
- 1 cup white chocolate chips: For melting and coating; creates that beautiful snowy finish.
- 1 tablespoon vegetable oil: Helps smooth the melted chocolate, making it easier to coat the truffles.
Optional Additions: Ever tried adding a splash of peppermint extract for a holiday twist? Or maybe a sprinkle of cinnamon for warmth? Both variations bring an exciting layer to the classic truffle. Give it a go!
Special Garnishes: A dusting of cocoa powder or a sprinkle of edible glitter can elevate your truffles to ‘wow’ status—perfect for holiday parties!
Step-by-Step Instructions
Ready to dive into this scrumptious adventure? Let’s get started!
- Prepare Your Crumbs: If you have leftover red velvet cake, wonderful! If not, bake a small cake, let it cool, and then crumble it up into fine crumbs. Don’t forget to keep some for snacking!
- Mix it All Together: In a mixing bowl, combine the red velvet cake crumbs, softened cream cheese, powdered sugar, and vanilla extract. Mix until it’s well-blended, and no dry spots remain. (This part? It’s where the magic happens!)
- Chill: Cover your mixture with plastic wrap and pop it in the refrigerator for about 30 minutes. This helps everything firm up and makes rolling the truffles easier.
- Roll the Dough: Once chilled, scoop out tablespoon-sized portions and roll them into little balls. This is a great job for friends or kiddos to help with! (Just try not to eat too much of the dough as you go.)
- Melt the Chocolate: In a microwave-safe bowl, melt the white chocolate chips with the vegetable oil. Heat in short bursts, stirring in between, until it’s completely melted and smooth.
- Coat the Truffles: Dip each truffle into the melted chocolate using a fork, allowing excess chocolate to drip off. Place them on a parchment-lined tray and sprinkle with your chosen garnish while the chocolate is still wet.
- Chill Again: Let the truffles cool and set in the fridge for about 30 minutes. (Perfect time for a snack break!)
And there you have it—your No Bake Red Velvet Snowballs are ready to impress!
Recipe Variations
Want to mix things up? Here are some fun ideas:
- Different Flavors: Swap out red velvet for chocolate or vanilla cake crumbs for a different take.
- Nutty Surprise: Incorporate finely chopped pecans or walnuts for a delicious crunch.
- Gluten-Free Option: Use gluten-free cake mix to create the red velvet base.
Serving & Storage Tips
When you’re ready to serve, pop these beauties in a decorative box or arrange them on a festive platter. They make wonderful gifts! If you have leftovers (unlikely but possible), store them in an airtight container in the fridge for up to a week. Just be sure to separate layers with parchment paper to prevent sticking.
Feeling resourceful? These truffles can also be frozen for up to three months. Just allow them to thaw before serving—but good luck keeping them around that long!
Helpful Tips
Trust me on this one: don’t rush the chilling steps. It’s key for the texture, keeping your truffles firm and easy to coat. I remember my first attempts being too soft and sticky—you want that perfect bite!
Also, use good quality white chocolate—your tastebuds will thank you! And if you ever overmix, don’t panic; a few lumps won’t ruin your day.
Special Equipment
- Mixing Bowl: A solid bowl makes mixing and rolling easy without causing a mess.
- Microwave Safe Bowl: For melting the chocolate; no one wants to risk a burnt chocolate disaster, right?
- Parchment Paper: Essential for keeping your truffles from sticking and makes for easy cleanup.
Frequently Asked Questions
Can I use store-bought cake mix for this recipe?
Absolutely! Just follow the package instructions for baking and then crumble it into fine crumbs for your truffles.
How long do these truffles last?
In the fridge, they’ll stay fresh for about a week, and you can freeze them for even longer. Just remember to thaw them before enjoying.
Can I make these without gluten?
Yes! Simply opt for gluten-free cake mix and enjoy without worry.
Do I have to use white chocolate?
Not at all! You can use dark chocolate or even a mix for a beautiful and delicious contrast.
Conclusion
There you have it—your very own No Bake Red Velvet Snowball Truffles, perfect for any occasion or just a cozy night with your favorite movie. I hope you find as much joy in making (and eating) these little delights as I do. So, gather your ingredients, invite a friend, and dive into this sweet experience. Don’t forget to share your creations in the comments below—I’d love to hear how they turned out for you!
Until next time, happy baking!
Print
Decadent No Bake Red Velvet Snowball Truffles Recipe
Treat yourself to these No Bake Red Velvet Snowball Truffles featuring creamy textures and rich flavor Perfect for weeknights try it today
- Total Time: 30 minutes
- Yield: 24 truffles 1x
Ingredients
- 1 cup of Red Velvet Cake Crumbs
- 8 oz cream cheese, softened
- 2 cups powdered sugar
- 1 teaspoon vanilla extract
- 1 cup white chocolate chips
- 1 tablespoon vegetable oil
Instructions
- Prepare Your Crumbs: If you have leftover red velvet cake, wonderful! If not, bake a small cake, let it cool, and then crumble it up into fine crumbs. Don’t forget to keep some for snacking!
- Mix it All Together: In a mixing bowl, combine the red velvet cake crumbs, softened cream cheese, powdered sugar, and vanilla extract. Mix until it’s well-blended, and no dry spots remain.
- Chill: Cover your mixture with plastic wrap and pop it in the refrigerator for about 30 minutes.
- Roll the Dough: Once chilled, scoop out tablespoon-sized portions and roll them into little balls.
- Melt the Chocolate: In a microwave-safe bowl, melt the white chocolate chips with the vegetable oil. Heat in short bursts, stirring in between, until it’s completely melted and smooth.
- Coat the Truffles: Dip each truffle into the melted chocolate using a fork, allowing excess chocolate to drip off. Place them on a parchment-lined tray and sprinkle with your chosen garnish while the chocolate is still wet.
- Chill Again: Let the truffles cool and set in the fridge for about 30 minutes.
Notes
Easy to whip up and a delightful surprise to share, these No Bake Red Velvet Snowball Truffles are a perfect treat for any occasion.
- Prep Time: 30 minutes
- Category: Dessert
- Cuisine: American
Nutrition
- Serving Size: 24 truffles
- Calories: 130
- Sugar: 11g
- Fat: 7g
- Carbohydrates: 16g
- Fiber: 0g
- Protein: 2g
Keywords: No Bake, Red Velvet, Truffles, Dessert


