
As the holiday season embraces us, I find myself flashing back to childhood kitchen escapades, where the air was a blend of cinnamon, nutmeg, and laughter. It was during one of those cozy evenings, bundled in warm flannels, that I helped my grandmother whip up a delightful treat: Christmas Cool Whip Candy. She’d hum classic carols while blending creamy goodness with colorful sprinkles, and every dollop of candy felt like a hug for the soul. This recipe is one of those treasures that seemingly captures that warm, fuzzy feeling of the holidays—an easy prep, no-bake candy that beckons joy and nostalgia. Let’s dive into what makes this special!
Why You’ll Love This Recipe
Honestly, who doesn’t love a dessert that’s as simple as it is delectable? This Christmas Cool Whip Candy is the epitome of festive delight, bringing together a dreamy texture with vibrant flavors. It’s quick to make, which is a lifesaver during the busy holiday season, and it’s always a crowd-pleaser at gatherings, from family dinners to office parties. Plus, it’s a blank canvas for your creativity—feel free to customize it with your favorite holiday flavors! Trust me, once you add this to your holiday repertoire, you’ll be making it year after year.
What It Tastes Like
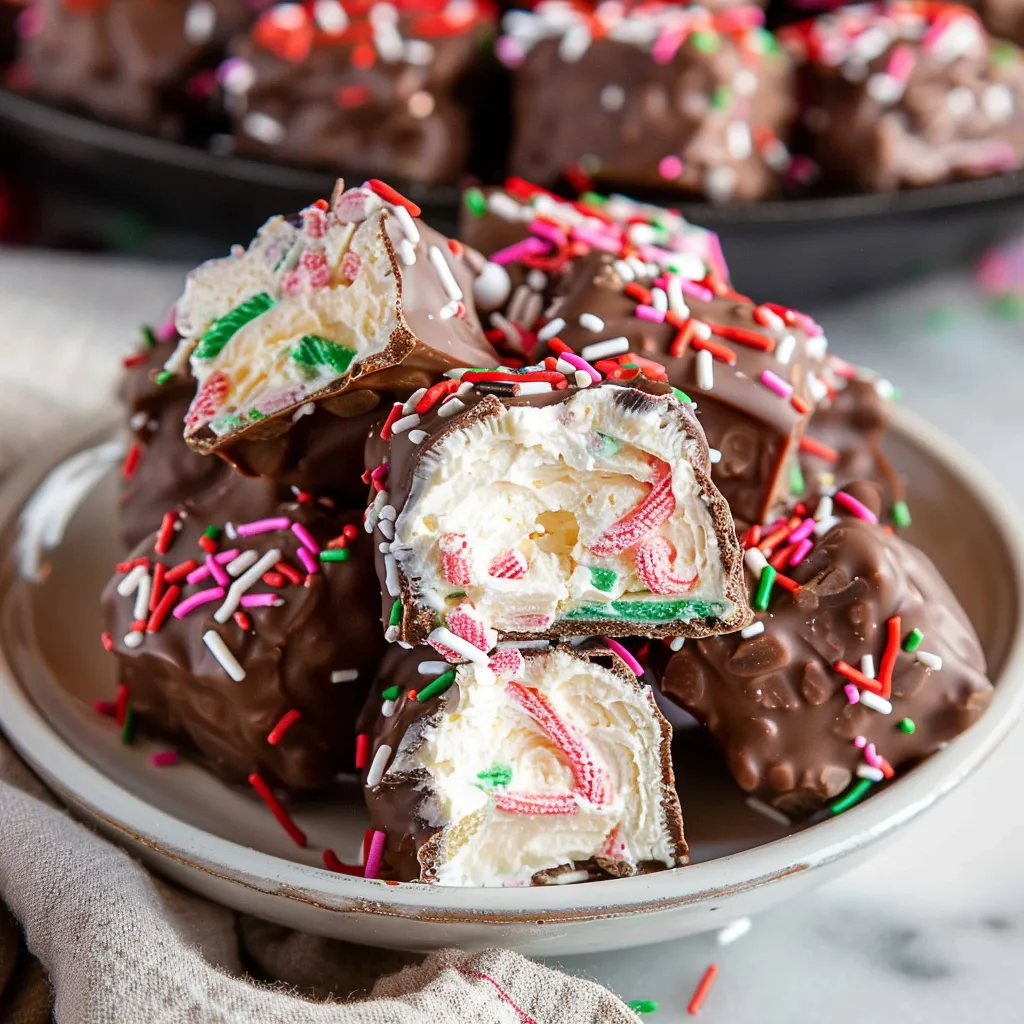
The beauty of Christmas Cool Whip Candy lies in its delightful combination of flavors and textures. Picture biting into a fluffy cloud of sweetness that melts in your mouth, bringing memories of childhood holidays flooding back. The lightness of the Cool Whip dances with the sweetness of powdered sugar and the crunch of your favorite mix-ins—whether that’s crushed candy canes or chopped nuts—each bite feels like a little sprinkle of magic. It’s like that first warm mug of cocoa after coming in from the cold: comforting, sweet, and utterly satisfying.
Ingredients You’ll Need
- 1 cup Cool Whip: The star of the show, bringing creaminess and fluffiness to our candy.
- 2 cups powdered sugar: Sweetens the mix and helps shape it into delightful bites.
- ½ cup peanut butter: Adds richness and a nutty flavor that perfectly balances the sweetness.
- ¾ cup mini chocolate chips or chopped nuts: For a bit of crunch and a burst of flavor!
- 1 teaspoon vanilla extract: Enhances the overall flavor profile with warmth.
- Pinch of salt: Just enough to make the sweetness pop!
Optional Additions: Get creative! Try adding crushed Oreo cookies for a chocolate twist or some dried fruit for a chewiness that pairs nicely with the creamy base.
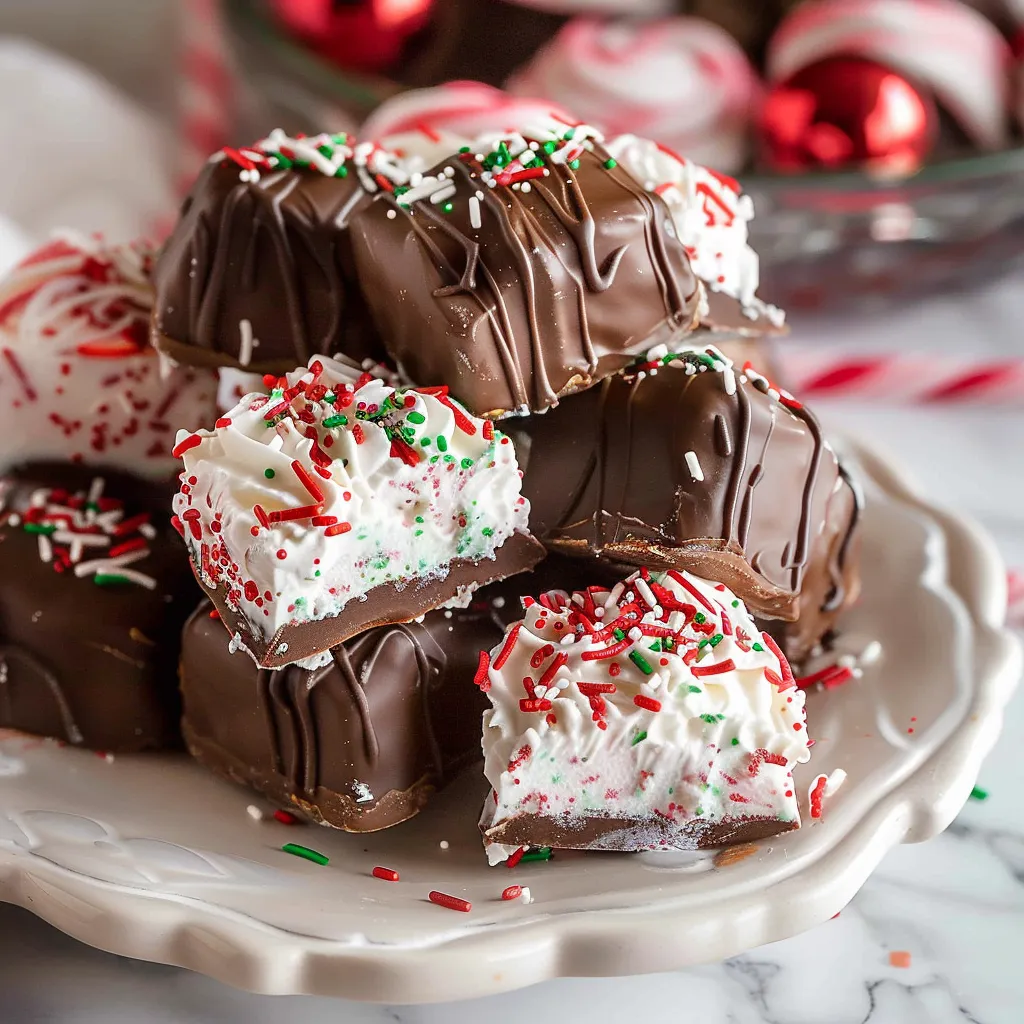
Special Garnishes: Dust with more powdered sugar or drizzle melted chocolate over the top for an inviting presentation.
Step-by-Step Instructions
Creating this Christmas Cool Whip Candy couldn’t be easier—let’s get mixing!
- Prepare your workspace: Make sure you have a large mixing bowl and a rubber spatula at hand. This is where the magic will happen!
- Mix the base: In your mixing bowl, combine the Cool Whip, peanut butter, and vanilla extract. Gently fold them together until well blended—don’t rush this part; you want that air to stay in!
- Add the sugar: Slowly add in the powdered sugar while mixing. You might want to start with a spoon or spatula before transitioning to folding to maintain that fluffy texture. If it gets too thick, feel free to use your hands—it’s a fun part!
- Fold in the extras: Once your mixture is smooth, add in the mini chocolate chips or nuts. This is where your candy gets that added texture. Gently mix until evenly distributed.
- Chill: Scoop the mixture onto a parchment-lined baking sheet in small, dollop-sized portions. Cover and refrigerate for at least 30 minutes. This step helps firm them up for better handling.
- Once set: When they’re ready, remove them from the fridge, and if you like, dust with powdered sugar or drizzle with melted chocolate before serving!
That’s it—pretty easy, right?
Recipe Variations
Ever thought about adding a twist? Here are a few ideas to consider:
- Mint Chocolate: Substitute for mint extract and add crushed peppermint candies for a refreshing flavor.
- Nut-Free Version: Simply omit the peanut butter and replace it with sunflower seed butter!
- Fruit Loops: For a fun, colorful take, toss in some crushed fruity cereal instead of chocolate chips.
You’ll want to make this again and again. It’s all about personalizing it to reflect your family’s tastes.
Serving & Storage Tips
To serve, these sweet bites look beautiful piled high on a festive platter. Whether you choose to present them individually wrapped in cellophane or a decorative box, they make for delightful gifts! As for storage, keep any leftovers in an airtight container in the fridge. They can last up to a week—if they last that long, that is! For a fun afternoon treat, try tossing some into a bowl of hot cocoa for an unexpected twist on dessert.
Helpful Tips
Here’s a little wisdom from my time in the kitchen: Don’t rush the chilling step! It truly makes all the difference in achieving that perfect bite. Also, a common mistake is adding too much powdered sugar too quickly. Start slow and gauge the mixture’s consistency. I remember burning the first batch because I thought, “More sugar equals more sweetness!”—learn from my mistake. Another tip? For the prettiest presentation, consider dusting with powdered sugar right before serving; it keeps them looking fresh and festive!
Special Equipment
- Large Mixing Bowl: Essential for combining everything without making a huge mess!
- Rubber Spatula: Perfect for folding ingredients together gently, keeping the texture light.
- Parchment Paper: It’s your best friend here—using this helps the candy not stick and makes cleanup a breeze.
FAQ Section
How should I store leftovers?
Keep any leftovers in an airtight container in the fridge for up to a week. They should stay nice and fresh!
Can I freeze this candy?
Absolutely! If you want to enjoy this treat later, just place it in an airtight container and freeze it. Let it thaw in the fridge before serving.
What’s the best way to customize this recipe?
Feel free to experiment with your favorite mix-ins! The possibilities are endless—try dried fruits, sprinkles, or different nuts. Make it your own!
Is this recipe gluten-free?
Yes, this recipe can be made gluten-free if you use gluten-free ingredients for any add-ins!
Conclusion
This Christmas Cool Whip Candy is more than just a sweet treat—it’s a reminder of warm moments spent in the kitchen during the holidays. I hope you get a chance to try it soon! Let the flavor and nostalgia wrap around you like a cozy blanket. If you make this, let me know how it turns out in the comments. Until next time, happy cooking, my friends!
Print
Delicious Christmas Cool Whip Candy Easy Festive Treat Recipe
Indulge in our Delicious Christmas Cool Whip Candy a simple and festive treat perfect for the holidays Try it today and delight your guests
- Total Time: 45 minutes
- Yield: 20 servings 1x
Ingredients
Instructions
Notes
An easy prep, no-bake candy that captures the warm, fuzzy feeling of the holidays.
- Prep Time: 15 minutes
- Category: Dessert
- Cuisine: American
Nutrition
- Serving Size: 20 servings
- Calories: 120
- Sugar: 15g
- Fat: 5g
- Carbohydrates: 18g
- Fiber: 1g
- Protein: 2g
Keywords: Christmas Cool Whip Candy, no-bake candy, holiday dessert, festive sweets