You know that feeling when you come home after a long day, the sun is setting but there’s still a hint of warmth in the air, and all you want is something sweet and comforting? That’s when I think of pecan tassies. These little pastry cups filled with a delightful pecan mixture are not just a treat; they are a heartwarming hug in dessert form. I remember the first time I took a bite of a pecan tassie at my aunt’s holiday gathering—her warm kitchen filled with laughter, the aroma of buttery pastries mingling with the rich sweetness of pecans. It was love at first bite! And ever since, these little treasures have held a special place in my heart—and my recipe box.
Why You’ll Love This Recipe
Why should you try making pecan tassies? Let me tell you: these charming bites are surprisingly easy to whip up, and they pack a flavor punch that’s sure to impress friends and family alike. They’re perfect for any occasion—whether it’s a cozy family gathering, a festive holiday spread, or just a simple weekend treat. Plus, there’s something incredibly satisfying about baking them from scratch, watching as they puff and turn golden in the oven. Trust me; you’ll want to keep this recipe handy for those times when you need a little sweetness in your life!
What It Tastes Like
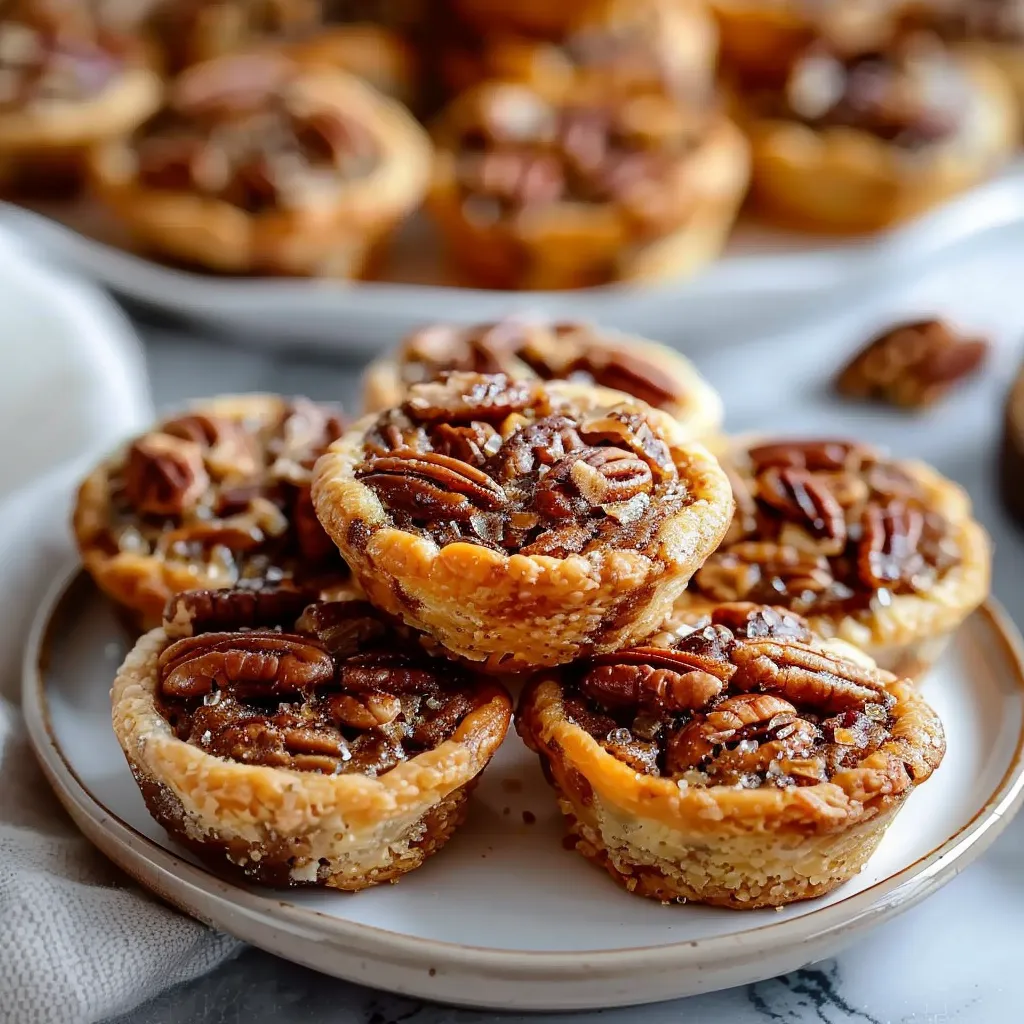
Picture this: biting into a pecan tassie and feeling that crisp yet tender pastry yielding to a gooey, sweet center filled with crunchy pecans. It’s like a mini pecan pie, but in bite-sized form! The richness of the buttery crust perfectly complements the nutty, caramel-like filling, creating a balance that’s simply irresistible. Each bite is a delightful mix of textures—the crunch of the pecans, the smoothness of the filling, and the lightness of the pastry. It’s undeniably satisfying—like curling up with your favorite book on a rainy day.
Ingredients You’ll Need
- 1 cup all-purpose flour: The base for our buttery crust.
- 1/2 cup unsalted butter, softened: Adds creaminess and richness to the crust.
- 2 tablespoons granulated sugar: Sweetens the pastry perfectly without overpowering.
- 1/4 teaspoon salt: Balances the sweetness and enhances the flavors.
- 1 cup pecans, chopped: The star of the show—provides crunch and nutty flavor.
- 2/3 cup brown sugar: Gives that deep caramel-like sweetness to the filling.
- 1/4 cup light corn syrup: Helps create that gooey, sticky texture.
- 1 large egg: Binds the filling together.
- 1 teaspoon vanilla extract: Adds a lovely depth of flavor.
Optional Additions:
- Add a sprinkle of cinnamon or nutmeg to the filling for a warm spice boost.
- Chopped chocolate or a dollop of cream cheese can add a rich twist.
Special Garnishes:
- A light dusting of powdered sugar right before serving makes for a lovely presentation.
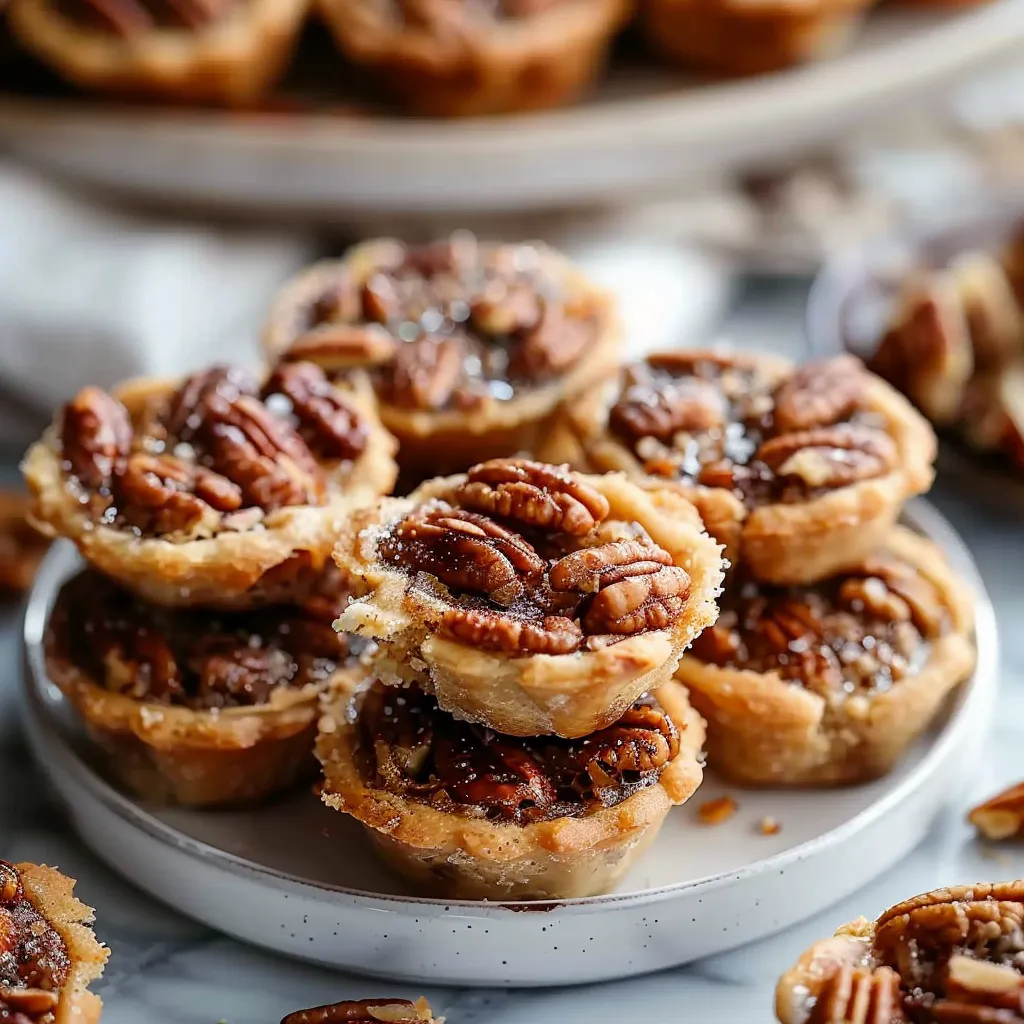
- A few whole pecans on top of the filling make them look extra special!
Step-by-Step Instructions
Ready to get started? Let’s dive into these delightful little pastries!
Make the crust: In a mixing bowl, cream together the softened butter and granulated sugar until it’s light and fluffy. Take your time here—this step makes for a tender crust! Add in the flour and salt, mixing until just combined. You’re looking for a nice dough that holds together. Wrap it in plastic wrap and chill in the fridge for about 30 minutes—this helps prevent the crust from shrinking while baking.
Prepare the filling: While your dough is chilling, let’s whip up that scrumptious filling. In another bowl, whisk together the brown sugar, corn syrup, egg, and vanilla extract until smooth. Fold in the chopped pecans. Trust me, the moment you mix in those nuts, the anticipation starts building!
Assemble: Preheat your oven to 350°F (175°C). Once the dough is ready, grease a mini muffin tin (trust me—don’t skip this part!). Take small amounts of dough and press them into the muffin cups to form little cups, coming up the sides but leaving the center open for the filling.
Fill them up: Spoon the pecan filling into each of the pastry cups, filling them about 2/3 full. Don’t overfill—the filling will rise as it bakes!
Bake: Pop your mini muffin tin into the preheated oven and bake for about 20-25 minutes until the filling is set and the edges of the crust are golden brown. When the timer goes off, your kitchen will smell heavenly! Just try not to eat them all at once…
Cool and enjoy: Let them cool in the pan for a few minutes before transferring them to a wire rack. They’ll be delicious warm, but I love them at room temperature too.
Recipe Variations
If you’re looking for ways to switch things up, consider these variations! Swap out half of the pecans for walnuts for a different nutty flavor, or mix in some shredded coconut for an unexpected tropical twist. For those who prefer a gluten-free option, a 1:1 gluten-free flour blend can work wonders here! Want to make them even more special? A drizzle of chocolate ganache over the tops can elevate them to a whole new level!
Serving & Storage Tips
Serving these pecan tassies is a breeze! Arrange them on a pretty plate—perhaps with some fresh berries or a dollop of whipped cream for a touch of elegance. Trust me; they’re adorable and will wow your guests at any gathering. For storage, keep any leftovers in an airtight container at room temperature for up to three days. If you want to keep them longer, you can freeze them—just thaw and enjoy whenever the craving strikes again!
Helpful Tips
Now, let me share a few insider tips! First off, don’t overbake these beauties; they should be just set in the middle when you take them out. I remember burning the first batch because I got distracted chatting with a friend—oops! Also, if your filling overflows a bit, no worries. Just let it cool for a minute before removing them from the tin.
Special Equipment
- Mini muffin tin: The star of the show! These little tins shape our tassies perfectly.
- Mixing bowls: For all your mixing needs—definitely a must-have!
- Silicone spatula: Great for mixing and scraping—you want to get every last bit of that filling in there!
- Wire rack: To cool your tassies evenly after baking.
Frequently Asked Questions
Can I make the dough ahead of time?
Absolutely! You can prepare the dough a day in advance. Just wrap it tightly and store it in the fridge, then let it soften a bit before trying to press it into the muffin tin.
What can I use instead of corn syrup?
If you prefer to avoid corn syrup, you can try using maple syrup or honey as a substitute. Just keep in mind that they may alter the flavor slightly!
Can I use whole pecans instead of chopped?
Sure! Just note that using whole pecans will result in a slightly different texture, but they’ll still taste fantastic. They’re especially pretty as a garnish!
How do I know when the tassies are done?
They’ll be done when the filling has set in the center and the edges of the crust are golden brown. If in doubt, a toothpick inserted should come out more or less clean.
Conclusion
So there you have it—Pecan Tassies, a tiny treat to warm your heart and brighten your day! They’re easy to make, deliciously comforting, and perfect for any occasion. I encourage you to give this recipe a try; it just might become a new favorite in your home. And if you do make them, I’d love to hear about your experience. Did you add a twist? How did they turn out? Leave a comment below and let’s chat. Until next time, happy baking—and remember, good food is all about the joy it brings, both in the making and the sharing!
Print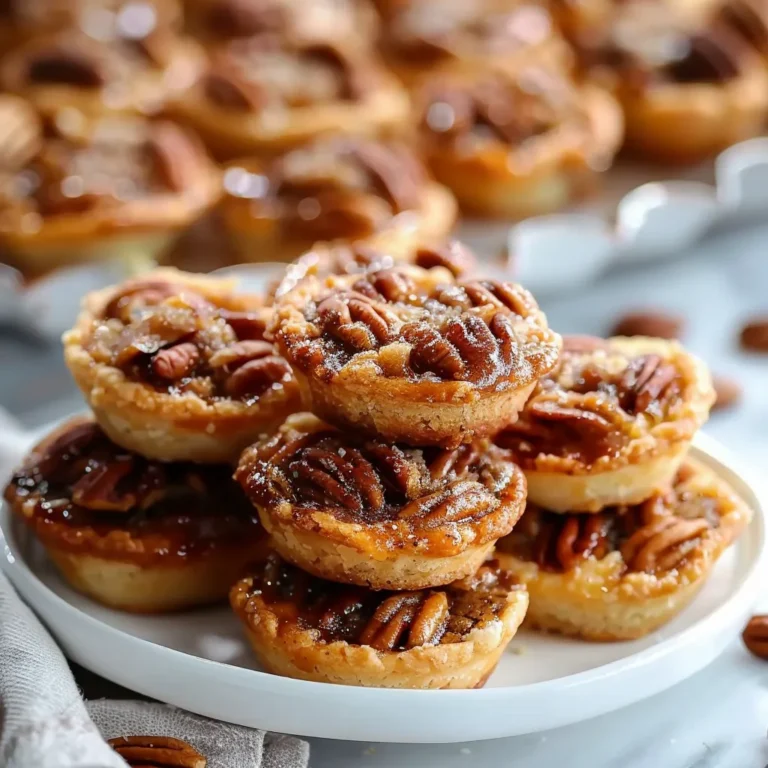
Divine Pecan Tassies Easy Mini Pies Bursting with Flavor
Discover delicious Pecan Tassieseasy mini pies loaded with nutty flavor and a buttery crust Perfect for weeknights Try it today
- Total Time: 55 minutes
- Yield: 24 servings 1x
Ingredients
Instructions
Notes
Pecan tassies are delightful pastry cups filled with a gooey, sweet pecan mixture that are easy to make and perfect for any occasion.
- Prep Time: 30 minutes
- Cook Time: 25 minutes
- Category: Dessert
- Cuisine: American
Nutrition
- Serving Size: 24 servings
- Calories: 200
- Sugar: 12g
- Fat: 10g
- Carbohydrates: 28g
- Fiber: 1g
- Protein: 2g
Keywords: pecan tassies, dessert, sweet treat, holiday baking