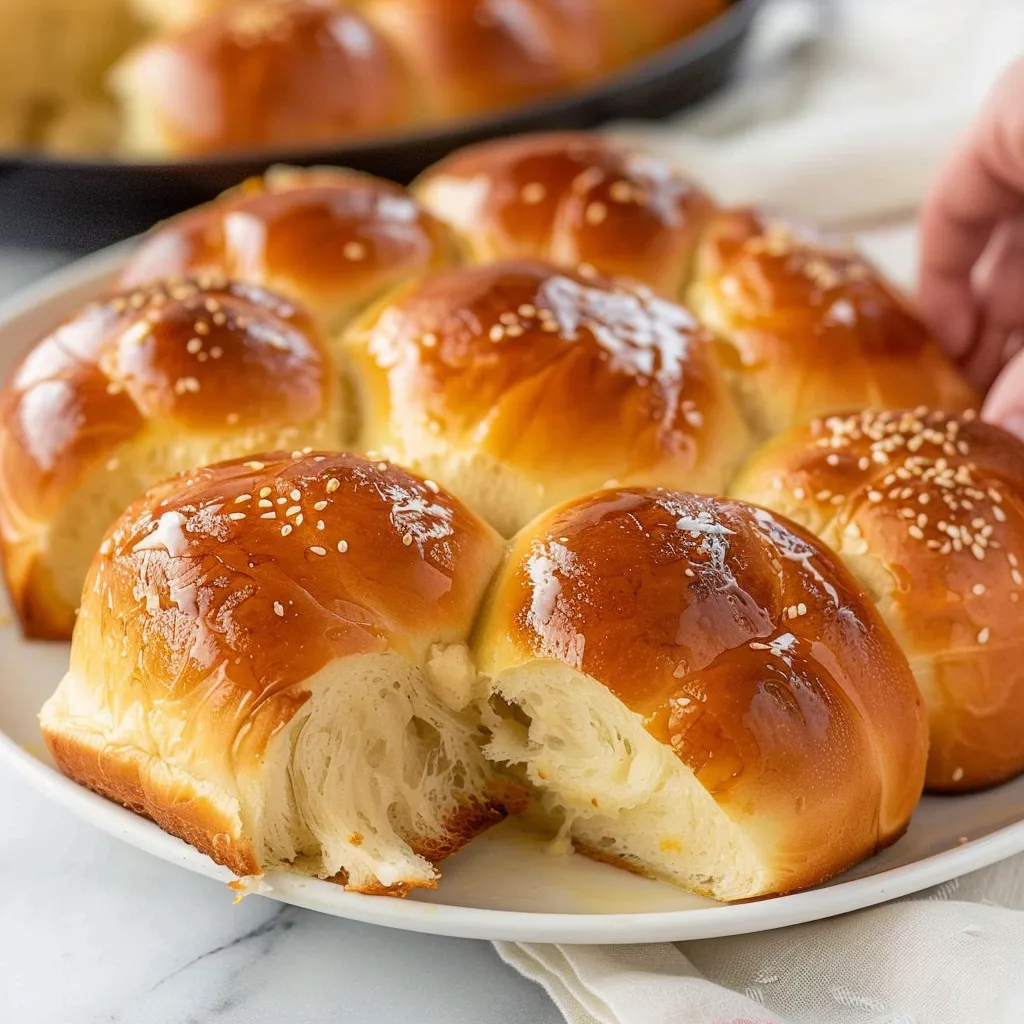
There’s something magical about stepping into a warm kitchen, where the air is thick with the comforting aroma of freshly baked bread. I remember the first time I tasted fluffy Japanese dinner rolls at a quaint little bakery—each bite felt like a soft, cloud-like hug. They had this unbelievably tender, pillowy texture that was incredibly addictive! Since then, I’ve made it my mission to recreate that blissful experience at home. Trust me, when you pull a batch of these rolls out of the oven, you’ll understand why they’re beloved worldwide — they’re a sumptuous treat for any occasion!
Why You’ll Love This Recipe
Honestly, if you’re looking for a recipe that combines simplicity with pure comfort, these Japanese dinner rolls are it! They’re a total crowd-pleaser, whether you’re serving them at a festive dinner, a family brunch, or just on a cozy night in. They’re easy to make, require simple pantry ingredients, and come out so deliciously fluffy you’ll feel like a pro in no time. Plus, who doesn’t love warm bread? These little beauties practically melt in your mouth, making them the perfect accompaniment for any meal or even on their own with a pat of butter.
What It Tastes Like
You know that feeling when you take a first warm bite after a long day? That’s what these rolls offer! With their sweet and buttery flavor, they remind me of lazy Sunday mornings at home, lingering at the breakfast table. The texture is soft yet slightly chewy, with a light golden crust that comes together perfectly with the fluffy interior. Each bite is a bite of comfort, evoking warm memories and making you want to go back for just one more roll… and then maybe a few more after that.
Ingredients You’ll Need
- 4 cups bread flour: This flour gives the rolls their structure and chewiness.
- 1/4 cup granulated sugar: Adds a touch of sweetness that perfectly balances the flavors.
- 2 teaspoons instant yeast: The magic agent that helps the dough rise beautifully.
- 1 teaspoon salt: Enhances the overall flavor of the rolls.
- 1 cup whole milk, warmed: Provides moisture and richness, resulting in softer rolls.
- 1/4 cup unsalted butter, melted: Adds that irresistible buttery flavor and helps achieve a tender crumb.
- 1 large egg: Contributes to the richness and color of the dough.
Now, here’s where it gets fun:
- Optional Additions: Ever tried adding a sprinkle of garlic powder or herbs for a savory twist? Or how about some shredded cheese for a cheesy goodness?
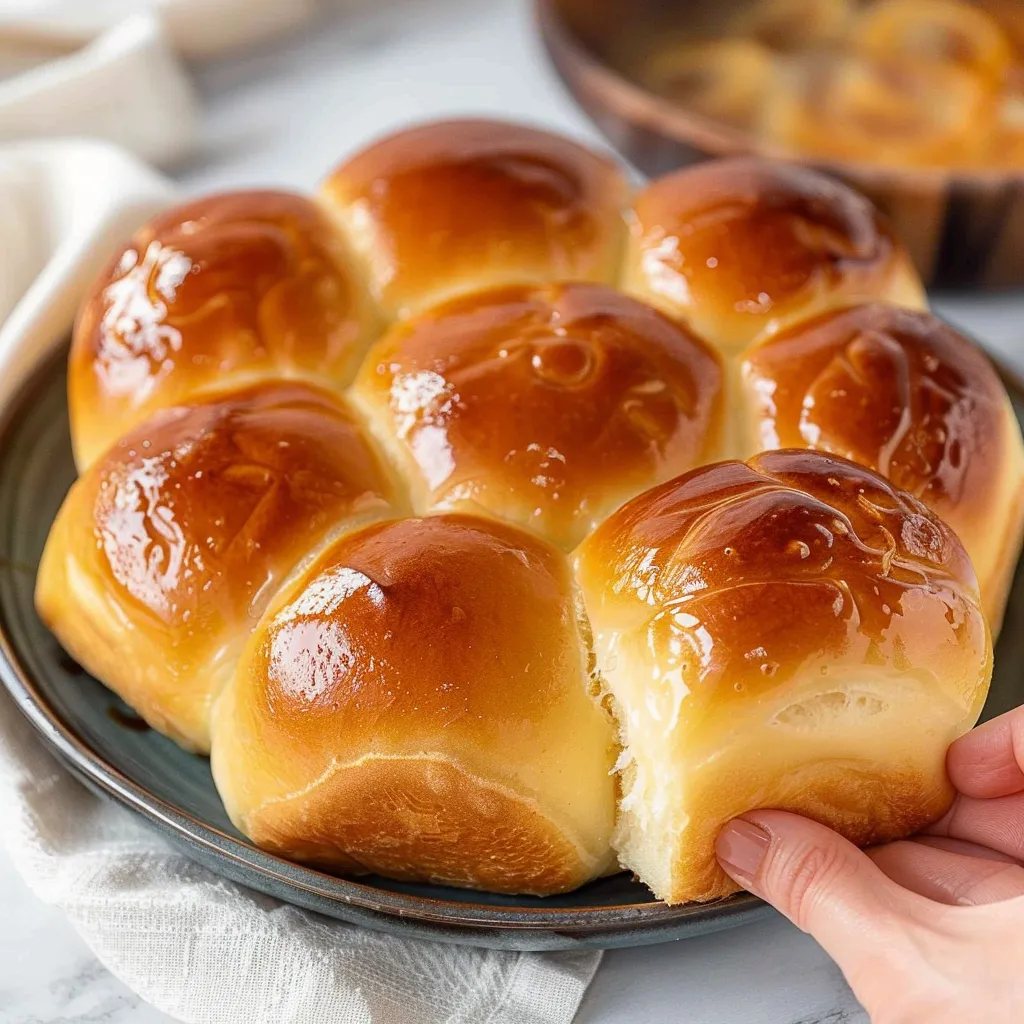
- Special Garnishes: Brushing the rolls with melted butter right when they come out of the oven gives them a beautiful shine and extra flavor!
Step-by-Step Instructions
Ready to create some magic? Let’s dive into it!
- In a large mixing bowl, whisk together the flour, sugar, salt, and instant yeast. Pro tip: make sure your ingredients are at room temperature for a better rise!
- In a separate bowl, mix the warmed milk, melted butter, and egg until well combined. Make sure the milk isn’t too hot; you want it warm, not boiling—this could kill the yeast.
- Pour the wet ingredients into the dry ingredients and mix until a shaggy dough forms. It’s okay if it’s a little sticky; that’s where the fluffiness comes from!
- Knead the dough on a lightly floured surface for about 8-10 minutes until smooth and elastic. The dough should spring back when you poke it. Trust me on this one—it’s where the magic happens!
- Place the dough in a lightly greased bowl, cover it with a damp kitchen towel, and let it rise in a warm area for about 1 hour or until doubled in size.
- Once it’s risen, punch the dough down gently to remove air bubbles. Divide it into 12 equal pieces and shape them into balls. Place the balls in a greased 9×13-inch baking pan.
- Cover the rolls again and let them rise for another 30–45 minutes, or until puffy. Preheat your oven to 350°F (175°C) during the last 10 minutes of this rise.
- Bake the rolls for 20-25 minutes, or until they are golden brown and sound hollow when tapped. Brush with melted butter before serving for that extra shine!

Recipe Variations
These rolls are a delightful base for creativity! If you’re feeling adventurous, try adding different flavors. Here are a few quick ideas:
- Add herbs like rosemary or thyme to the dough for a savory twist.
- Swap out some of the all-purpose flour for whole wheat flour for a nuttier flavor.
- For a sweeter roll, fold in chocolate chips or dried fruits like cranberries.
Serving & Storage Tips
These rolls are best served fresh and warm, but if you have leftovers, don’t worry! Store them in an airtight container at room temperature for up to 2 days. For longer storage, you can freeze them—simply wrap them tightly in plastic wrap and then in aluminum foil. To reheat, pop them in a 350°F (175°C) oven for about 10-15 minutes, or microwave for a few seconds until warmed through.
Helpful Tips
Now, I’ll share some tricks I’ve learned along the way—especially after my fair share of kitchen mishaps! One major mistake I used to make was overbaking my rolls; set a timer and check a few minutes early. And don’t skip the second rise! It may feel tempting, but that step is crucial for achieving that fluffy texture everyone loves. You’ll want to make this again and again!
Special Equipment
While you can definitely bake these rolls with standard kitchen tools, here are a few that might make your life easier:
- Mixing bowls: A set of different sizes helps when combining wet and dry ingredients.
- Bench scraper: This nifty tool is fantastic for kneading and dividing the dough without making a mess.
- Kitchen thermometer: Useful for ensuring your milk is at the perfect temperature for activating the yeast!
Frequently Asked Questions
Can I use all-purpose flour instead of bread flour?
Absolutely! Bread flour gives you that chewy texture, but all-purpose flour will work just fine if that’s what you have on hand.
Can I make the dough ahead of time?
You can! Prepare the dough, let it rise, and then refrigerate it overnight. Shape them the next day, let them rise again, and bake!
Why did my rolls not rise properly?
There’s a chance your yeast was inactive or the milk was too hot. Always check the expiration date on the yeast and keep the milk warm, not hot!
How can I make these rolls dairy-free?
You can easily substitute almond milk or another dairy-free milk and use a plant-based butter. They will still turn out delicious!
Conclusion
So there you have it—fluffy Japanese dinner rolls that are bound to be a favorite in your household! They bring like nothing else—a sense of warmth, comfort, and joy. I can already picture you pulling them from the oven, and I can’t wait for you to try this recipe. Give it a go, and please share your experience in the comments! Remember, the best moments in life often start with warm, freshly baked rolls.
Print
“Deliciously Soft Fluffy Japanese Dinner Rolls Recipe at Home”
Experience the joy of homemade Fluffy Japanese Dinner Rolls with this simple recipe. Soft, airy, and perfect for any meal. Try it today!
- Total Time: 1 hour 10 minutes
- Yield: 12 rolls 1x
Ingredients
Instructions
Notes
These fluffy Japanese dinner rolls are a total crowd-pleaser, combining simplicity with pure comfort. Warm, buttery, and pillowy soft, they make any meal special.
- Prep Time: 45 minutes
- Cook Time: 25 minutes
- Category: Bread
- Cuisine: Japanese
Nutrition
- Serving Size: 12 rolls
- Calories: 150
- Sugar: 2g
- Fat: 5g
- Carbohydrates: 25g
- Fiber: 1g
- Protein: 3g
Keywords: Japanese dinner rolls, fluffy rolls, bread recipe, soft bread, baking, comfort food