
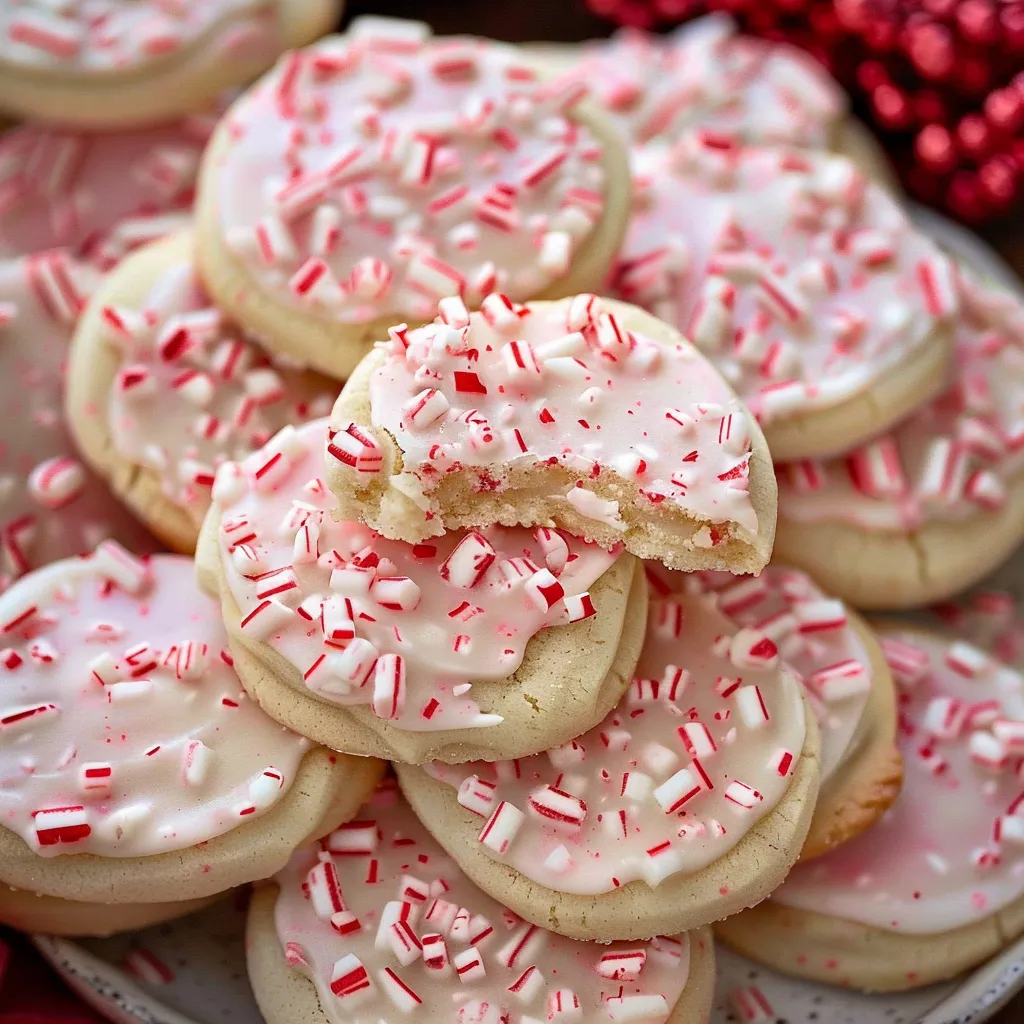
There’s something magical about the holidays that calls for cozy kitchens filled with the comforting aromas of baking. I often think back to one particular winter evening when my best friend and I decided to host a little gathering. Picture this: twinkling lights, warm wool blankets, and a kitchen that smelled of vanilla and peppermint. Out of all the delicious treats we whipped up that night, it was the peppermint meltaway cookies that stole the show. The way they melted in your mouth, leaving behind a refreshing burst of mint—I still dream about that moment. These cookies are an easy, delightful addition to any seasonal celebration and a true reflection of love and comfort that only homemade treats can provide.
Why You’ll Love This Recipe
Honestly, who doesn’t crave a cookie that’s not only delicious but incredibly easy to make? These peppermint meltaway cookies are just that! They come together quickly, allowing you to focus on what really matters—enjoying the time with your loved ones. Plus, they’re a crowd-pleaser; even folks who claim they’re not into mint typically come back for seconds. If you’ve got little ones, they’ll have a blast helping you roll and dust these beauties in powdered sugar, making it a fun activity you can all enjoy together. They make perfect gifts too, whether you’re filling a tin for neighbors or preparing for a potluck. Trust me on this one—once you try them, you’ll want to keep this recipe close to your heart.
What It Tastes Like
Imagine biting into a soft, buttery cookie that practically dissolves in your mouth, instantly paired with a cool, refreshing hint of peppermint. It’s like the first warm bite after a long day, bringing that sweet sense of nostalgia you didn’t know you needed. The balance between rich and refreshing is heavenly—the creamy buttery notes hug the bright mint, making each bite a little celebration. One moment, it’s rich; the next, it’s refreshingly light. And the finishing touch of powdered sugar? Well, that’s just like music to your sweet tooth, lightening it all up with a sweet dusting. I can still remember the smiles that blanketed my friends as they experienced that first bite!
Ingredients You’ll Need
- 1 cup unsalted butter, softened: Adds a creamy touch that forms the base of the cookie, making it melt-in-your-mouth delicious.
- ½ cup powdered sugar: Sweetens the dough and gives the cookies a light texture.
- 1 teaspoon pure vanilla extract: Brings warmth and depth to the flavors, balancing the peppermint.
- 2 cups all-purpose flour: The backbone of any cookie, providing structure and that delightful balance.
- ½ cup cornstarch: This magic ingredient helps the cookies melt in your mouth, creating that signature meltaway texture.
- 1 teaspoon peppermint extract: The star of the show—adding that burst of fresh mint flavor.
- ½ teaspoon salt: Enhances all the flavors and rounds them out beautifully.
- More powdered sugar for dusting: Because who can resist that snowy finish?
- Optional Additions: You can add mini chocolate chips, chopped nuts, or a drizzle of chocolate on top if you want to mix things up a bit.
- Special Garnishes: Consider adding crushed peppermint candies for a festive crunch or a sprinkle of edible glitter for that extra sparkle!
Step-by-Step Instructions
Now let’s get into the kitchen and make magic! Here’s how to whip up these delightful cookies:
- Preheat your oven: Start by preheating your oven to 350°F (175°C). I promise, it makes all the difference.
- Cream the butter: In a large mixing bowl, grab your softened butter and beat it with powdered sugar until it’s nice and fluffy (about 2-3 minutes). Trust me on this one—this is where the magic happens.
- Mix in the extracts: Add in the vanilla extract and peppermint extract. It should smell heavenly by now!
- Combine your dry ingredients: In another bowl, whisk together flour, cornstarch, and salt. Slowly add this mixture to your wet ingredients, combining until it forms a soft dough.
- Shape the cookies: Using a tablespoon, scoop out the dough and roll them into little balls. Place them on an ungreased baking sheet, spacing them about two inches apart.
- Bake: Pop your cookie sheet in the oven and bake for 10-12 minutes. Keep an eye on them; they’re ready when the edges are slightly golden but the centers are still soft.
- Power up the dusting: Once baked, let them cool for a few minutes before rolling them in powdered sugar. The warmer they are, the better it sticks!
- Cool completely: Allow them to cool on a wire rack—if you can resist the urge to eat one right away!
That’s it—pretty easy, right? Enjoy the minty aroma that fills your home; it’s pure bliss!
Recipe Variations
If you want to switch things up, consider these fun variations:
- Chocolate Variants: Add cocoa powder to your dough for a chocolate-mint twist. Or drizzle melted dark chocolate over the tops for a sweet finish.
- Revamp the Extracts: Experiment with different extracts, like almond or orange for a festive twist!
- Nutty Crunch: Fold in chopped nuts for a delightful texture or replace half the flour with ground almonds for a nutty flavor.
Serving & Storage Tips
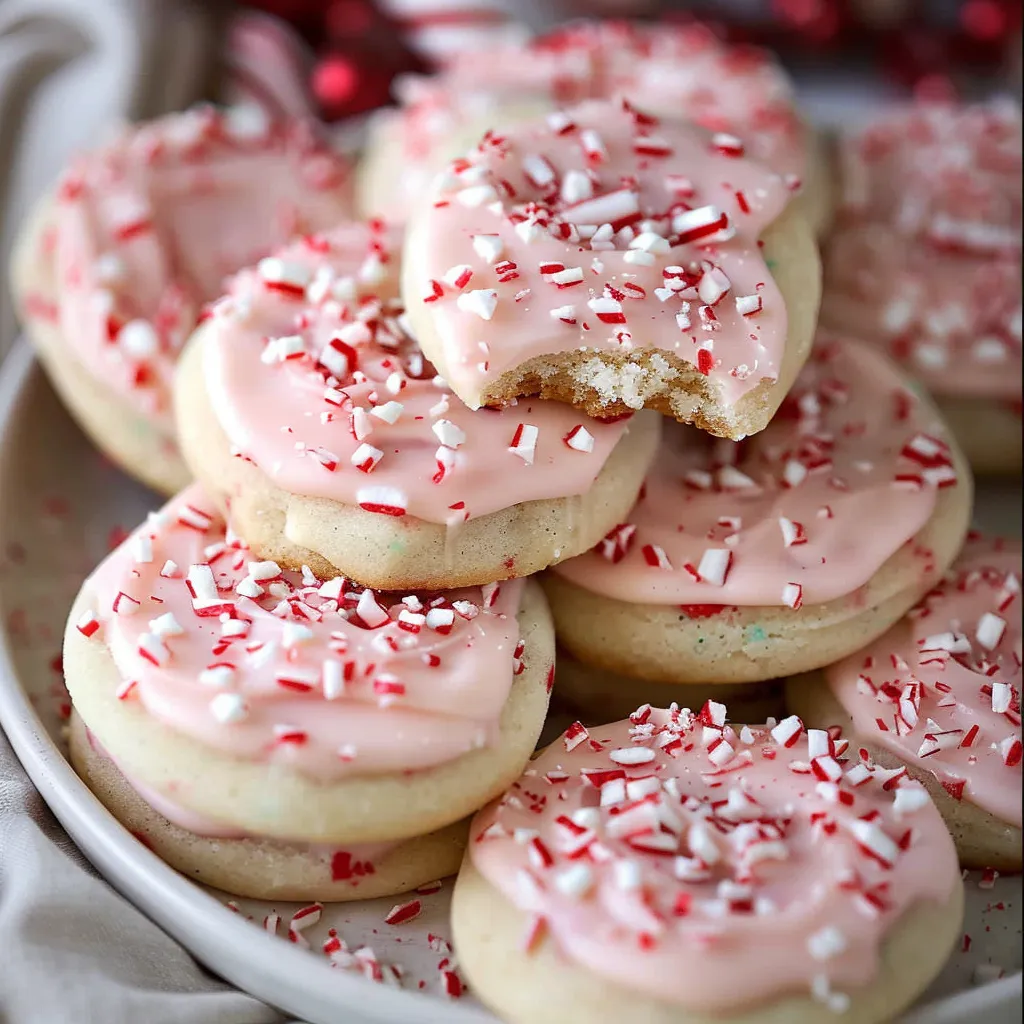
When it comes to serving, these cookies shine the most on a festive platter—dust them with extra powdered sugar and maybe even add some whole peppermint candies for flair. They’re perfect with a cup of hot cocoa or a warm cup of tea!
As for storing, keep them in an airtight container at room temperature for up to a week. If you want to make them ahead of time, you can freeze the dough or the cookies after baking. To reheat, simply pop them back in a 300°F (150°C) oven for a few minutes—just until they’re warmed through. They freeze beautifully, so you can indulge in a sweet moment anytime.
Helpful Tips
Let me share a few insights from my own baking journey:
- I remember burning the first batch when I got all excited and left them in too long—don’t skip the timer!
- If your dough feels too sticky, add a bit more flour until it’s workable. But go easy; you don’t want them too dry!
- Sometimes, cooling the baked cookies on parchment paper helps since they’ll dry and firm up a bit.
Special Equipment
- Mixing Bowls: Invest in a good set of mixing bowls—they make getting everything together a breeze.
- Cookie Sheets: A good cookie sheet is crucial; I love using insulated ones for an even bake.
- Wire Rack: Essential for cooling; it allows air circulation around the cookies and keeps them from getting soggy.
Can I use salted butter instead of unsalted?
Sure thing! Just skip adding extra salt in the recipe if you do so. It’ll still taste fabulous!
Can I substitute the peppermint extract?
If mint isn’t your thing, feel free to replace it with almond or vanilla extract for a different flavor profile.
How do I know when the cookies are done baking?
You’re looking for a slight golden edge with soft centers. They’ll firm up as they cool, so don’t worry if they seem a bit underbaked!
Can these cookies be frozen?
Yes! They freeze wonderfully, whether baked or unbaked. Just make sure they’re wrapped tightly to avoid freezer burn.
Conclusion
There you have it—these peppermint meltaway cookies are not just a recipe; they’re an experience, bound to create warm memories filled with love and laughter. With their melt-in-your-mouth goodness and a lovely refreshing taste, they’re perfect for any gathering or just when you crave a little sweetness. I can’t wait for you to try them and feel that same warmth I did the first time I made them. If you give these a go, let me know how they turned out in the comments! Happy baking—and here’s to new memories made in the kitchen!
Print
Delightful Peppermint Meltaway Cookies Easy Holiday Treats
Indulge in these delightful peppermint meltaway cookies a simple holiday treat bursting with flavor Perfect for weeknights or festive gatherings Try it today
- Total Time: 27 minutes
- Yield: 24 cookies 1x
Ingredients
Instructions
Notes
These peppermint meltaway cookies are a delightful treat perfect for the holidays, combining buttery richness with refreshing mint.
- Prep Time: 15 minutes
- Cook Time: 12 minutes
- Category: Dessert
- Cuisine: American
Nutrition
- Serving Size: 24 cookies
- Calories: 100 calories
- Sugar: 4g
- Fat: 6g
- Carbohydrates: 12g
- Fiber: 0g
- Protein: 1g
Keywords: peppermint meltaway cookies, holiday cookies, easy cookie recipe, mint cookies, dessert recipe