There’s something magical about cookies that bring joy to both the baker and the lucky ones who get to enjoy them. As the crisp air settles around us, I can’t help but reminisce about cozy evenings spent in my grandmother’s warm kitchen, her laughter mixing with the sweet scent of sugar and chocolate wafting through the air. Among her many treats, the one that always made my heart flutter was her red velvet cake, rich and velvety with vibrant color, a true celebration of flavor and fun.
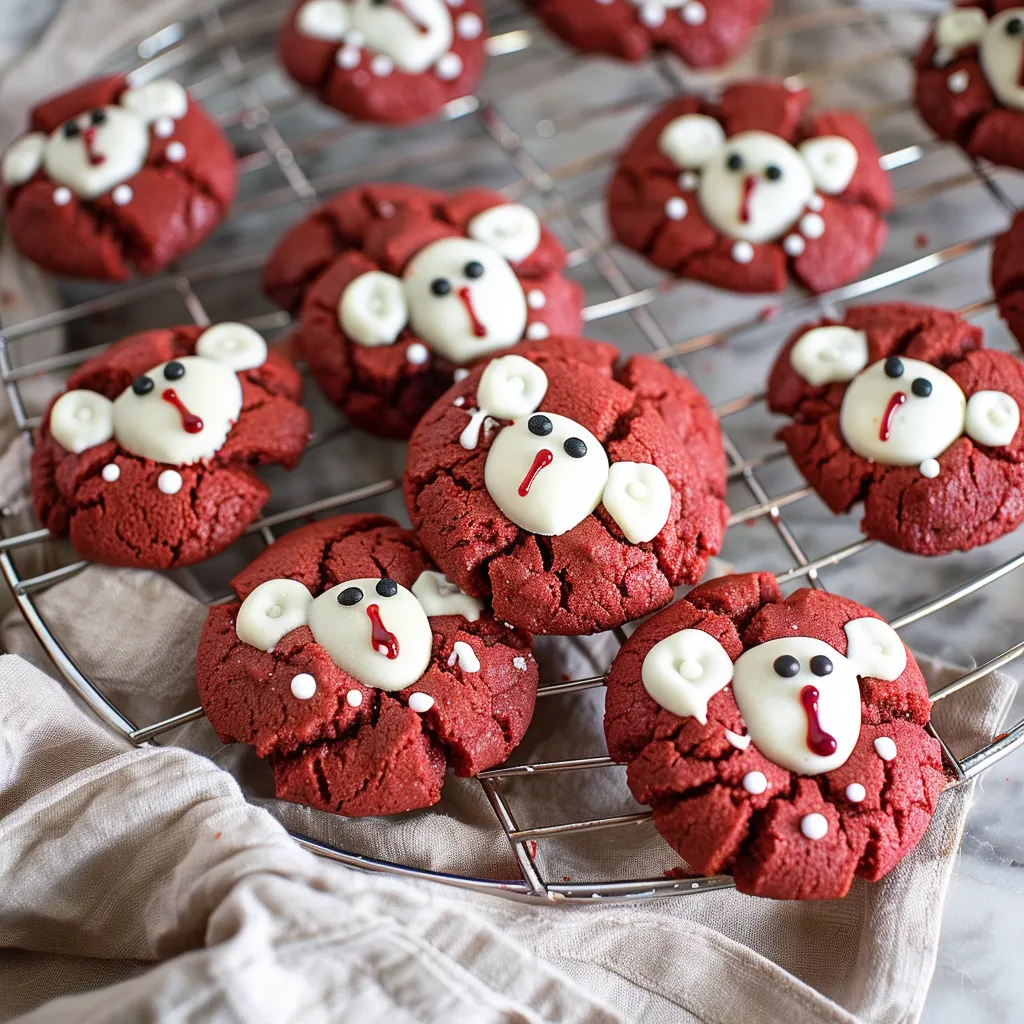
Fast forward to today, and I’ve taken that fond memory and transformed it into a delightful treat that brings a smile to everyone’s face—Red Velvet Bear Cookies! These adorable little bears aren’t just a feast for the eyes; they’re deliciously soft and cake-like, perfect for a fun party or a cozy night in. What’s more? They’re surprisingly easy to whip up. So, keep your measuring cups handy; let’s get baking!
Why You’ll Love This Recipe
Honestly, these ain’t your average sugar cookies. With their vibrant red hue and delicate flavor profile, these Red Velvet Bear Cookies are a whimsical spin that’s perfect for birthdays, Valentine’s Day, or just to brighten up an everyday afternoon. They’re quick to make and surprisingly crowd-pleasing—everyone seems to have a soft spot for their bear shapes! Kids and adults alike can’t resist the charm and sweetness of these little guys.
If you ask me, the best part is how simple they are to make. With accessible ingredients, they come together fast, and the dough can be prepped ahead—making them perfect for spontaneous baking adventures. So roll up those sleeves because you’re going to want to share this recipe with friends and family!
What It Tastes Like
Imagine biting into a cookie that’s soft, almost plush in texture—like a freshly baked cake in cookie form, with a hint of cocoa and subtle tanginess that dances on your taste buds. The cream cheese frosting adds a luscious, creamy touch that perfectly complements the tender cookie. It’s like having a delightful little bear hug after a long day, providing that sense of warmth and nostalgia that only comfort food can offer.
Ingredients You’ll Need
- 2 ½ cups all-purpose flour: The foundational element that gives these cookies their body.
- 1 cup granulated sugar: Sweetens the deal, making every bite delightful.
- ½ cup unsweetened cocoa powder: Adds rich chocolate undertones that deepen the flavor.
- 1 tsp baking soda: Helps the cookies rise and become airy.
- ½ tsp salt: Balances the sweetness and enhances the flavors.
- 1 cup vegetable oil: Keeps the cookies moist and tender; butter can be used too, but oil creates a different texture.
- 1 large egg: Binds everything together, giving structure to the cookie.
- 1 tbsp red food coloring: The star of the show, giving that vibrant color.
- 1 tsp vanilla extract: Adds a warm depth of flavor.
Optional Additions: Feel free to throw in white chocolate chips or chopped nuts for an added twist!
Special Garnishes: Drizzle some cream cheese frosting over the cooled cookies or sprinkle with festive sprinkles for that extra pop.

Step-by-Step Instructions
Let’s roll up our sleeves and dive into this baking adventure with some straightforward steps!
- Preheat the oven to 350°F (175°C) and line two baking sheets with parchment paper.
- In a large bowl, combine the flour, cocoa powder, baking soda, and salt — whisk together until blended. This step is crucial; don’t skip it—it’s where the magic happens!
- In another bowl, mix the sugar and oil until well combined. Next, add the egg, red food coloring, and vanilla extract, stirring until everything is smooth.
- Gradually add the dry ingredients to the wet mixture, stirring until a soft dough forms. If the dough feels too sticky, allow it to chill in the fridge for about 30 minutes—it helps shape those adorable bear cookies better!
- Using a small cookie scoop, portion the dough onto the prepared baking sheets, leaving space between each one to give them room to spread.
- Bake for 8-10 minutes, ensuring you don’t overbake—these cookies should be soft. Once out of the oven, let them cool completely on the baking sheet.
- Frost with cream cheese frosting once they have cooled down, and if you’re feeling fancy, decorate them with sprinkles!
And that’s it—pretty easy, right? You’ll want to make this again and again.
Recipe Variations
Feeling a little adventurous? Here are a few fun twists you could try. Swap out the food coloring for other shades; how about pastel blue or green for a springtime treat? You could also make a double layer cookie by adding a layer of cream cheese frosting between two cookies for the ultimate indulgence!
If you need a gluten-free option, just replace all-purpose flour with a gluten-free blend. The cookies may have a slightly different texture, but they’ll still be delicious.
Serving & Storage Tips
To serve beautifully, plate these cookies on a vibrant platter and add a drizzle of frosting on top or a few sprinkles—perfect for any occasion. When it comes to storing leftovers (if there are any!), keep them in an airtight container at room temperature for up to a week. To keep them extra soft, slip a slice of bread in with them; it keeps the cookies moist!
If you find yourself with extras, don’t hesitate to freeze the unbaked dough! Just scoop it onto a baking sheet and freeze until solid, then transfer to a bag. Next time you’re in the mood for a fresh cookie, just pop those frozen balls of dough straight into the oven — no thawing needed!

Helpful Tips
Here’s the funny part: I used to overbake mine until I learned a very important trick—underbake just a smidge! They’ll continue to set while cooling, and this way, you’ll have that perfect softness. Also, make sure you’re using the right measuring technique. Spoon your flour into the measuring cup and level it off rather than scooping straight from the bag. This will prevent your cookies from being too dense. Trust me on this one!
Special Equipment
- Mixing bowls: A set of various sizes makes it easy to separate dry from wet ingredients.
- Cookie scoop: Perfect for portioning out uniform cookie dough, ensuring even baking.
- Parchment paper: Keeps cookies from sticking to the baking sheet and ensures easy cleanup.
Frequently Asked Questions
Can I use butter instead of vegetable oil?
Yes, you can! Just keep in mind that using butter will yield a slightly different texture, making the cookies denser and richer.
Can I make these cookies ahead of time?
Absolutely! You can prepare the dough in advance, refrigerate it for up to three days, or freeze it for a later date!
How do I know when the cookies are done?
Look for set edges and a slightly soft center. They should look a bit underbaked; they’ll continue to firm as they cool on the baking sheet.
What can I use instead of cream cheese frosting?
If you’re not a fan of cream cheese frosting, a simple buttercream or even a glaze made from powdered sugar and milk works wonderfully too!
Can I turn them into sandwich cookies?
Yes, absolutely! Just spread a layer of frosting between two cookies for a delicious treat, perfect for sharing!
Conclusion
There you have it—Red Velvet Bear Cookies that are sure to warm your heart and fill your home with sweet, comforting aromas. They come with a sprinkle of nostalgia and a hint of whimsy, making them the perfect addition to any gathering or quiet night in. I can’t wait for you to try them! Remember, these cookies are not just treats; they’re little hugs from your oven. So go ahead, bake a batch, and share them with your loved ones! I’d love to hear how yours turn out, so please share your experiences in the comments below. Happy baking!
Print
Decadent Red Velvet Bear Cookies for a Sweet Treat Enjoyment
Satisfy your sweet tooth with these Red Velvet Bear Cookies Soft chewy and perfect for special occasions Try it today for a delightful dessert
- Total Time: 30 minutes
- Yield: 24 cookies 1x
Ingredients
Instructions
Notes
Red Velvet Bear Cookies that are soft, cake-like, and perfect for any occasion! A whimsical treat that brings nostalgia and joy.
- Prep Time: 20 minutes
- Cook Time: 10 minutes
- Category: Dessert
- Cuisine: American
Nutrition
- Serving Size: 24 cookies
- Calories: 150
- Sugar: 8g
- Fat: 7g
- Carbohydrates: 20g
- Fiber: 1g
- Protein: 2g
Keywords: Red Velvet Bear Cookies, bear-shaped cookies, dessert, easy cookie recipe