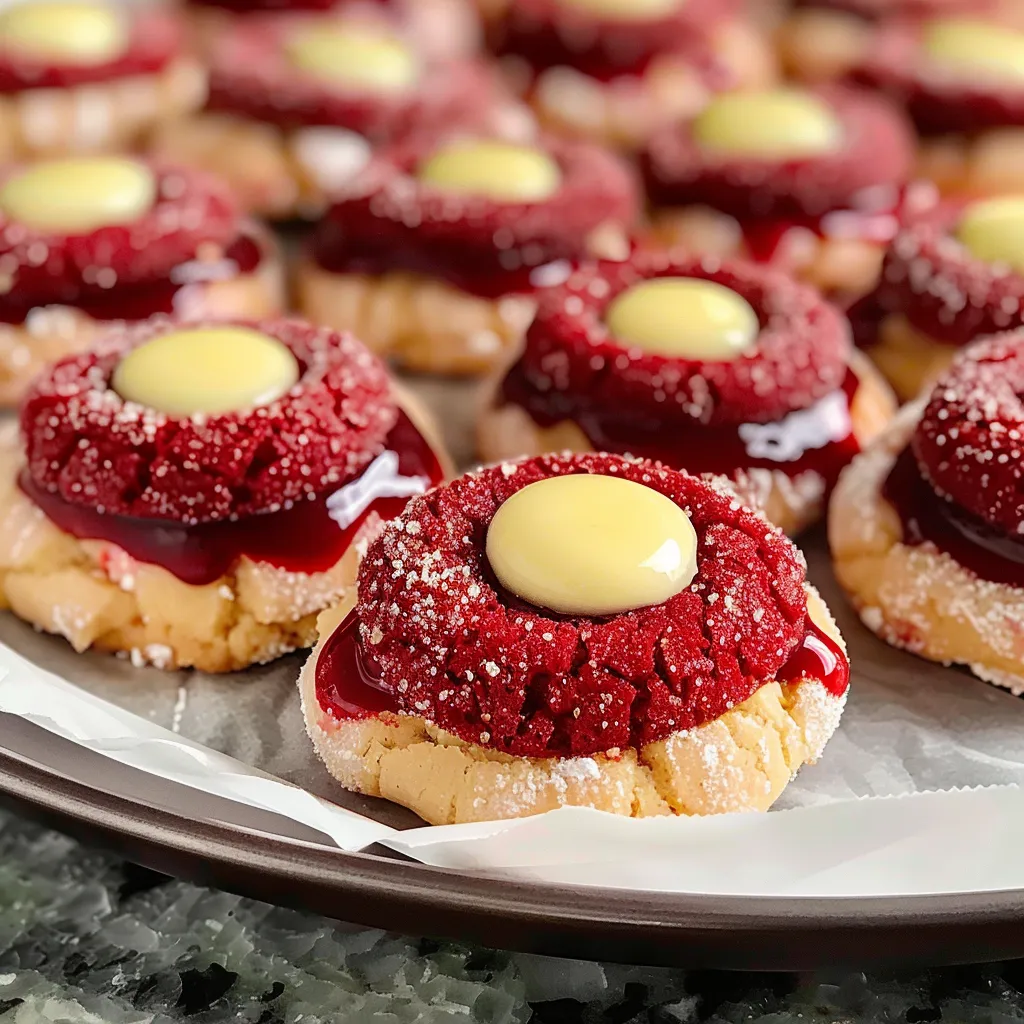
There’s a special kind of magic that fills the kitchen with the scent of freshly baked cookies. I can always remember those cozy afternoons spent at my grandmother’s house, especially around Valentine’s Day. She’d whip up a batch of her famous red velvet treats, the vibrant color immediately catching my eye. The soft, velvety dough was a hug in cookie form, and the cream cheese filling? Absolute heaven! Today, I’m excited to share a recipe that captures those sweet memories and brings them to life: Red Velvet Cream Cheese Thumbprint Cookies.
Why You’ll Love This Recipe
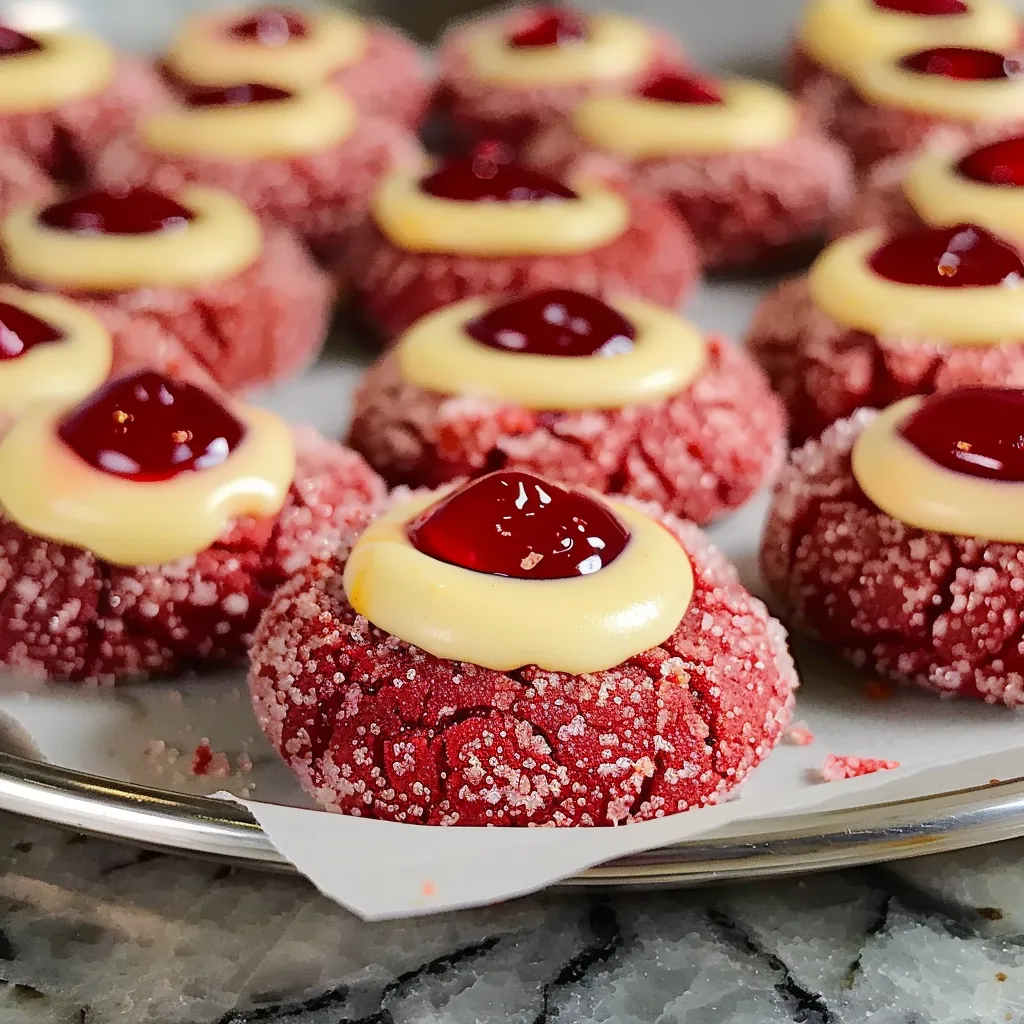
Trust me on this one: these cookies are not just a feast for the eyes; they’re a flavor experience. Imagine bright red cookies with a delicious cream cheese center that melts in your mouth—what’s not to love? They’re perfect for any occasion, whether you’re baking for a holiday, a casual get-together, or simply treating yourself! Plus, they’re surprisingly easy to make. You don’t need a bakery’s worth of equipment or experience; just a bit of love and patience! So, grab your apron and let’s dive in!
What It Tastes Like
The first bite of these cookies is like a warm embrace on a chilly day. You get that rich, cocoa flavor from the red velvet, which is beautifully balanced by the tangy cream cheese filling. The texture is soft and slightly chewy on the edges, with a delightfully gooey center. It’s the kind of cookie that makes you stop for a moment, close your eyes, and savor the flavors. Honestly, it’s a little piece of joy that’s hard to resist!
Ingredients You’ll Need
- For the cookies:
- 2 ½ cups all-purpose flour: The backbone of our cookies, giving them that lovely structure.
- 2 tablespoons cocoa powder: Adds a rich flavor that pairs perfectly with the cream cheese.
- 1 teaspoon baking soda: Helps the cookies rise and become fluffy!
- 1 teaspoon salt: Balances the sweetness for a delicious overall flavor.
- ½ cup unsalted butter, softened: Contributes to the soft texture of the cookies.
- 1 cup granulated sugar: Sweetness is key, right?
- 1 cup brown sugar: Adds deep flavor and moisture.
- 2 large eggs: Acts as a binding agent, bringing everything together.
- 1 tablespoon vanilla extract: A must-have for that warm, inviting flavor.
- 1 tablespoon red food coloring: Gives the cookies that signature crimson hue!
- For the cream cheese filling:
- 8 oz cream cheese, softened: This adds that luscious, creamy center.
- ½ cup powdered sugar: Sweetens the filling just enough without overpowering it.
- 1 teaspoon vanilla extract: Enhances that creamy flavor even more!
Optional Additions: Want to switch things up? Consider adding some white chocolate chips or a hint of almond extract for a different flavor twist!
Special Garnishes: Dusting with a tiny sprinkle of powdered sugar right before serving gives a lovely, professional touch.
Step-by-Step Instructions
- Preheat your oven to 350°F (175°C). This is key—don’t skip this step—it helps the cookies bake evenly!
- In a medium bowl, whisk together the flour, cocoa powder, baking soda, and salt. Set this aside; we’ll come back to it.
- In a large bowl, beat together the softened butter, granulated sugar, and brown sugar until creamy and light. It should look fluffy and airy—around 2 minutes should do the trick.
- Add in the eggs, vanilla extract, and red food coloring, mixing until everything is just combined. Here’s the funny part: don’t be alarmed by the color—this is where the magic begins!
- Gradually add the flour mixture to the wet ingredients, stirring until no flour streaks remain. You want everything to come together, but be careful not to overmix.
- For the cream cheese filling, in a separate bowl, beat the softened cream cheese with the powdered sugar and vanilla extract until smooth and creamy. Pop this in the fridge while you shape your cookies; it’ll help it firm up a little.
- Now, use a cookie scoop or your hands to form balls of dough (about 1 inch in diameter). Place them on a parchment-lined baking sheet, giving them room to spread.
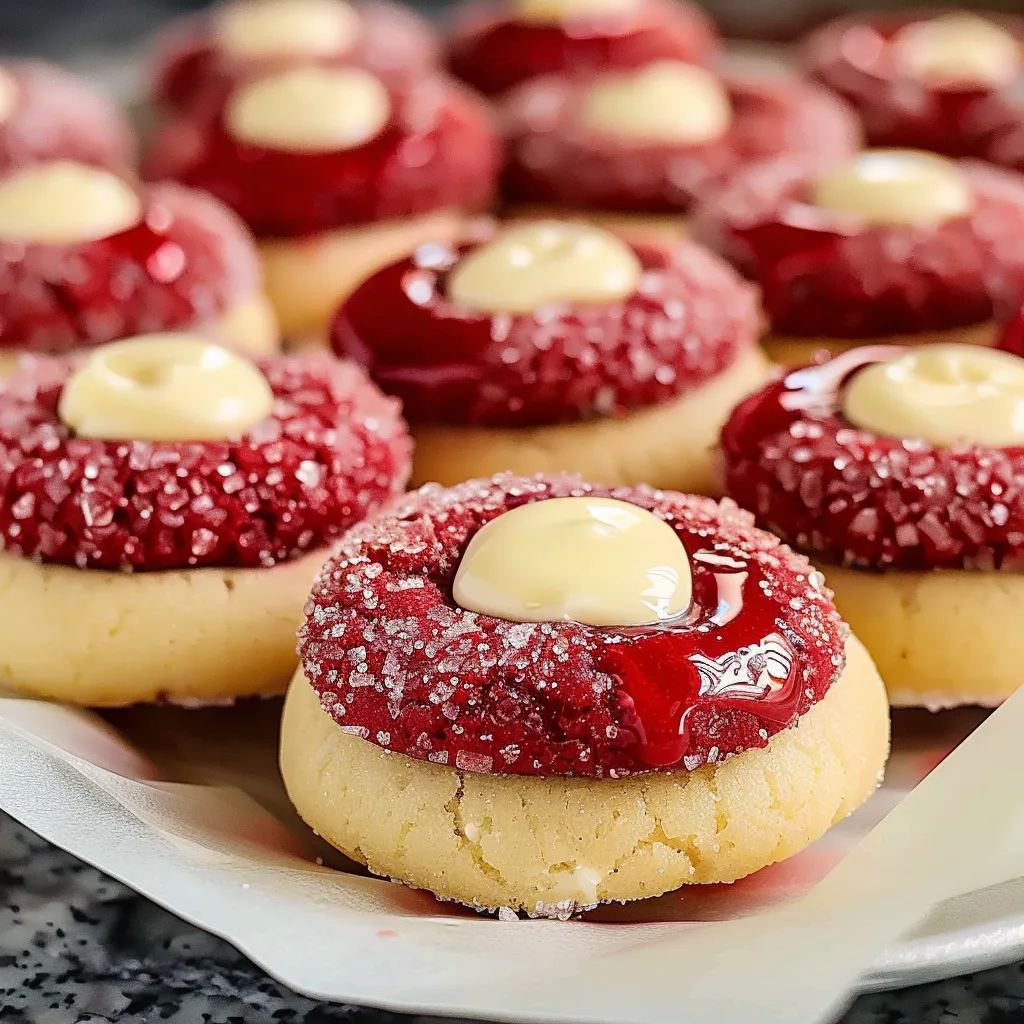
- Using your thumbs (or the back of a tablespoon), press down in the center of each cookie dough ball to create an indentation—this is where the filling will go!
- Fill each thumbprint with a generous dollop of the cream cheese mixture—don’t worry if it spills over a bit; it all bakes to perfection!
- Bake the cookies for 10-12 minutes, or until the cookies are set but still soft. Make sure to keep an eye on them—nobody likes overbaked cookies!
- Let them cool on the baking sheet for 5 minutes before transferring them to a wire rack to cool completely.
Recipe Variations
If you’re feeling adventurous (and who isn’t?), try swapping out the red velvet base with your favorite flavor. Think chocolate, vanilla, or even matcha—endless possibilities! You can also play around with the filling; a raspberry jam or lemon curd would add a fruity twist that’s simply divine.
Serving & Storage Tips
These cookies are best enjoyed fresh, but they can be stored in an airtight container at room temperature for up to a week. If you have leftovers (which is rare, but it happens!), just make sure they’re completely cooled before stacking them to avoid mushiness. To reheat, pop them in the microwave for about 10 seconds. Perfect for that warm, cozy vibe!
Helpful Tips
When I first made these, I remember overbaking the first batch—don’t fall into that trap! A golden edge but still a slightly soft center is key. Use a toothpick or knife to check for doneness—if it comes out with a few moist crumbs but not wet dough, you’re golden!
Also, don’t skip on softening your cream cheese. It’ll make a world of difference in achieving that smooth filling. If you forget to pull it out ahead, you can cut it into cubes, put it in a bowl, and microwave it for about 10-15 seconds until it softens.
Special Equipment
- Cookie scoop: This little tool makes it so much easier to get uniform cookie sizes.
- Parchment paper: Lining your baking sheets means easier cleanup and prevents sticking!
- Mixing bowls of varying sizes: You’ll want a few bowls to keep things organized while mixing.
FAQ
Can I use a different type of cheese for the filling?
While cream cheese gives that classic flavor and texture, you could experiment with mascarpone for a different taste, or even whipped ricotta for a lighter feel. Just keep in mind that it might change the overall vibe of the cookie!
Can I freeze these cookies?
Absolutely! You can freeze the dough before baking or the baked cookies themselves, just make sure to store them in an airtight container or a freezer bag. They’ll keep well for about a month. Just let them thaw at room temperature when you’re ready to enjoy them.
Why are my cookies not red enough?
If your cookies didn’t turn out as vibrant as you hoped, it could be due to the cocoa powder brand or the amount of food coloring used. Always use gel food coloring—it’s more intense than liquid options and works wonders for getting that rich color!
How do I store leftover cream cheese filling?
You can store leftover cream cheese filling in the fridge in an airtight container for about 3-4 days. Just give it a good stir before using it again, as it may firm up a bit.
Conclusion
And there you have it! These Red Velvet Cream Cheese Thumbprint Cookies are not just a simple treat—they’re a nostalgic journey to cozy winter afternoons filled with laughter and warmth. Whether you’re baking for a special occasion or just treating yourself, I promise you’ll want to make these again and again. I’m eager to hear how yours turn out, so don’t forget to share your experience in the comments! Happy baking, my friends!
Print
Ultimate Red Velvet Cream Cheese Thumbprint Cookies Recipe
Bake delicious red velvet thumbprint cookies filled with cream cheese frosting Enjoy this easy ultimate dessert for any occasion
- Total Time: 32 minutes
- Yield: 24 cookies 1x
Ingredients
Instructions
- Prep Time: 20 minutes
- Cook Time: 12 minutes
- Category: Dessert
- Cuisine: American
Nutrition
- Calories: 150 calories
- Sugar: 10 grams
- Fat: 7 grams
- Saturated Fat: 7 grams
- Carbohydrates: 20 grams
- Fiber: 0 grams
- Protein: 2 grams
Keywords: Red Velvet, Cookies, Baking, Dessert, Cream Cheese