Ah, St. Patrick’s Day… a time when everything feels a bit more vibrant and alive, don’t you think? The air thickens with laughter, and of course, there’s the joyous celebration of all things green — from shamrock decorations to the pint of your favorite Irish brew. But this year, I wanted to whip up something special that would color our sweet tooth a delightful green. Enter my St. Patrick’s Day Green Velvet Cake! This recipe is a twist on the classic red velvet cake, bursting with the same rich flavors you love, but with a bright, festive hue that’s perfect for the occasion.
What makes this cake even more special? Aside from its striking color, it’s incredibly easy to prepare and has a stunningly soft and moist texture. You’ll have your friends and family oohing and aahing over it long after it’s gone. So grab your mixer, and let’s get in the spirit of the holiday with a sweet treat that’s bound to make memories!
Why You’ll Love This Recipe
Honestly, this recipe is a winner for a host of reasons! First off, it’s strikingly beautiful, ideal for impressing guests or bringing a festive touch to your St. Patrick’s Day gatherings. The green hue is a feast for the eyes, and who wouldn’t want to indulge in a slice of this vibrant delight? But the best part is, it’s not just pretty — it’s delicious, too! The cake itself is a velvety dream, with just the right amount of sweetness, beautifully balanced by the tangy cream cheese frosting.
This recipe is also a fantastic way to involve the whole family. From little hands eager to mix and pour, to older kids who’ll enjoy measuring out ingredients and helping with decoration, it’s a wonderful activity to bond over. Trust me, you’ll find yourselves turning to this recipe for birthdays, holidays, or just because you need a splash of color on your table. You’ll want to make this again and again!
What It Tastes Like
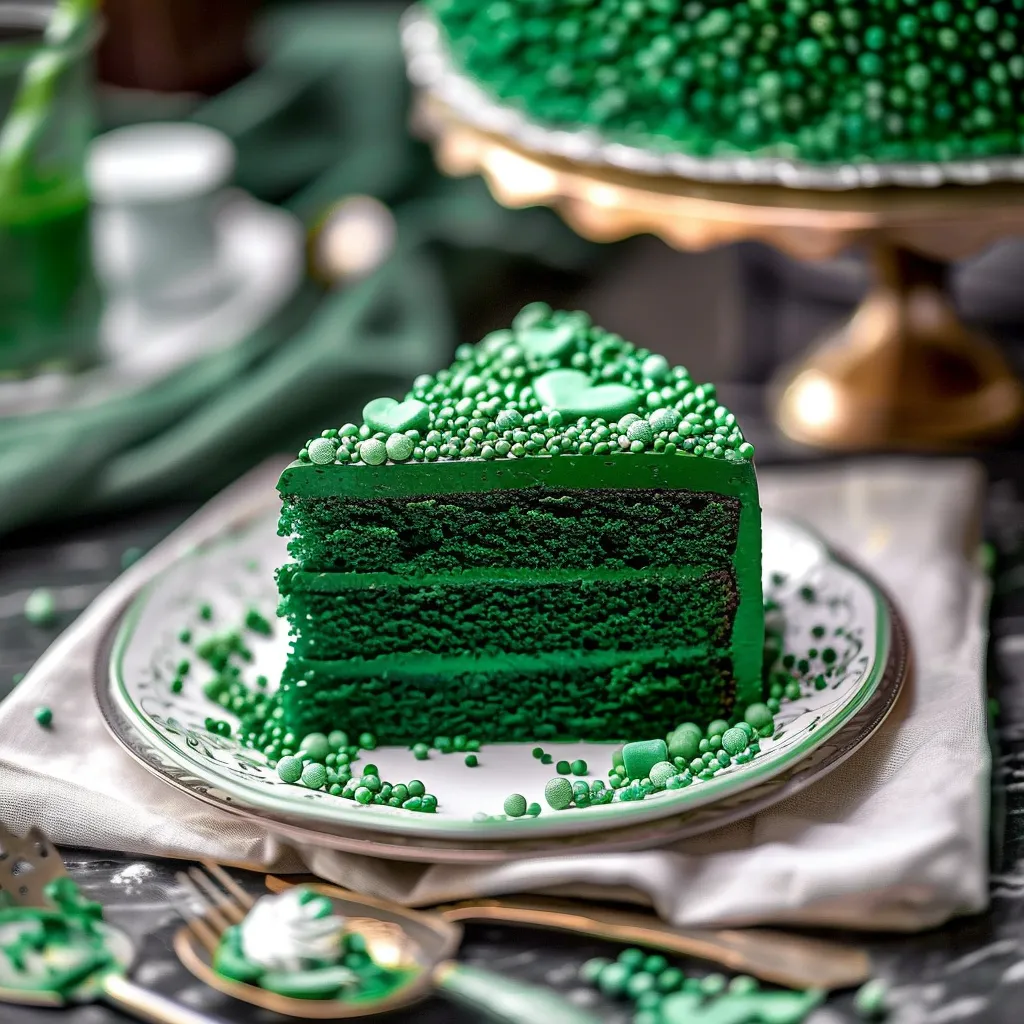
Picture this: you take your first bite and the soft, fluffy texture melts in your mouth. The cake is rich yet light, with a tender crumb that feels almost luxurious. The flavor is reminiscent of classic red velvet, but with a hint of cocoa that whispers sweet nothings to your taste buds. You get that comforting taste of vanilla and a slight tang from the buttermilk that keeps each bite refreshing. And don’t even get me started on the cream cheese frosting! It’s like a velvet blanket wrapped around the cake, creamy and smooth with just the right amount of sweetness to complement the cake’s richness.
Ingredients You’ll Need
- 2 ½ cups all-purpose flour: For the base of the cake; it brings structure and stability.
- 1 ½ cups granulated sugar: Adds sweetness and moisture to the cake.
- 1 cup vegetable oil: Keeps the cake tender and adds richness.
- 1 cup buttermilk: Creates a delightful tang and keeps the cake moist.
- 3 large eggs: Binding agents that give the cake its structure.
- 1 tablespoon vanilla extract: For that warm, delicious flavor that makes everything better.
- 1 tablespoon cocoa powder: Just enough to give it that classic velvet flavor.
- 1 teaspoon baking soda: Helps the cake rise beautifully.
- 1 teaspoon white vinegar: This interacts with the baking soda to create that fluffy texture.
- Green gel food coloring: This is the secret to that vibrant hue — go bold with it!
Optional Additions: You can add a splash of mint extract for a fresh twist or even some chocolate chips if you’re feeling adventurous.
Special Garnishes: Consider topping with crushed pistachios or shredded coconut for a festive green touch!

Step-by-Step Instructions
Ready to get started? Let’s do this!
- Preheat your oven: Set it to 350°F (177°C) and grease two 9-inch round cake pans with cooking spray or butter and line them with parchment paper.
- Mix the dry ingredients: In a bowl, whisk together the flour, cocoa powder, baking soda, and a pinch of salt. Set this aside — it’s a crucial step that blends the flavors.
- Combine wet ingredients: In a large mixing bowl, beat together the sugar and oil until well combined. Add in the eggs, buttermilk, vinegar, and vanilla extract. Mix until you have a beautiful, glossy mixture.
- Bring it all together: Gradually add the dry ingredients to the wet ingredients, mixing just until combined. Now’s the fun part — add in the green gel food coloring! Start with a few drops and mix until you achieve your desired shade of green.
- Pour into pans: Divide the batter evenly between your prepared pans and smooth the tops with a spatula.
- Bake: Pop those babies in the oven for about 25-30 minutes. You’ll know they’re done when a toothpick inserted in the center comes out clean.
- Cool: Let the cakes cool in the pans for about 10 minutes before transferring to wire racks to cool completely.
- Frost: Once cooled, generously spread cream cheese frosting between the layers and on top. Decorate as desired. You could even add some fun sprinkles for an added pop!
That’s it — pretty easy, right? Just remember, if you feel like it’s getting too sweet, a touch of lemon zest in your frosting can cut through that beautifully!
Recipe Variations
If you’re looking for a different flavor profile, how about introducing some chocolate? Use chocolate buttercream for frosting instead of cream cheese, or even add a touch of espresso powder to the batter for a mocha-like twist. If gluten-free cakes are more your speed, swap out the all-purpose flour for a 1:1 gluten-free baking mix. You can even layer it with a delightful lemon curd for a refreshing zing! The sky’s the limit with customization.
Serving & Storage Tips
When it comes to serving, cut generous slices and maybe add a dollop of whipped cream on top for a little flair. This cake is best enjoyed fresh but can be stored in an airtight container at room temperature for a couple of days. Longer storage? Pop it in the fridge, and just warm it gently before serving again, and voilà — fluffy indulgence restored!
Helpful Tips
Here’s the funny part: the first time I made this cake, I was so eager that I accidentally doubled the food coloring. The result was a striking green hue, but boy, did it have a mighty punch of sweetness! So if you’re unsure about the coloring, start subtle and add more as needed. Also, remember to let the cakes cool completely before frosting; I once tried to frost a warm cake and ended up with a delicious, but slushy, mess — learn from my mistakes!
Special Equipment
- Stand mixer: Makes it easier to mix without tiring your arms!
- Spatula: Perfect for folding in those dry ingredients without overmixing.
- Cake pans: I recommend using light, non-stick pans to ensure even baking.
- Cooling racks: Essential for allowing air to circulate and prevent soggy bottoms.

Frequently Asked Questions
Can I make this cake ahead of time?
Absolutely! The cake layers can be baked a day in advance. Just wrap them well in plastic wrap and keep them at room temperature until you’re ready to frost and serve.
Can I use a different frosting?
Sure! While cream cheese frosting is a classic pairing with red velvet, your green velvet cake can be equally delicious with buttercream or ganache frosting!
What should I do if my cake sinks in the middle?
This can happen if there’s too much liquid or if the oven is too cold. Ensure your oven is fully preheated before popping in that cake. An oven thermometer can be a real lifesaver for this!
What kind of food coloring is best to use?
I recommend a gel food coloring for the best vibrancy without adding too much liquid to the cake batter. It’s concentrated and gives wonderfully bold results!
How can I make this vegan-friendly?
Great question! To veganize this, substitute eggs with flax eggs, use almond or soy milk instead of buttermilk, and replace the oil with melted coconut oil or applesauce.
Conclusion
There you have it — a charmingly vibrant St. Patrick’s Day Green Velvet Cake that’ll not only brighten your table but also warm your heart! Whether you’re celebrating with friends or enjoying a cozy night in, this cake delivers both smiles and sweetness. I’d love for you to try this recipe and share your thoughts in the comments, or even tag me on social media. Every bite tells a story, and I can’t wait to hear yours!
So roll up your sleeves and dive into this delightful baking adventure. You’ll find that the memories made in the kitchen are the icing on the cake, quite literally. Happy baking, friends!
Print
“Delicious St. Patrick’s Day Green Velvet Cake Recipe to Savor”
Celebrate St. Patrick’s Day with this delicious Green Velvet Cake recipe! Its vibrant color and rich flavor make it a festive treat. Try it today!
- Total Time: 50 minutes
- Yield: 12 servings 1x
Ingredients
Instructions
Notes
A charmingly vibrant St. Patrick’s Day Green Velvet Cake that’s not only visually appealing but also delicious. This cake is perfect for holiday celebrations and family gatherings.
- Prep Time: 20 minutes
- Cook Time: 30 minutes
- Category: Dessert
- Cuisine: Irish
Nutrition
- Serving Size: 12 servings
- Calories: 350
- Sugar: 30g
- Fat: 15g
- Carbohydrates: 53g
- Fiber: 1g
- Protein: 4g
Keywords: St. Patrick’s Day, Green Velvet Cake, festive dessert, cake recipe