There’s something magical about a warm summer evening, don’t you agree? The sun begins to dip below the horizon, turning the sky into a canvas of pinks and oranges, while laughter floats through the air. On evenings like this, I can’t help but think of my favorite strawberry tart. It’s not just any dessert; it’s a slice of nostalgia, reflecting golden afternoons spent in my grandmother’s kitchen, where she would whip up delightful treats using fresh fruits straight from her garden. This Whipped Strawberry Tart brings back those sweet memories, capturing the essence of summer with every creamy, fluffy bite.
Why You’ll Love This Recipe
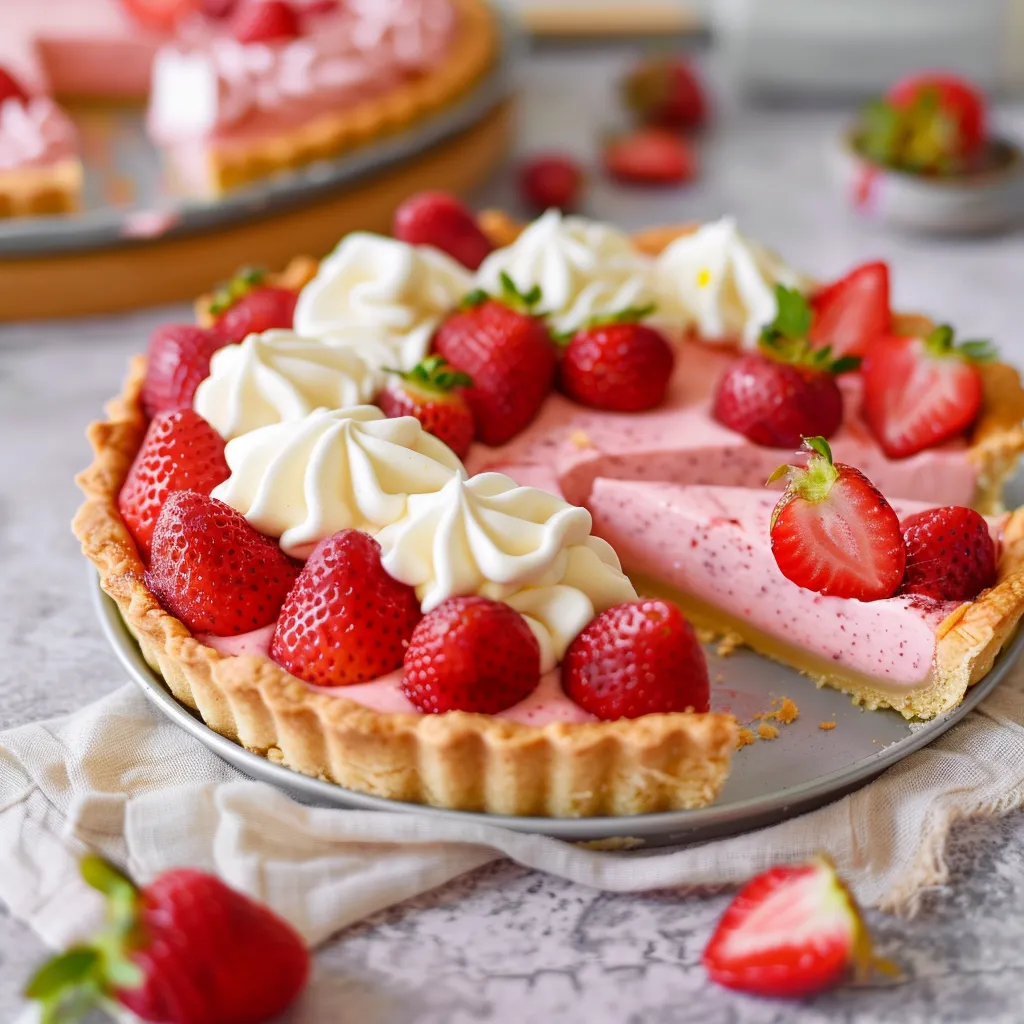
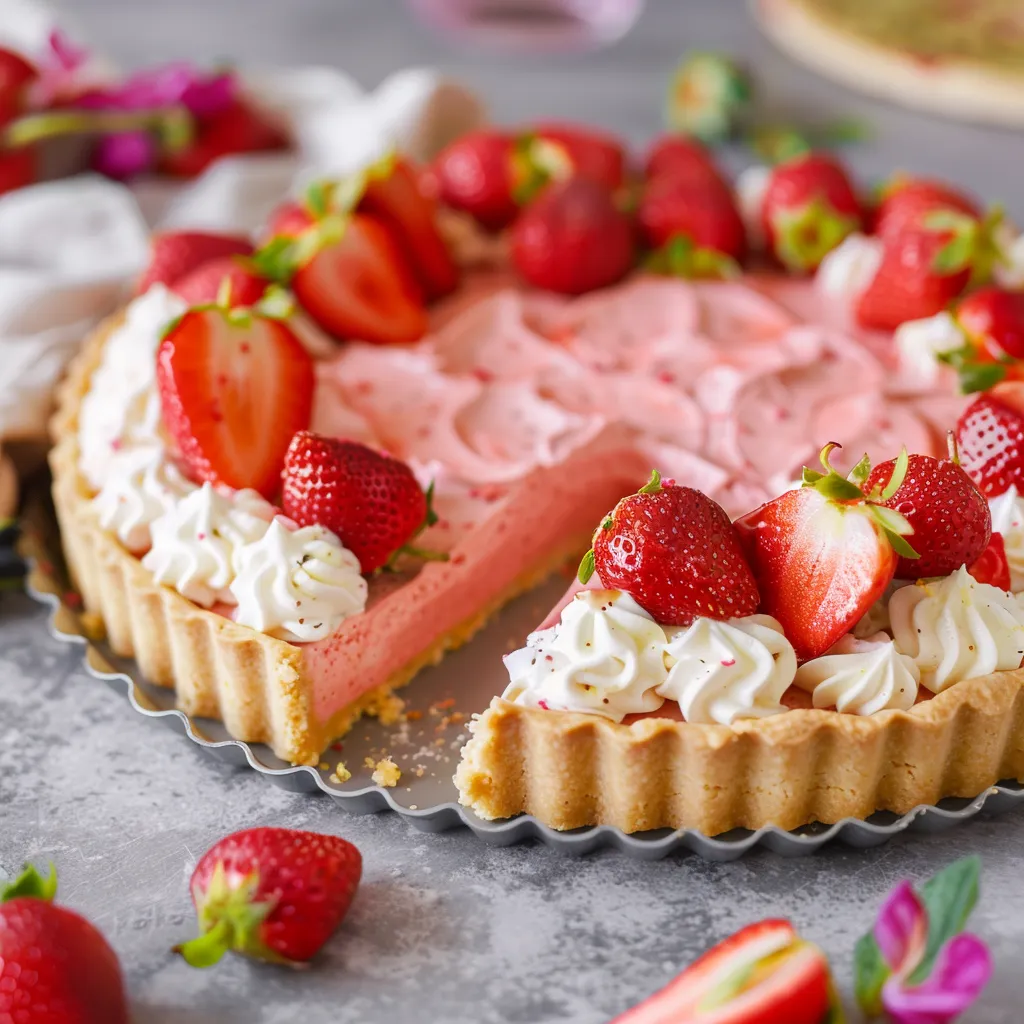
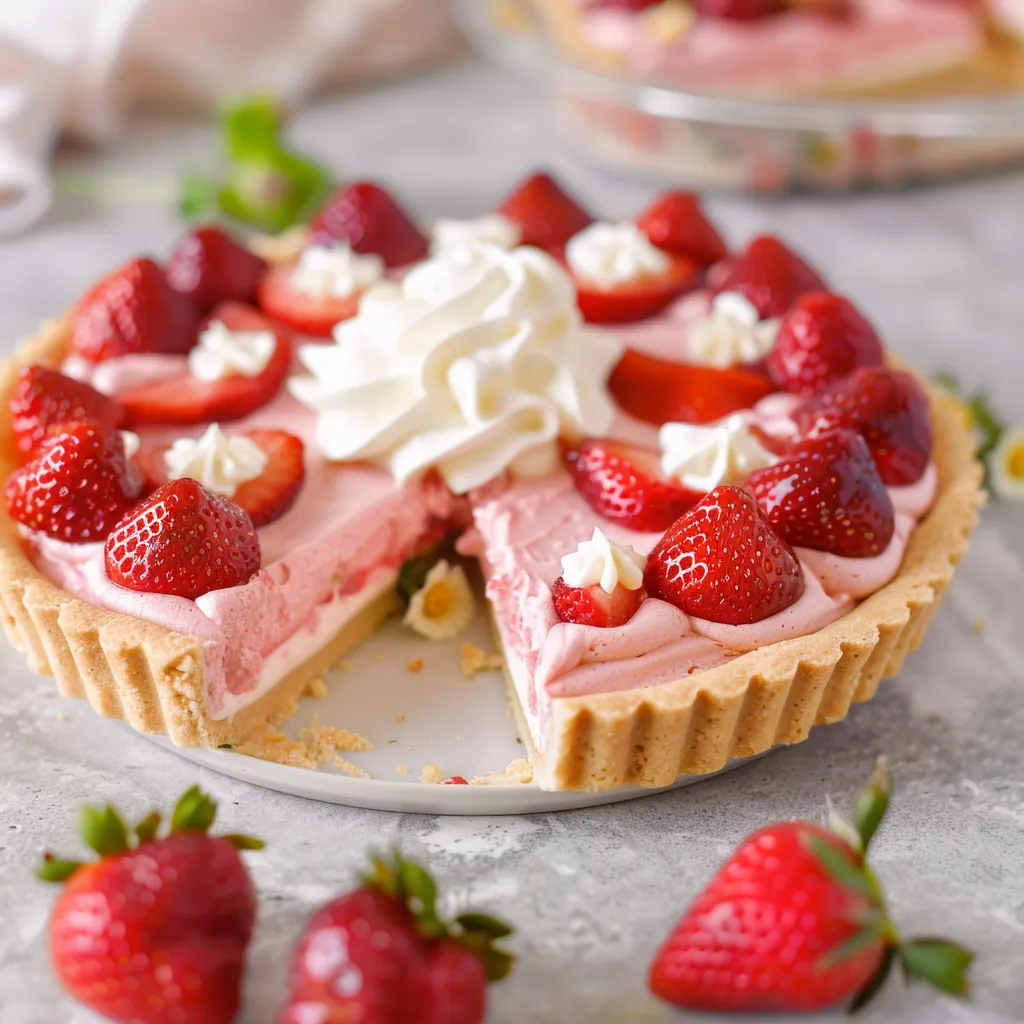
Imagine a dessert that’s not only stunning to look at but also unbelievably simple to make—welcome to my Whipped Strawberry Tart! It’s perfect for impressing guests without spending hours in the kitchen. The crisp, buttery tart shell cradles a velvety whipped filling bursting with fresh strawberries. Trust me, it’s a total crowd-pleaser, whether you’re hosting a barbecue or enjoying a cozy night in. Plus, it celebrates strawberry season beautifully, making it a timely treat that feels oh-so-special.
What It Tastes Like
Take a moment to envision this: your fork glides through the tart, breaking the cookie-like crust and revealing the pillowy whipped filling underneath. As you bring a bite to your lips, the creamy texture envelops your tongue, and sweet bursts of strawberry flavor dance on your palate. It’s like the carefree joy of summer captured in one dessert, balancing the buttery richness of the crust with the light, airy sweetness of the filling. It’s sweet, tangy, and comforting all at once—just like that feeling of lounging on the porch after a long day.
Ingredients You’ll Need
- For the Tart Shell:
- 1 ½ cups all-purpose flour: Provides the structure and crispiness you want in a tart.
- ½ cup unsalted butter, chilled and diced: Adds richness and flakiness.
- ¼ cup granulated sugar: Sweetens the crust just a touch.
- 1 egg yolk: Helps bind everything together.
- Cold water as needed: To bring the dough together.
- For the Whipped Filling:
- 1 cup heavy cream: Creates the lush, whipped texture.
- ½ cup powdered sugar: Sweetens the filling perfectly.
- 1 teaspoon vanilla extract: Adds a lovely depth of flavor.
- 1 ½ cups fresh strawberries, hulled and sliced: The star of this dessert, providing fresh acidity and sweetness.
Optional Additions: Ever tried adding a splash of lemon juice for an extra zing? Or how about a hint of almond extract in the filling? Both add a delightful twist.
Special Garnishes: A sprinkle of fresh mint and a dusting of powdered sugar on top can elevate the presentation to a whole new level!
Step-by-Step Instructions
Ready to whip up your Whipped Strawberry Tart? Let’s dive in!
- Make the Tart Shell: In a large mixing bowl, combine the flour, sugar, and chilled butter. Use a pastry cutter or your fingers to blend until it resembles coarse crumbs—don’t rush this step; it’s where the magic begins! Add the egg yolk and a splash of cold water, mixing until it comes together into a dough. Wrap it in plastic and chill for at least 30 minutes.
- Preheat Your Oven: While the dough chills, preheat your oven to 350°F (175°C).
- Roll It Out: On a lightly floured surface, roll out the chilled dough into a circle about ¼ inch thick, roughly fitting into your tart pan. Press it gently into the pan, trimming any excess. Don’t forget to poke some holes in the bottom with a fork to avoid puffing up during baking.
- Bake: Pop the tart shell in the oven and bake for 20-25 minutes or until it’s golden brown. Keep an eye on it—burnt tarts are a sad story!
- Cool the Tart Shell: Let it cool completely before filling it with that luscious whipped mixture.
- Prepare the Whipped Filling: In a mixing bowl, whip the heavy cream until soft peaks form. Gradually add in the powdered sugar and vanilla extract, and continue whipping until you reach stiff peaks. Gently fold in the sliced strawberries—this part is surprisingly therapeutic!
- Assemble: Spoon the whipped filling into the cooled tart shell, smoothing the top with a spatula. You can get creative here! Add some halved strawberries on top for extra flair.
- Chill: Let it set in the fridge for at least an hour. Trust me—this will help all those flavors meld together beautifully.
That’s it—pretty easy, right?
Recipe Variations
Feel like switching things up? Here are some fun ideas:
- Berry Medley: Swap out the strawberries for raspberries and blueberries for a mixed berry tart bursting with color!
- Chocolate Lovers: Add melted chocolate to the whipped cream for a decadent twist on the classic filling.
- Dairy-Free Option: Substitute coconut cream for the heavy cream and use a dairy-free butter alternative for the crust.
Serving & Storage Tips
Your lovely tart is best served chilled, garnished with fresh mint and perhaps a side of extra strawberries. And leftovers? If you have any, keep it covered in the fridge for up to 3 days. Though let’s be real—leftovers are rare with this beauty!
For a quick pick-me-up, try repurposing any filling remnants as a spread on toast or in smoothies. No waste here!
Helpful Tips
Here’s a little secret: avoid over-whipping the cream—it can turn grainy if you go too far. You want that airy, light texture, not butter! Also, if your tart crust cracks while baking, don’t panic; just use a bit of melted butter to patch it up. My grandmother called it “character,” and I couldn’t agree more.
Special Equipment
- Tart Pan: A fluted tart pan gives you that beautiful, professional edge and makes it easier to remove the tart once it’s baked.
- Electric Mixer: Using an electric mixer saves time and helps achieve the perfect whipped consistency. Trust me, your arm will thank you!
- Pastry Cutter or Food Processor: These tools make breaking down the butter into the flour a breeze, resulting in that perfect crumbly crust.
Frequently Asked Questions
Can I use frozen strawberries instead of fresh?
Sure thing! Just make sure to thaw and drain them well before using, or they might make your filling too watery.
How can I make the crust sweeter?
If you want a sweeter crust, feel free to bump up the sugar! Try ½ cup instead of ¼ cup and see how you like it.
Can I prepare this tart ahead of time?
Absolutely! You can make the tart shell and filling a day in advance. Just assemble it on the day you’ll serve for the best texture!
What’s the best way to store the tart?
Keep it covered in the fridge! It’s best enjoyed within a few days, but I doubt it’ll last that long in most homes.
Is this recipe easily customizable for dietary needs?
It is! You can easily make it gluten-free using almond flour for the crust or swap the heavy cream for coconut cream for a dairy-free alternative.
Conclusion
And there you have it—the Whipped Strawberry Tart is not just a dessert; it’s a slice of summer delight that captures the joy of those sun-soaked days. I hope you try your hand at this recipe soon! It’s perfect for gatherings, family dinners, or just to enjoy with a good book. If you whip one up, share your experiences in the comments! I’d love to hear about your baking adventures. Happy baking, friends!
Print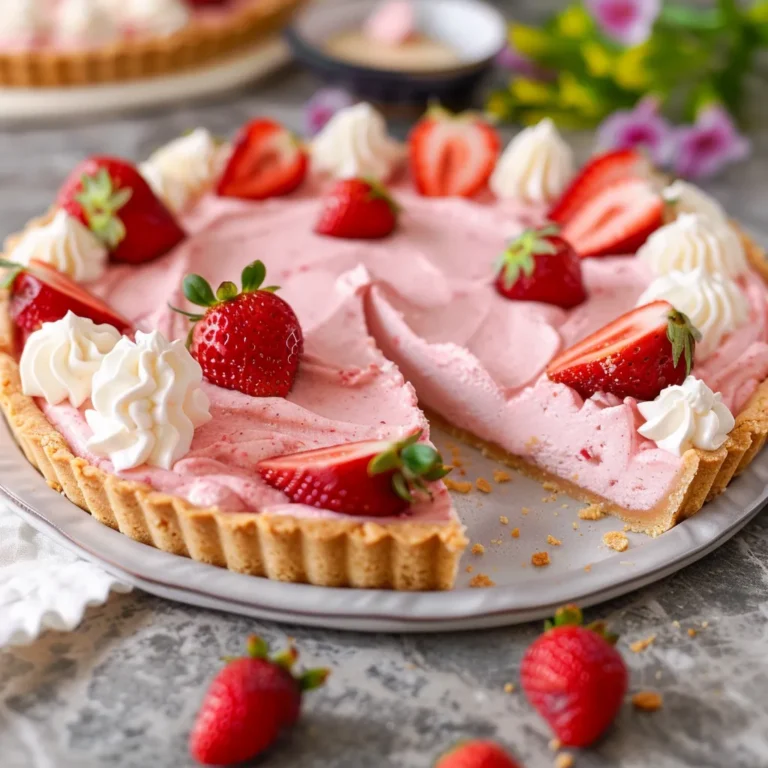
Delicious Whipped Strawberry Tart Recipe for a Sweet Treat
Savor the creamy and fruity delight of this Whipped Strawberry Tart. Made with fresh strawberries, it’s a sweet treat perfect for weeknights. Try it today!
- Total Time: 55 minutes
- Yield: 8 servings 1x
Ingredients
Instructions
Notes
A refreshing Whipped Strawberry Tart that captures the essence of summer with creamy, fluffy bites of fresh strawberries in a buttery tart shell.
- Prep Time: 30 minutes
- Cook Time: 25 minutes
- Category: Dessert
- Cuisine: American
Nutrition
- Serving Size: 8 servings
- Calories: 250
- Sugar: 10 grams
- Fat: 15 grams
- Carbohydrates: 30 grams
- Fiber: 1 gram
- Protein: 3 grams
Keywords: Whipped Strawberry Tart, Summer Dessert, Strawberry Recipe, Easy Dessert