
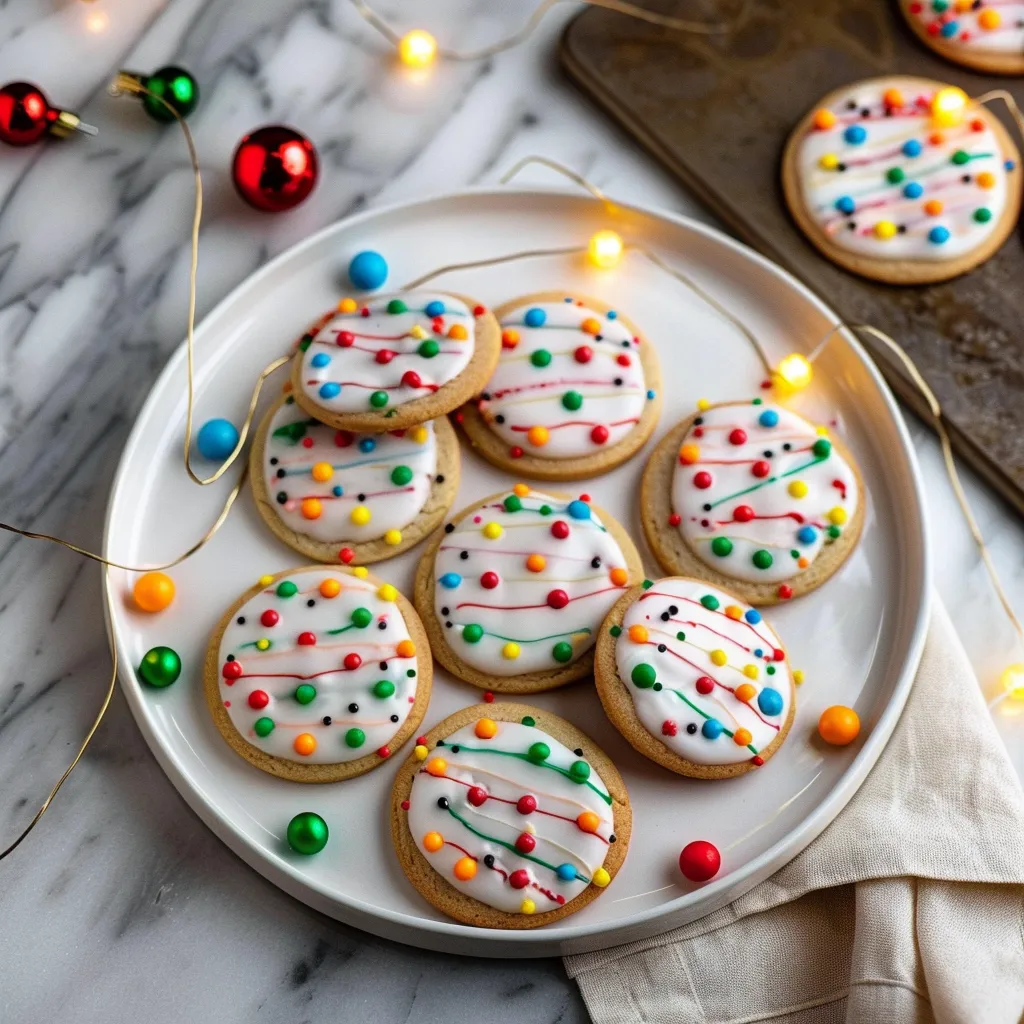
As the frosty air begins to weave its magic into the world, and my neighborhood lights up with twinkling bulbs, I find myself pulled into the kitchen every weekend. Here, amongst the comforting scents of baking spice and sugar, I recreate cherished moments with my loved ones. One cookie that has become a beloved staple during these chilly months is my Christmas Lights Cookies. These vibrant, cheerful treats are as much a feast for the eyes as they are for the taste buds, reminding me of the joy that comes from family gatherings and the excitement of the season.
Why You’ll Love This Recipe
Trust me when I say these cookies are worth every minute spent in the kitchen. They’re quick to make, perfect for holiday gatherings, and surprisingly fun to decorate! Plus, there’s something so gratifying about creating colorful, festive treats that bring a smile to everyone’s face. Whether you’re hosting a cookie exchange, decorating a tray for friends, or just indulging your inner child, Christmas Lights Cookies are an easy, delightful choice. So grab your mixing bowl — let’s sprinkle a little magic into the season!
What It Tastes Like
Imagine biting into a soft, warm cookie that melts in your mouth, with bursts of flavor dancing on your palate. The sweetness of the dough is perfectly balanced with the slight tang of vanilla and a hint of rich butter. Each festive icing detail brings a delightful crunch, and the colors remind you of the vibrant lights illuminating your neighborhood at night. It’s like a cozy hug from a beloved friend, filled with warmth and nostalgia.
Ingredients You’ll Need
- 2 ½ cups all-purpose flour: This is the backbone of your cookies, giving them structure and that delightful chewy texture.
- 1 teaspoon baking soda: It’s what helps your cookies rise and become fluffy.
- ½ teaspoon salt: A little pinch goes a long way in enhancing all the flavors.
- 1 cup unsalted butter, softened: Adding the rich, creamy touch that makes these cookies irresistible.
- 1 cup granulated sugar: Sweetness is essential, and it contributes to that gorgeous golden color.
- 1 cup brown sugar: This brings depth and moisture to your cookies; it’s a must for that soft, chewy texture.
- 2 large eggs: Binding everything together and giving the cookies that light, airy consistency.
- 2 teaspoons vanilla extract: The star ingredient that enhances the flavor profile.
- ½ teaspoon almond extract: A hint of nutty sweetness that you didn’t know you needed until now.
- Royal icing: For decorating (see notes below for the recipe).
- Food coloring: Your choice of colors to make the cookies as bright as the holiday lights!
Optional Additions
- Chocolate chips for a sweet surprise in the dough.
- Chopped nuts like pecans or walnuts for a delightful crunch.
- Sprinkles for extra holiday flair.
Special Garnishes
- Edible glitter for that magical touch very reminiscent of Christmas sparkle.
- A dusting of powdered sugar for a snowy effect.
Step-by-Step Instructions
Ready to make some holiday magic? Here’s how to whip up these delightful cookies:
- Preheat your oven: Start by preheating your oven to 350°F (175°C). This is the moment when anticipation starts to brew in the kitchen!
- Mix dry ingredients: In a medium bowl, whisk together the flour, baking soda, and salt — this creates a harmonious blend that helps the cookies rise beautifully.
- Cream the butter and sugars: In a large bowl, beat the softened butter with both sugars until it’s light and fluffy. Honestly, you’ll want to do this for about 3-5 minutes to get things just right.
- Add the eggs and extracts: Beat in the eggs one at a time. Then, mix in the vanilla and almond extracts — the aroma will be heavenly!
- Combine wet and dry: Gradually add the dry ingredient mixture to the wet one, and mix just until combined. Don’t overdo it here; a few flour streaks are fine.
- Shape the cookies: Using a tablespoon, scoop the dough and roll it into small balls. Place them on lined baking sheets about 2 inches apart.
- Bake: Bake in the preheated oven for 10-12 minutes, or until the cookies are golden at the edges. Remember, they’ll continue cooking a bit as they cool.
- Let them cool: Allow the cookies to cool on the baking sheet for a couple of minutes before transferring them to a wire rack to finish cooling completely. Trust me on this one — let your patience reward you!
- Decorate: Time for the fun! Using your royal icing, decorate the cooled cookies in fun light shapes — think bright bulbs, icicles, and all things festive.
That’s it — pretty easy, right?
Recipe Variations
Want to change things up a bit? Here are a few ideas! Instead of almond extract, try adding orange zest for a citrus twist. You could also swap half of the all-purpose flour for whole wheat flour for a nuttier taste. Feeling adventurous? Add cranberries or dried cherries into the dough for a tart surprise! You can also experiment with various frosting flavors — peppermint, anyone?
Serving & Storage Tips
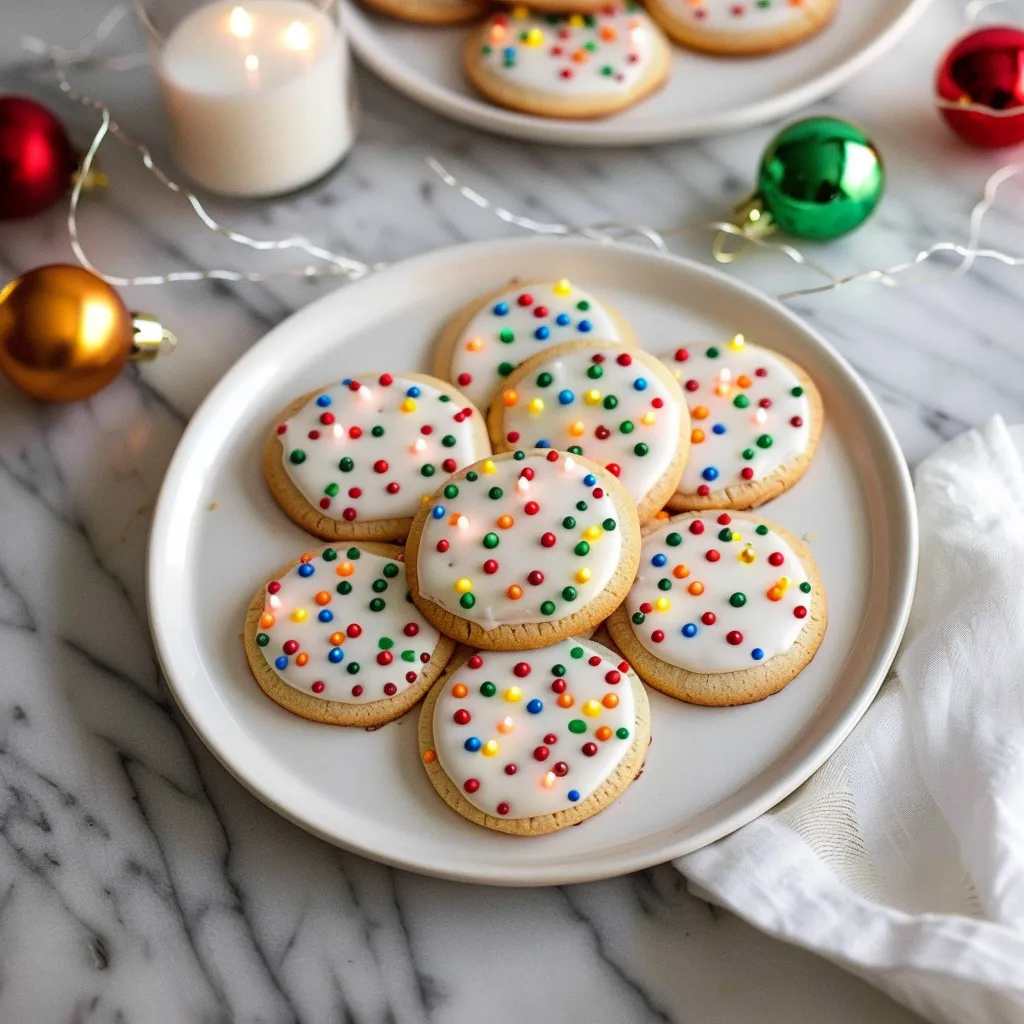
To serve, arrange your beautifully decorated cookies on a festive platter. They’ll steal the show at any gathering! For storing, place your cookies in an airtight container at room temperature for up to a week. If you have any leftovers (which is unlikely!), you can freeze them. Just layer parchment paper between the cookies, seal them tightly, and they’ll stay fresh for up to 3 months. When you’re ready for a treat, let them thaw at room temperature.
Helpful Tips
Don’t skip chilling the dough if you have time — it helps to meld the flavors and makes for a firmer dough that’s easier to work with. Oh, and be careful not to overbake your cookies. I remember burning the first batch because I got distracted counting down to my favorite holiday movie. Aim for a slight softness in the center that will firm up as they cool.
Special Equipment
- Baking sheets: A non-stick or parchment-lined sheet lets your cookies slide right off after baking.
- Mixing bowls: Use a large bowl for the dough and a medium one for dry ingredients — it makes life easier!
- Cookie scoop: A scoop helps to create uniform cookies every time, which means even baking — and isn’t that just delightful?
- Piping bags: For decorating, these are a baker’s best friend when it comes to detail work.
FAQ Section
Can I use margarine instead of butter?
You can, but I suggest unsalted butter for the best flavor. Margarine might alter the texture slightly, leading to softer cookies.
How do I make royal icing?
For royal icing, whisk together 1 egg white (or 1 tablespoon of meringue powder) with 2 cups of powdered sugar until smooth and stiff. Add a bit of lemon juice for flavor if you like.
Can I prepare the dough in advance?
Absolutely! You can chill the dough for up to 48 hours in the fridge, or freeze it for up to 3 months. Just let it thaw in the fridge overnight before baking.
What’s the best way to store decorated cookies?
Once the icing is dry, layer the cookies in an airtight container. Place parchment paper between layers to prevent them from sticking.
Conclusion
So there you have it — Christmas Lights Cookies that not only bring a burst of color and delight to your holiday gatherings but also fill your home with love, laughter, and the irresistible aroma of freshly baked treats. I can’t wait for you to try your hand at making them. Remember, each cookie is a little piece of joy, so gather your loved ones and get baking. And when you do, drop a note in the comments about how your baking adventure went. Happy baking and happy holidays from my kitchen to yours!
Print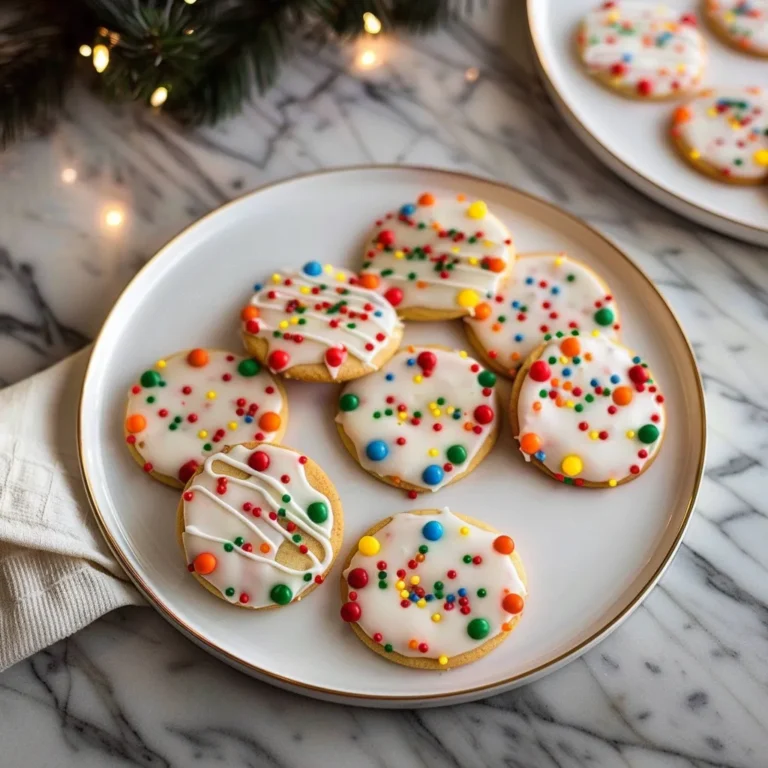
Deliciously Festive Christmas Lights Cookies Recipe Made Easy
Brighten your holiday season with our Christmas Lights Cookies Easy to make and bursting with festive flavors Try it today for a sweet treat
- Total Time: 32 minutes
- Yield: 24 servings 1x
Ingredients
Instructions
Notes
These vibrant, cheerful Christmas Lights Cookies are a delightful treat for the holiday season, perfect for decorating and sharing with loved ones.
- Prep Time: 20 minutes
- Cook Time: 12 minutes
- Category: Dessert
- Cuisine: American
Nutrition
- Serving Size: 24 servings
- Calories: 150
- Sugar: 10g
- Fat: 6g
- Carbohydrates: 22g
- Fiber: 0g
- Protein: 2g
Keywords: Christmas Cookies, Holiday Baking, Festive Treats


