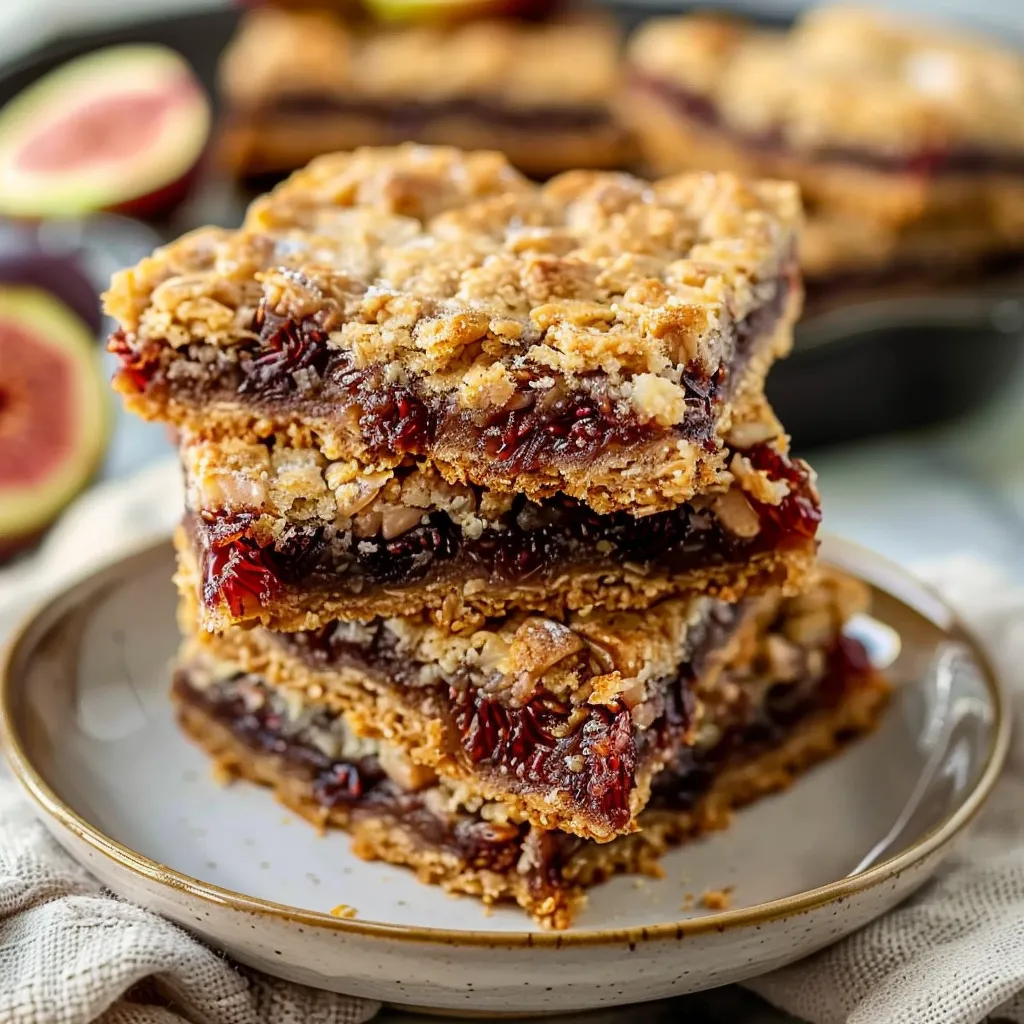
There’s something magical about the sweet, earthy flavor of figs, particularly when they are nestled between two layers of tender, chewy oat crust. Imagine a cozy afternoon, where the sun filters through your kitchen window, inviting you to pull together a homemade treat that evokes nostalgia and warmth—these homemade fig bars are just that! Perfect for a family gathering, a cheerful holiday, or simply as an afternoon delight, this recipe marries simplicity and sophistication. Inspired by a family recipe passed down through generations, these fig bars capture the essence of tradition, warmth, and deliciousness.
What makes this recipe special is its ease of preparation. With just a handful of pantry staples and a few simple steps, you can create a sweet snack that is not only delightful to eat but also brings people together. These fig bars are packed with flavor yet stay wholesome, making them suitable for various dietary needs. So, roll up your sleeves, and let’s bring some homemade goodness to your kitchen!
Why You’ll Love This Recipe
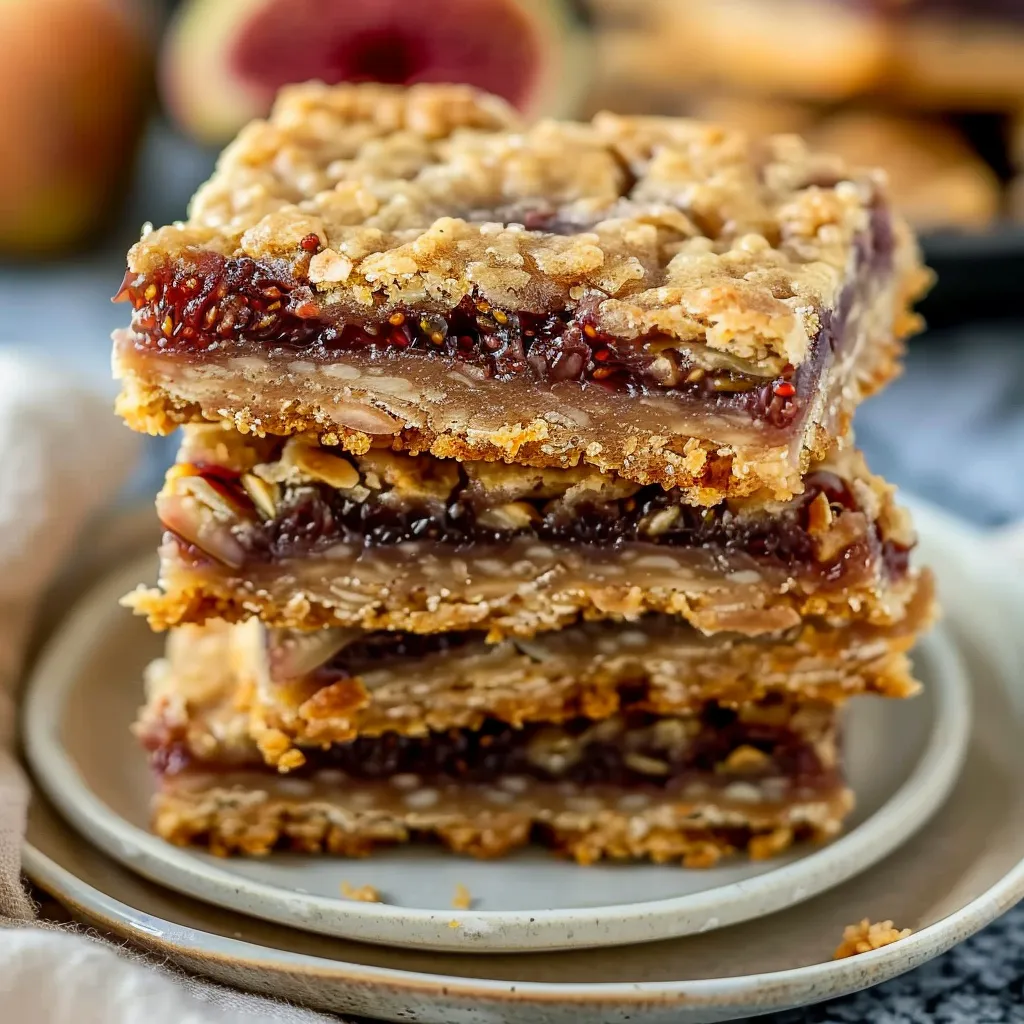
There are plenty of reasons to fall head over heels for homemade fig bars! Firstly, they are incredibly versatile. You can enjoy them as a breakfast treat, a satisfying snack, or even dessert! The delightful combination of nuts, oats, and figs creates a chewy texture that keeps you coming back for more.
One of the best parts is that they’re refined-sugar-free if you choose the right sweetener. You can easily adapt this recipe to fit various dietary needs—whether you prefer gluten-free oats or want to add a protein boost with nuts. Moreover, the satisfaction of baking something from scratch and sharing it with loved ones is an experience unlike any other. Simply put, these fig bars are the perfect treat for every occasion!
Ingredients You’ll Need
Main Ingredients
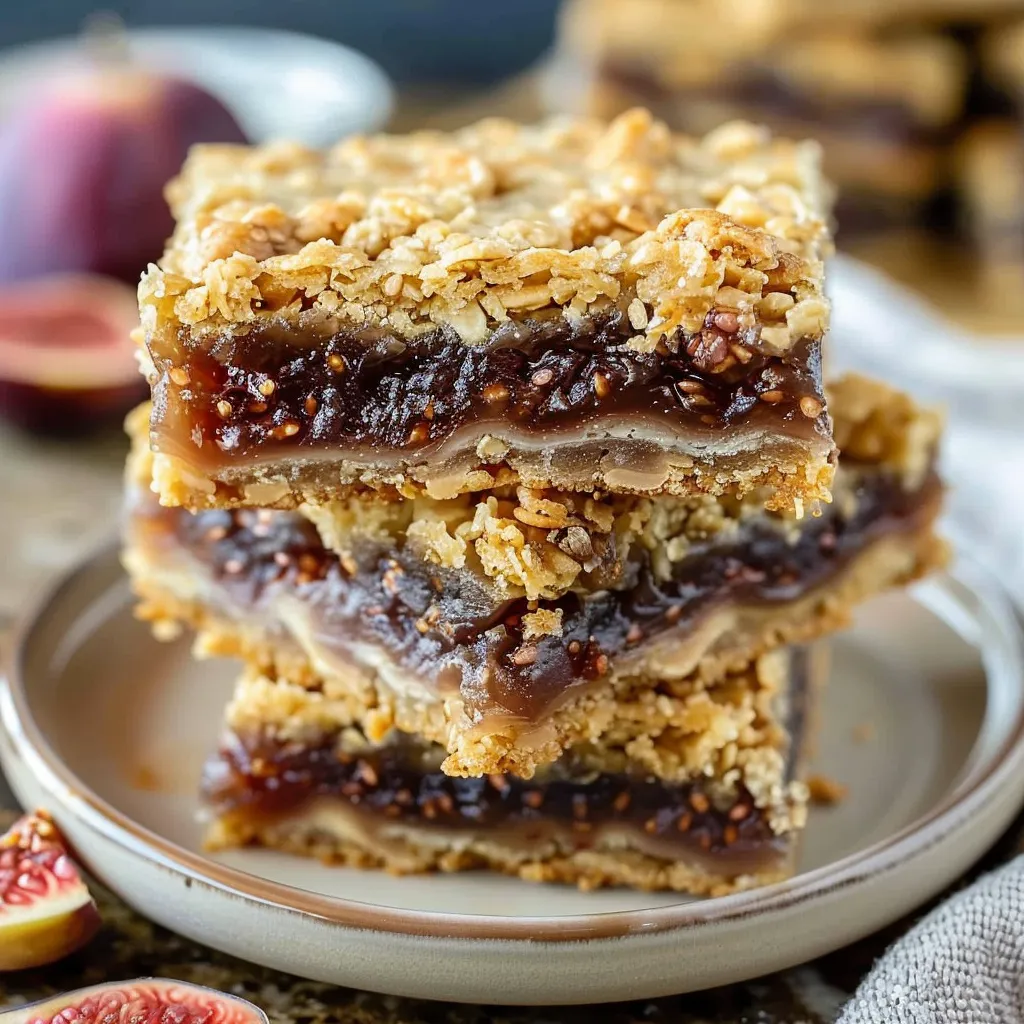
- 1 cup dried figs: The star of the show, dried figs, offer a unique sweetness and rich flavor that is both earthy and fruity.
- 1 cup rolled oats: These form the base of the crust and provide that chewy texture that holds the bars together beautifully.
- 1 cup all-purpose flour (or gluten-free flour): This adds structure to the bars, allowing them to hold their shape while adding a slight fluffiness.
- ½ cup dark brown sugar: This brings a deep, caramel sweetness that complements the figs perfectly.
- ½ cup unsalted butter, melted: The fat adds richness and moisture, giving the bars a tender crumb.
- 1 teaspoon vanilla extract: A splash of vanilla enhances the overall flavor and adds a warm, aromatic note.
- ½ teaspoon salt: A touch of salt balances the sweetness and brings out all the flavors.
- ½ teaspoon cinnamon (optional): This aromatic spice brings warmth and a hint of complexity to the dish.
Optional Additions
If you’re feeling adventurous, here are some optional additions that can elevate your fig bars:
- 1/4 cup chopped nuts (such as walnuts or almonds): Adding nuts introduces a delightful crunch and nutty flavor.
- 1/4 cup flaxseed meal: For added fiber and omega-3s, this is an excellent way to boost nutrition.
- Honey or maple syrup: For a twist on sweetness, consider replacing some of the brown sugar with your favorite natural sweetener.
Special Garnishes
To make your fig bars even more enticing, consider garnishing them with:
- Dusting of powdered sugar: For a touch of elegance, sprinkle some powdered sugar on top before serving.
- Fresh figs or berries: Adding sliced fresh figs or berries next to your bars can brighten up the presentation.
- Yogurt or cream: Serve with a side of yogurt or a dollop of whipped cream for a refreshing contrast.
Step-by-Step Instructions
Preparing the Filling
Start by preparing the filling. Chop the dried figs into small pieces and place them in a saucepan over medium heat.
Add a splash of water (just enough to coat the figs) and let them simmer for about 5-7 minutes, stirring occasionally until they soften and become mushy. Remove from heat and let them cool.
Making the Crust
Preheat your oven to 350°F (175°C). Grease a 9×9-inch baking pan or line it with parchment paper for easy removal.
In a large mixing bowl, combine the rolled oats, flour, dark brown sugar, salt, and cinnamon if using.
Add the melted butter and vanilla extract to the dry ingredients. Mix until combined, ensuring there are no dry flour pockets left. The mix should resemble a crumbly dough.
Assembling the Bars
Press half of the oat mixture firmly into the bottom of the prepared baking pan, creating an even layer.
Spread the fig filling evenly over the crust layer, making sure it reaches all edges.
Top with the remaining oat mixture, gently pressing down to secure it.
Baking the Bars
Bake in the preheated oven for about 25-30 minutes or until the top is golden brown and firm to the touch.
Remove from the oven and let the bars cool in the pan for about 10 minutes before transferring to a wire rack to cool completely.
Cutting and Serving
Once cooled, cut into squares or rectangular bars, depending on your preference.
Serve them fresh on a platter or store them in an airtight container for later enjoyment.
Serving and Storage Tips
These homemade fig bars are perfect for meal prep! Store them in an airtight container at room temperature for up to 5 days. For longer storage, you can refrigerate them for a week or freeze them for up to 3 months. Just make sure to wrap them tightly in plastic wrap and foil before placing them in the freezer. When you’re ready to snack, simply thaw them at room temperature or heat them in the microwave for a few seconds.
Helpful Tips
- For softer bars, ensure not to overbake them—watch the edges carefully for doneness.
- If using fresh figs, make sure to reduce the water added to the filling, as they will release more moisture while cooking.
- Experiment with spices like nutmeg or cardamom to give your fig bars a unique twist.
Frequently Asked Questions
Can I use fresh figs instead of dried figs?
While it’s recommended to use dried figs for this recipe due to their concentrated sweetness, you can use fresh figs. However, you may need to adjust the moisture levels in the filling.
Is it possible to make these fig bars vegan?
Absolutely! To make these fig bars vegan, substitute the unsalted butter with coconut oil or vegan butter, and replace the egg (if any is included in your desired addition) with a flax egg or applesauce.
What can I serve with fig bars?
Fig bars pair wonderfully with a cup of tea or coffee, and they can also be served alongside yogurt or ice cream for a dessert option. Fresh fruits or a drizzle of honey can also complement them beautifully.
How can I customize the sweetness level?
If you prefer a less sweet bar, reduce the amount of brown sugar and adjust the figs according to your taste. Remember that the figs do add natural sweetness, so feel free to experiment!
Can I add other dried fruits to the filling?
Yes, you can definitely mix in other dried fruits like raisins, apricots, or cranberries for added flavor and texture.
Conclusion
Getting into the kitchen to make these homemade fig bars is more than just preparing a snack; it’s about creating an experience filled with delicious aromas, special moments, and delightful flavors. With their unique touches and customizable options, these bars promise to become a staple in your recipe collection. Whether you’re savoring them with a friend over coffee or packing them as a treat for your child’s lunch, these fig bars are sure to create lasting memories. Don’t forget to share your experiences or any adaptations you tried in the comments below! Let’s keep the spirit of food and friendship alive, one fig bar at a time.
Print
Delicious Homemade Fig Bars Ultimate Recipe for Snacks
Discover this ultimate recipe for delicious homemade fig bars Perfect for satisfying snacks Create your own treats with ease today
- Total Time: 45 minutes
- Yield: 16 servings 1x
Ingredients
Instructions
- Prep Time: 15 minutes
- Cook Time: 30 minutes
- Category: Dessert
- Cuisine: American
Nutrition
- Calories: 180 calories
- Sugar: 8 grams
- Fat: 7 grams
- Saturated Fat: 7 grams
- Carbohydrates: 28 grams
- Fiber: 3 grams
- Protein: 3 grams
Keywords: fig bars, homemade, dessert recipe, healthy snack