
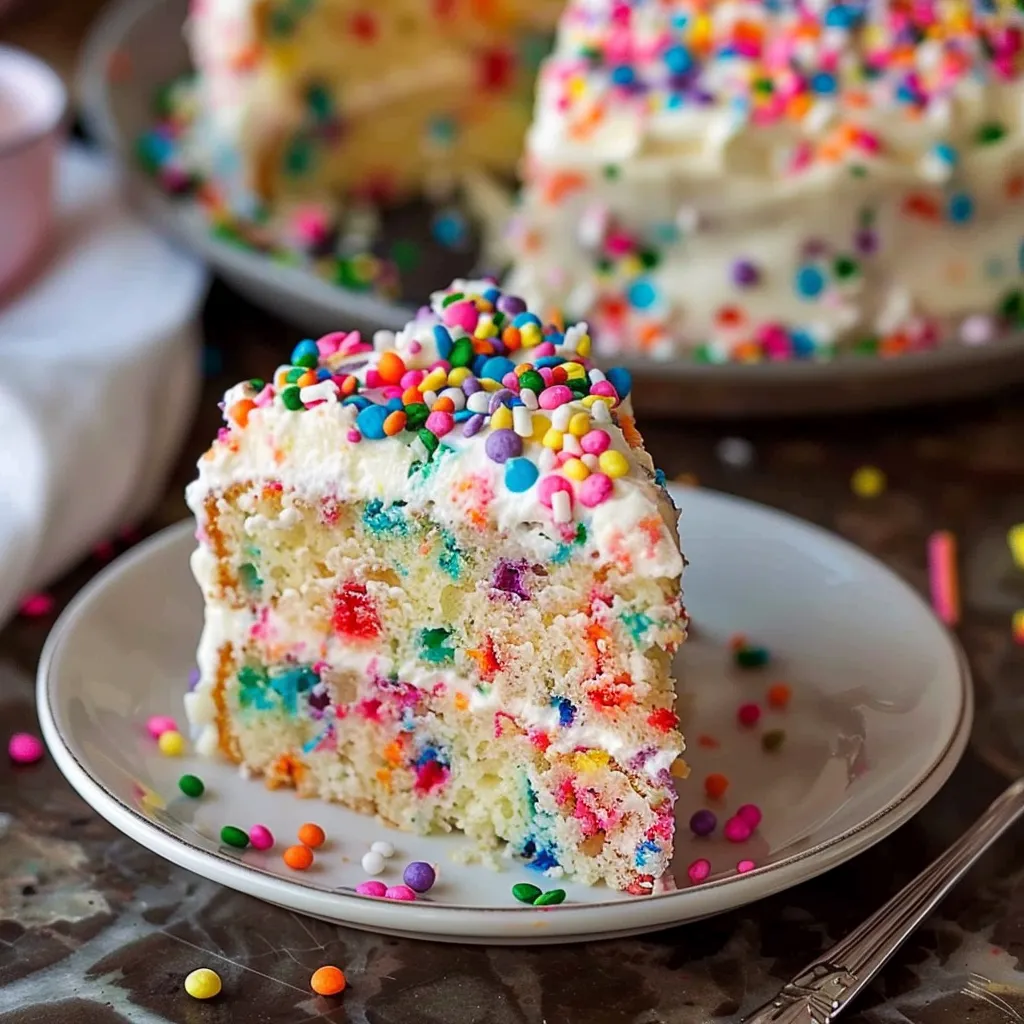
As I sit on my porch, the sun dipping below the horizon, I can’t help but smile at the memory of my first homemade Funfetti Cake. I had invited friends over for a cozy summer gathering, and although I was slightly nervous (let’s be real, the kitchen and I sometimes have a love-hate relationship), I knew this cake would be a game-changer. There’s something undeniably joyful about colorful sprinkles peeking through fluffy cake layers; it’s like a sprinkle of happiness on a plate! This delightful cake takes me back to childhood birthday parties, where a slice of cake meant not just dessert, but celebration, laughter, and oh-so-sweet memories. No fancy techniques or complicated ingredients are needed — just straightforward, heartwarming baking. And trust me, once you try it, you’ll be saying, “Why didn’t I make this sooner?”
Why You’ll Love This Recipe
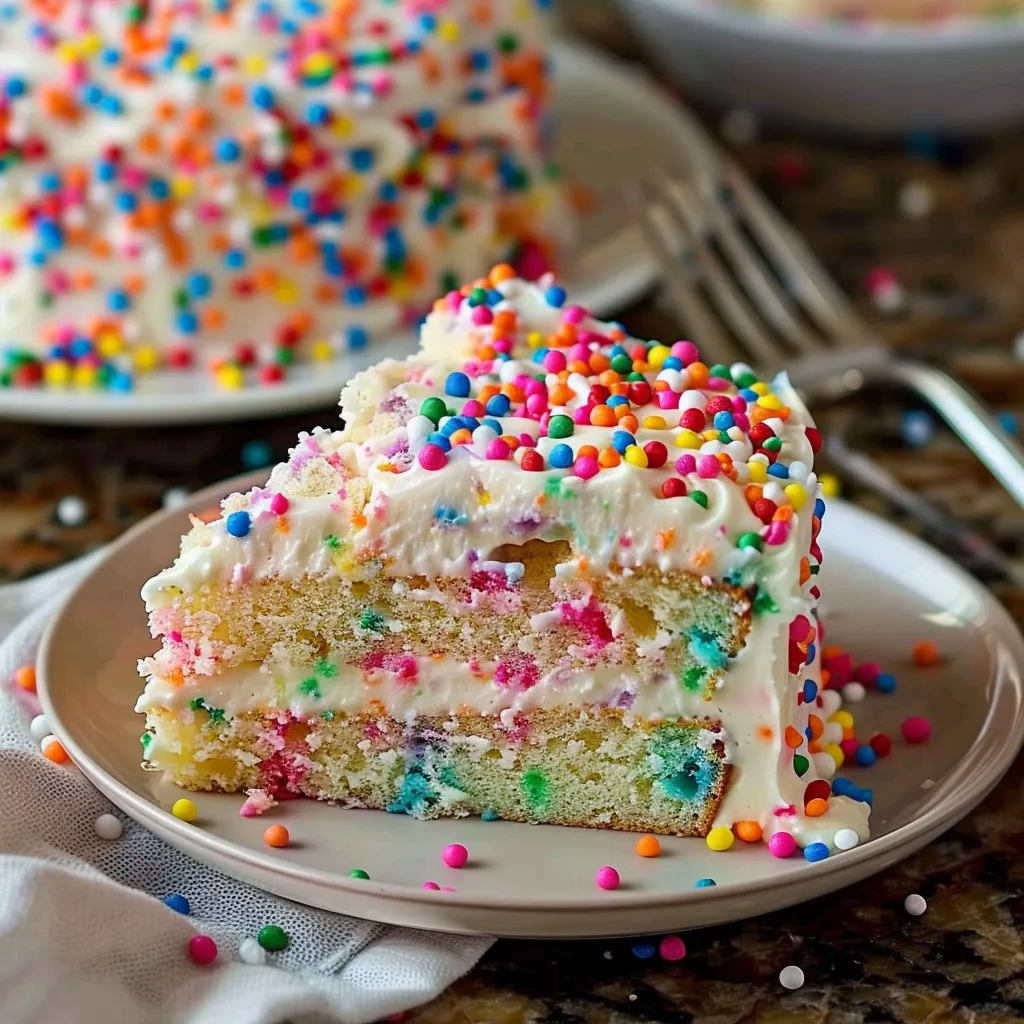
Let me tell you why this Funfetti Cake deserves a special spot in your recipe collection. It’s not only wildly appealing with its vibrant sprinkles but also surprisingly simple to whip up. Perfect for birthdays, holidays, or just because you want a bite of happiness! It’s a blank canvas for your creativity: layer it with frosting, serve it plain, or drizzle a rich glaze on top. Honestly, just the aroma of vanilla and sugar wafting through your kitchen will be enough to fill you with glee. Kids and adults alike are guaranteed to be delighted — it’s truly a crowd-pleaser!
What It Tastes Like
Picture this: as you dive into your first slice, you’re greeted by the soft, moist crumb that crumbles just right, all thanks to the delightful combination of butter and sugar. The vanilla flavor dances on your palate, mixing perfectly with the burst of sweetness from the sprinkles. It’s like a comforting hug from your favorite sweater after a long day — warm, inviting, and utterly satisfying. You’ll find yourself going back for just one more piece, because each bite is just that good!
Ingredients You’ll Need
- 2 ½ cups all-purpose flour: This forms the base and gives the cake its lovely structure.
- 1 ½ cups granulated sugar: Sweetens the cake and helps create a nice texture.
- ½ cup unsalted butter, softened: Gives that rich, buttery flavor everyone craves.
- 1 cup whole milk: Adds moisture — a must for a soft cake!
- 3 large eggs: Binds everything together and creates that fluffy texture.
- 2 ½ teaspoons baking powder: The secret for a light and fluffy cake!
- 1 teaspoon vanilla extract: Enhances flavor, bringing in warmth and comfort.
- ½ teaspoon salt: Balances the sweetness beautifully.
- ½ cup rainbow sprinkles: The star of the show! It adds a joyful pop of color.
Optional Additions: Want to jazz it up? Consider adding a tablespoon of almond extract for a nutty twist or some spiced cinnamon for a warm background note. If you’re feeling adventurous, try substituting half the flour with almond flour for a slight nuttiness and moistness!
Special Garnishes: Top your cake with a fluffy vanilla buttercream frosting, fresh berries, or even a simple dusting of powdered sugar. If you want, sprinkles can dress it up for an even more festive look!
Step-by-Step Instructions
Got your ingredients ready? Let’s get baking!
- Preheat your oven to 350°F (175°C): This is key! You want your cake to bake evenly and rise nicely.
- Grease and flour your cake pans: I usually use 9-inch round pans. This prevents any sticking — trust me, you’ll thank me later!
- Mix the dry ingredients: In a bowl, whisk together the flour, baking powder, and salt. This ensures even distribution of the leavening agent.
- Beat the butter and sugar: In a large mixing bowl, cream the softened butter and granulated sugar until light and fluffy, about 3-4 minutes. Here’s the funny part — you might dance a little while mixing because who doesn’t get happy with some butter and sugar?
- Add the eggs and vanilla: Beat in the eggs one at a time, followed by the vanilla. Make sure to scrape down the edges of the bowl so everything’s well combined.
- Combine wet and dry ingredients: Gradually alternate adding the milk and your dry mix to the butter mixture, starting and ending with the dry. Don’t overmix — we want that fluffy texture!
- Fold in the sprinkles: This is where the magic happens! Gently fold in the sprinkles using a spatula — we want to keep them intact and colorful.
- Pour the batter into the prepared pans: Once it’s evenly distributed, give it a gentle tap on the counter to release any air bubbles.
- Bake: Pop it in the oven for about 25-30 minutes, or until a toothpick comes out clean. Keep an eye on it, though! Nobody likes a burnt cake (I learned that the hard way!).
- Cool and frost: Let the cakes cool in the pans for about 10 minutes before transferring them to a wire rack. Once cool, frost as desired and garnish!
That’s it — pretty easy, right? Baking can be such a joy and I can’t wait for you to experience it!
Recipe Variations
If you’re feeling creative, why not switch things up a bit? Swap out the vanilla extract for lemon or orange to provide a refreshing citrus note. You could even layer it with chocolate ganache instead of frosting for a decadent treat! Want to make it gluten-free? Just substitute the all-purpose flour with your favorite gluten-free blend. The options are endless, folks! Ever tried it with a swirl of Nutella in the middle? You should. It’s a game-changer!
Serving & Storage Tips
To serve, I recommend slicing it into generous pieces and offering a side of whipped cream berries for that fancy touch — it’s the little things, right? For storing leftovers, keep them in an airtight container at room temperature for up to three days. And if you want to preserve that fresh taste, pop it in the fridge; it’ll stay good for about a week. Want to reheat? Just place a slice in the microwave for about 10-15 seconds — it brings back that cozy warmth of freshly baked cake!
Helpful Tips
Now, here are a few of my personal nuggets of wisdom: One mistake I used to make was overbaking my cakes. Learn from my mistake — a toothpick should come out clean with just a few moist crumbs for perfect moistness. Also, if you find your batter too thick, just a splash more milk might be the trick! Lastly, always let your cake cool before frosting — trust me, otherwise the frosting might melt all over, and nobody wants that hot mess!
Special Equipment
- Mixing bowls: Having a few in different sizes is super helpful for mixing and controlling space.
- Electric mixer: While you can certainly whisk by hand, an electric mixer saves you time and effort, and gives you that perfect fluffy butter-sugar mix!
- Measuring cups and spoons: Accurate measurements are vital in baking, don’t skimp here!
- Cake pans: I use 9-inch round pans, but any size will do—just adjust the baking time if you choose something different.
These tools make life so much easier while baking this scrumptious Funfetti Cake!
Frequently Asked Questions
Can I make this vegan?
Absolutely! You can substitute the eggs with flaxseed meal or applesauce, and use plant-based butter and milk. It’ll still be delish!
What kind of sprinkles should I use?
Traditional jimmies work wonderfully, but avoid nonpareils if you want to keep the sprinkles intact in the batter. They tend to bleed, which can make your cake a little muddled in color.
Can I freeze the cake?
Yes! Wrap slices or the whole cake tightly in plastic wrap and foil, then freeze for up to three months. Just thaw at room temp when you’re ready to enjoy again!
What frosting do you recommend?
Classic vanilla buttercream is a favorite, but cream cheese frosting brings a tangy twist that works perfectly with the sweetness of the cake. Both are excellent choices!
Conclusion
So there you have it — a recipe that wraps happiness in layers of fluffy cake and sprinkle joy! I hope you find as much bliss in making (and eating) this Funfetti Cake as I have over the years. Whether it’s for a special occasion or just a sweet treat on a Tuesday, I invite you to give this one a shot. I’d love to hear how it turns out for you — do drop a comment and share your experiences! Until then, happy baking, my friend — may every slice bring you a touch of that delightful joy this cake embodies!
Print
Homemade Funfetti Cake
Bake a joyful Homemade Funfetti Cake with simple ingredients for any celebration. Perfect for weeknights or special occasions. Try it today!
- Total Time: 50 minutes
- Yield: 12 servings 1x
Ingredients
Instructions
Notes
A delightful and joyful Funfetti Cake that combines colorful sprinkles and fluffy texture, perfect for celebrations or a sweet treat.
- Prep Time: 20 minutes
- Cook Time: 30 minutes
- Category: Dessert
- Cuisine: American
Nutrition
- Serving Size: 12 servings
- Calories: 350
- Sugar: 25g
- Fat: 10g
- Carbohydrates: 56g
- Fiber: 1g
- Protein: 3g
Keywords: Funfetti Cake, homemade cake, dessert recipe, colorful cake, birthday cake


