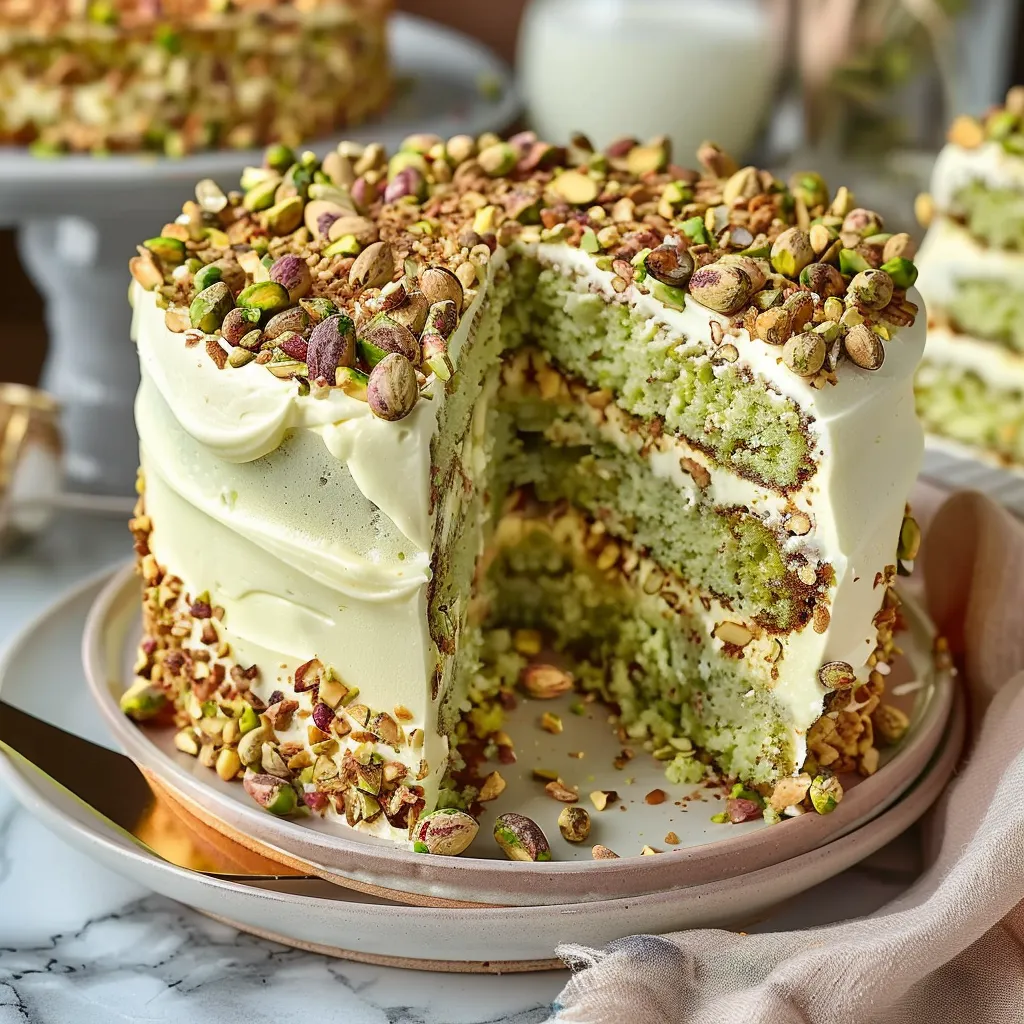
As the sun begins to dip below the horizon, casting a golden hue across the kitchen, there’s something magical about baking a cake that fills the house with warmth and sweet aromas. This Pistachio Mascarpone Layer Cake has become a treasured recipe in my home, perfect for cozy gatherings or even a simple night in. The combination of crunchy pistachios and rich mascarpone brings a touch of luxury to the table, and the best part? It’s surprisingly simple to make!
Why You’ll Love This Recipe
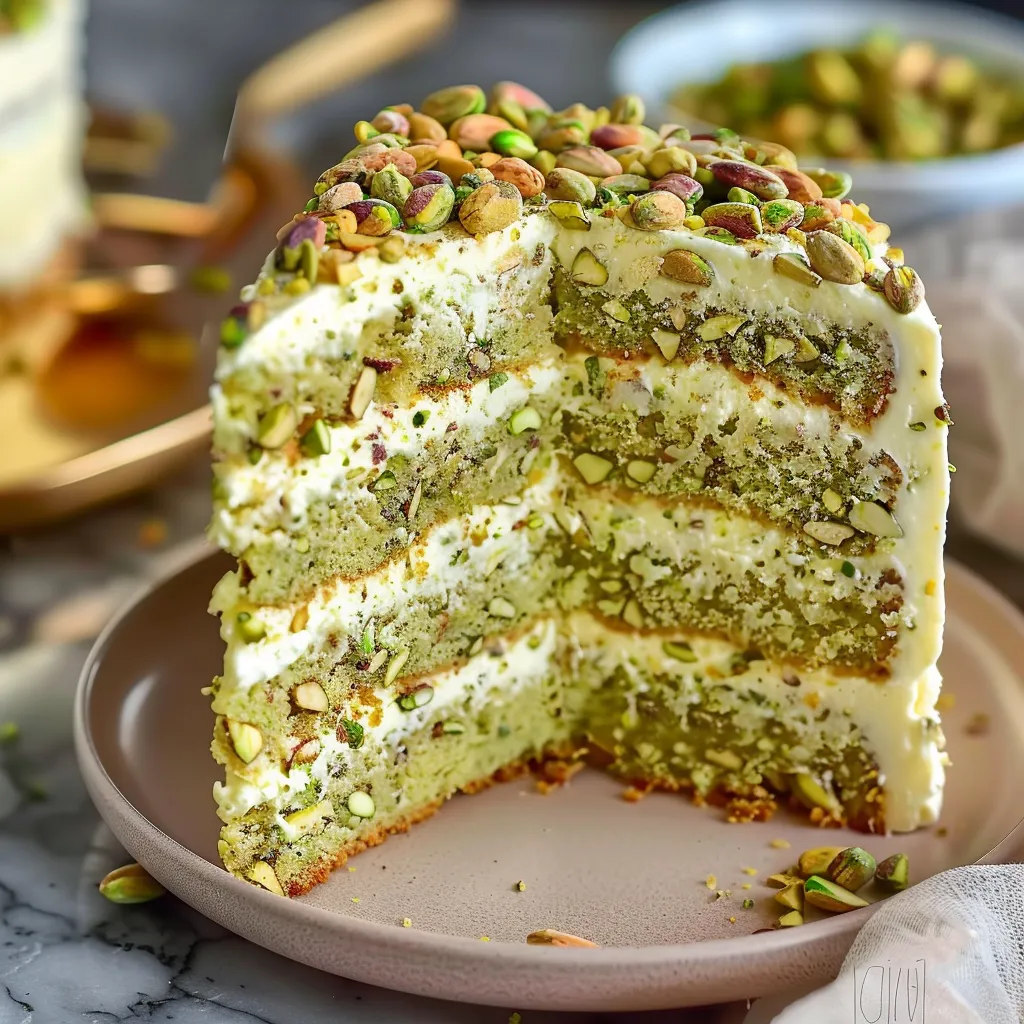
This cake isn’t just a feast for the eyes; it’s a flavor-packed delight that will have everyone coming back for seconds—trust me on this one! With layers of moist pistachio sponge and creamy mascarpone filling, it’s a showstopper perfect for birthdays, anniversaries, or any occasion where you want to impress. Plus, it’s a fantastic way to use seasonal ingredients, and if you take a few shortcuts, the prep time won’t eat up your entire day. So, get your apron on; you’re going to love this!
What It Tastes Like
Imagine biting into a slice of this cake—it’s like a dreamy cloud of sweetness, with the distinct nuttiness of pistachios enveloping your taste buds. The cake is tender yet sturdy, and when paired with the velvety mascarpone, it creates a creamy, luxurious texture that dances with flavors. Each bite is a little bit like getting a warm hug on a chilly evening, comforting and satisfying, yet with a playful sense of indulgence that feels entirely justified. Seriously, you won’t be able to stop at just one slice!
Ingredients You’ll Need
- Pistachios (1 cup, shelled): Adds a nutty flavor and delightful crunch to the cake.
- All-purpose flour (1 ½ cups): The backbone of the cake, creating that lovely structure.
- Sugar (1 cup): Brings sweetness; feel free to adjust to your taste!
- Baking powder (1 ½ teaspoons): Helps the cake rise to fluffy perfection.
- Salt (½ teaspoon): Balances the sweetness for a well-rounded flavor.
- Eggs (3 large): Binds the ingredients and adds richness.
- Milk (½ cup): Keeps the cake moist and tender.
- Vanilla extract (2 teaspoons): Infuses warm, fragrant notes; you could even try almond extract for a twist!
- Mascarpone cheese (1 cup): The star of the filling, adding creamy goodness.
- Heavy cream (1 cup, for whipping): Lightens the mascarpone for that fluffy texture.
Optional Additions: You can throw in some lemon zest for a refreshing twist or even swap the pistachios for walnuts if you’re feeling adventurous!
Special Garnishes: A sprinkle of crushed pistachios on top or a drizzle of honey would add a professional touch to your presentation.
Step-by-Step Instructions
Ready to dive in? Let’s go!
- Preheat the Oven: Start by preheating your oven to 350°F (175°C). Grease and flour two 9-inch round cake pans.
- Prepare the Pistachios: In a food processor, finely grind the pistachios. Set aside a handful for garnishing later!
- Mix Dry Ingredients: In a large bowl, whisk together the flour, ground pistachios, baking powder, and salt.
- Whip Wet Ingredients: In another bowl, beat the sugar and eggs until light and fluffy—about 2-3 minutes. Then, mix in the milk and vanilla.
- Combine: Gradually add the dry ingredients to the wet mixture, stirring gently until just combined.
- Pour & Bake: Divide the batter between the prepared pans and bake for about 25-30 minutes, or until a toothpick comes out clean. Let them cool in the pans for 10 minutes, then transfer to wire racks to cool completely.
- Make the Filling: In a bowl, whip the heavy cream until stiff peaks form, then gently fold in the mascarpone until smooth. It’s crucial not to overmix! You want a light and airy filling.
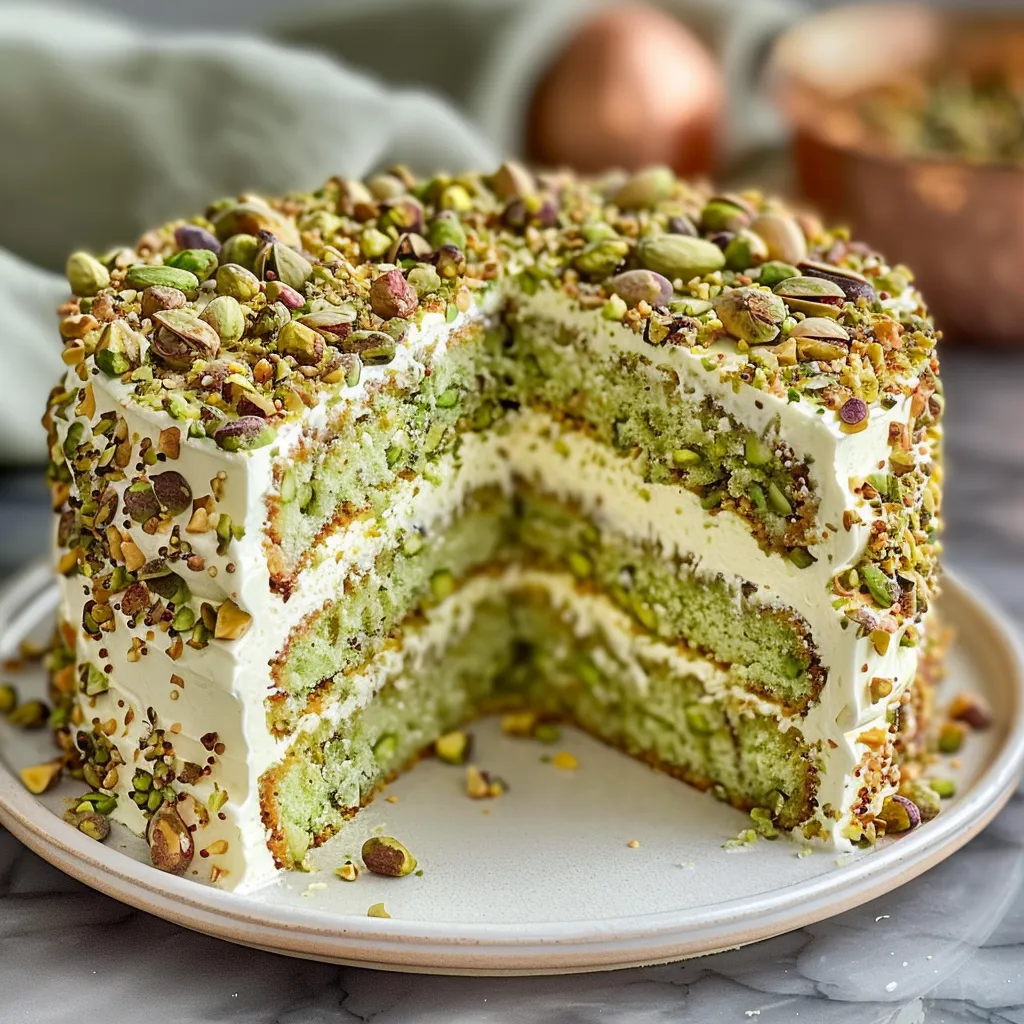
- Layer It Up: Once the cakes are completely cool, place one layer on a serving platter. Spread half of the mascarpone filling on top, then carefully place the second layer on and finish with the remaining filling.
- Garnish: Top with the reserved crushed pistachios and perhaps a drizzle of honey for an extra touch. Then, slice it up!
That’s it—pretty easy, right?
Recipe Variations
Feeling like switching things up? Here are a few ideas! You can replace the pistachios with almonds or hazelnuts for a different flavor profile. If someone in your circle is gluten-free, simply substitute the all-purpose flour with a 1:1 gluten-free blend and voilà! And honestly, adding a layer of fresh berries between the cake layers can also elevate the dish beautifully.
Serving & Storage Tips
For serving, slice with a sharp knife and approach it—after all, you want those pristine layers to shine! You can add extra crushed pistachios on individual plates for a lovely touch. If you have leftovers (which I doubt, but just in case!), store them in an airtight container in the fridge for up to 3 days. And if you want to savor that cake longer, freezing individual slices is a great option. Just wrap them well in plastic wrap and then in foil.
Helpful Tips
Here’s the funny part: I used to think baking was all about following the rules—there’s a bit of art to it, too! One common pitfall I faced was overbaking the layers. Trust me, keep an eye on your cakes; you want them just sweet and golden! And remember, letting your cakes cool completely is key to keeping the mascarpone filling fluffy rather than melting into a gooey mess.
Special Equipment
- Electric Mixer: A handheld or stand mixer will save you time and energy when whipping that cream and mixing your batter.
- Food Processor: Ideal for grinding pistachios and making sure they’re finely mixed into the batter.
- Offset Spatula: Makes spreading the mascarpone filling a breeze—it really helps to get that smooth, professional finish!
Frequently Asked Questions
Can I use raw pistachios for this recipe?
Yes, but roasted pistachios bring out a deeper flavor that enhances the cake. If you use raw ones, consider toasting them lightly before grinding for an extra kick!
What if I can’t find mascarpone cheese?
If mascarpone is hard to come by, you can mix cream cheese with heavy cream in a 1:1 ratio as a substitute. It won’t taste exactly the same, but it’ll still be delicious!
Can I make this cake in advance?
Absolutely! You can bake the layers a day ahead and store them tightly wrapped. Just assemble it the day you plan to serve for the freshest taste!
Is it necessary to refrigerate the cake?
Since it has mascarpone and whipped cream, yes! Refrigerate after serving to keep it fresh and prevent the filling from getting too soft.
Conclusion
This Pistachio Mascarpone Layer Cake is more than just a dessert—it’s a little labor of love that brings warmth and joy to any gathering. I can’t wait for you to try it! Remember, it’s all about enjoying the process and making it your own. So, grab a friend, chat over a cup of coffee, and let the baking begin. I’d love to hear how yours turns out, so please share your thoughts in the comments! Happy baking!
Print
“Delicious Pistachio Mascarpone Layer Cake for Any Celebration”
Savor this delightful Pistachio Mascarpone Layer Cake, perfect for any celebration. Its rich flavors and simple prep make it a must-try! Save this recipe.
- Total Time: 1 hour
- Yield: 12 servings 1x
Ingredients
Instructions
Notes
This Pistachio Mascarpone Layer Cake combines crunchy pistachios and rich mascarpone in a delightful dessert that is perfect for gatherings and easy to make.
- Prep Time: 30 minutes
- Cook Time: 30 minutes
- Category: Dessert
- Cuisine: Italian
Nutrition
- Serving Size: 12 servings
- Calories: 350
- Sugar: 25g
- Fat: 20g
- Carbohydrates: 38g
- Fiber: 2g
- Protein: 6g
Keywords: Pistachio Cake, Mascarpone Cake, Layer Cake, Dessert Recipes, Italian Desserts


