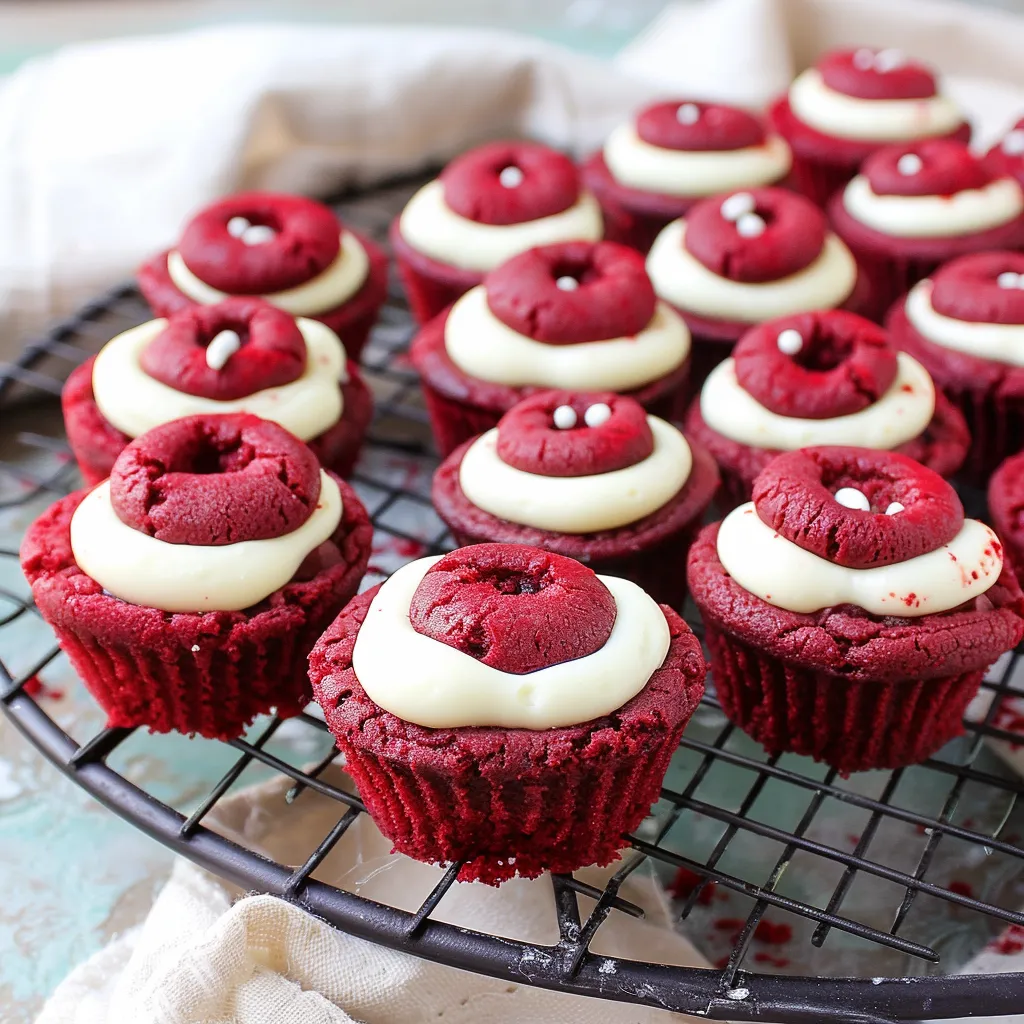
Picture this: a cozy evening in late winter, when the air is still crisp, and the promise of spring seems just a whisper away. The kitchen is aglow with soft light, the kind that welcomes you in as you pour yourself a cup of tea. I’m on a mission to bring a little cheer to a chilly night, and what better way than with warm, vibrant Red Velvet Cookie Cups? They’re not just your everyday cookie; they hold a little bit of magic in their tender cores, a swirl of chocolatey delight and a hint of cream cheese that brings a smile with every bite. This recipe captures the essence of comfort with a touch of elegance — perfect for sharing with loved ones or treating yourself to a little something special. And trust me, it’s easier than you might think!
Why You’ll Love This Recipe
Honestly, if you’re looking for a quick, crowd-pleasing dessert that never fails to impress, then these Red Velvet Cookie Cups are calling your name! They are surprisingly simple to make, making them perfect for those moments when you want to whip up something delicious without the fuss. The vibrant red color makes them visually stunning, and the combination of flavors is downright delightful. Whether it’s for a holiday gathering, a birthday bash, or just because it’s Thursday, these little cups of joy will steal the show. Plus, who doesn’t love cookies that come with their own edible wrappers? You’ll find yourself wanting to share these with everyone!
What It Tastes Like
Now, let’s get to the good stuff: the taste! Imagine biting into a soft, pillowy cookie with a rich, velvety flavor that dances sweetly on your palate. The subtle cocoa gives a depth that balances beautifully with the creamy, tangy cream cheese filling. It’s like that first warm hug after a long day, or the comfort of a classic love song playing softly in the background. Each bite has a delicate crumb, with just enough chewiness to keep you coming back for more. And don’t even get me started on that cream cheese filling — it’s an indulgence without being overly sweet, making these cookie cups irresistible!
Ingredients You’ll Need
Let’s gather our ingredients! Here’s what you need to create these delightful treats:
- 1 ⅓ cups all-purpose flour: This is the base of our cookies, providing that needed structure.
- ½ cup unsweetened cocoa powder: This adds a subtle chocolate flavor that complements the red velvet beautifully.
- ½ teaspoon baking soda: Our rising agent, ensuring our cookie cups puff up nicely.
- ½ teaspoon salt: A pinch to enhance all the flavors.
- ½ cup unsalted butter, softened: This adds richness and tenderness to our cookie cups.
- 1 cup granulated sugar: For that delightful sweetness — because who doesn’t love sugar?
- 1 large egg: This helps bind everything together!
- 2 tablespoons red food coloring: To give our cookies that iconic red hue — plus it’s just fun!
- 1 teaspoon vanilla extract: For a touch of warm, comforting flavor.
- ½ cup cream cheese, softened: The star of our filling, adding a creamy and tangy flavor.
- ½ cup powdered sugar: Sweetening up that cream cheese filling — it’s a match made in heaven!
Optional Additions: Feel free to mix in some chocolate chips or nuts for an extra crunch or swap out the cream cheese filling for vanilla buttercream if you’re feeling adventurous!
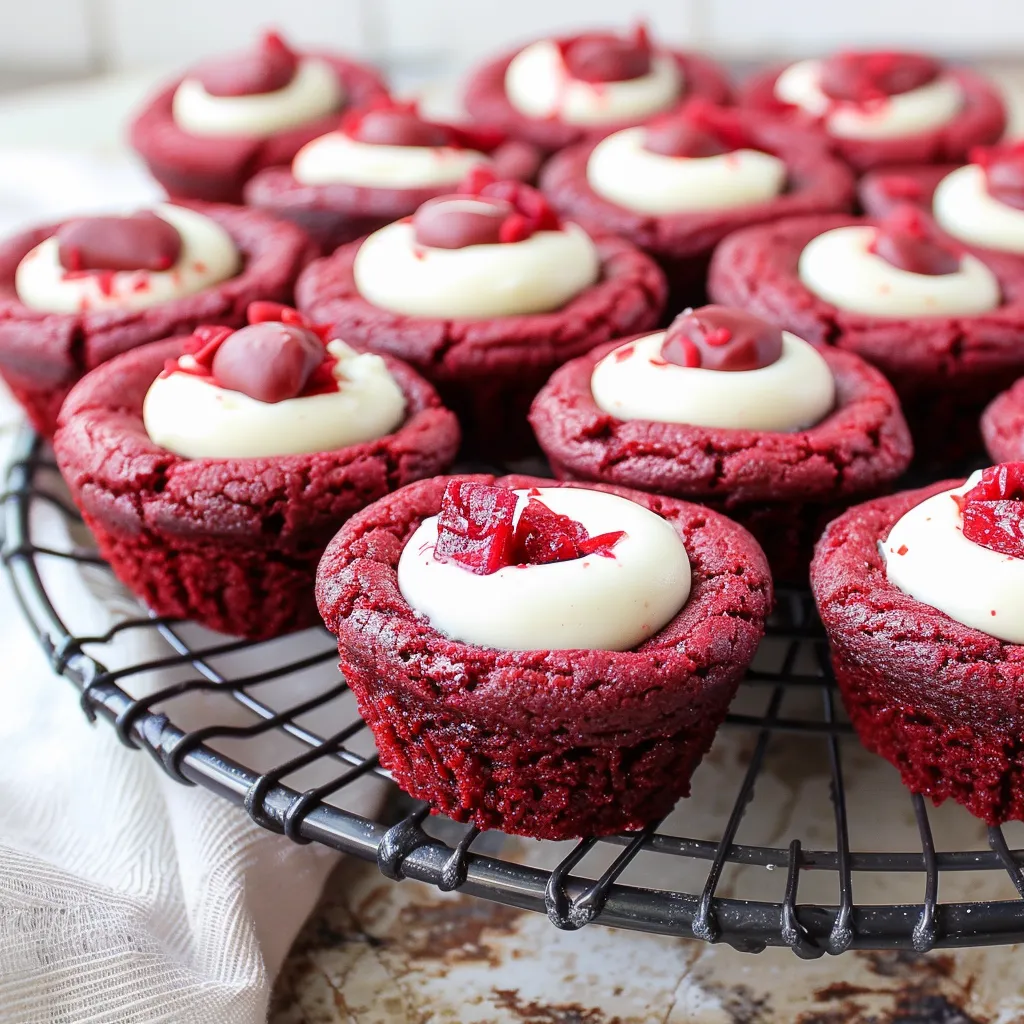
Special Garnishes: A sprinkle of powdered sugar right before serving or a drizzle of chocolate sauce will elevate the presentation without much effort — they’ll look like they’ve come straight from a bakery!
Step-by-Step Instructions
Alright, let’s get baking! Follow these simple steps, and you’ll be on your way to cookie cup bliss:
- Preheat your oven: Preheat your oven to 350°F (175°C) and grease a muffin tin — this is where your cookie cups will take shape!
- Mix dry ingredients: In a bowl, whisk together the flour, cocoa powder, baking soda, and salt. Set this dry mixture aside — it’s the backbone of our cookies.
- Cream butter and sugar: In a large mixing bowl, cream the softened butter and granulated sugar together until light and fluffy. This should take about 3-4 minutes. Trust me, don’t rush this step — it makes all the difference!
- Add the egg and food coloring: Beat in the egg, red food coloring, and vanilla extract until well combined, creating that gorgeous red color.
- Combine wet and dry ingredients: Gradually add the dry ingredients to the wet, mixing just until everything is combined. Don’t overmix here — we want tender cookies!
- Fill the muffin tin: Using a cookie scoop or spoon, drop a generous amount of the dough into each muffin cup, pressing down gently to form cups. Make sure they’re not too full, as they will puff up!
- Bake them up: Bake for 10-12 minutes until the edges are set. Don’t worry if they look slightly underbaked; they’ll continue to cook a bit out of the oven!
- Cool and prepare the filling: Once baked, let the cookie cups cool in the tin for about 5 minutes, then gently remove them and let them cool completely on a wire rack. During this time, beat together the cream cheese and powdered sugar until smooth and creamy for the filling.
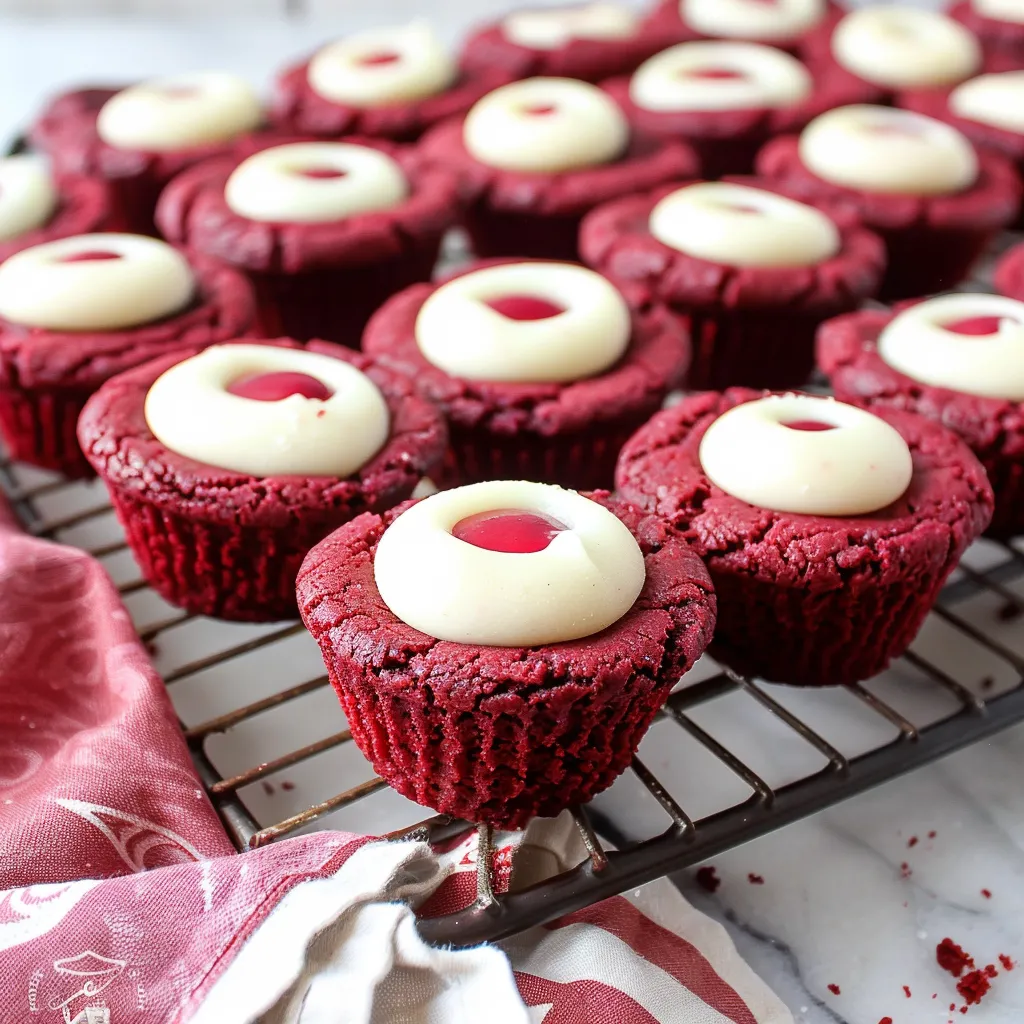
- Fill and indulge: Spoon or pipe the luscious cream cheese filling into each cookie cup, then serve and enjoy!
Recipe Variations
Now, if you’re feeling a bit adventurous (which I totally encourage!), there are plenty of ways to customize these cookie cups. You could replace the cream cheese filling with a light whipped cream for a fluffier touch or add some orange zest to the mix for a bright twist. Want to make them a bit more decadent? Try adding chocolate ganache on top! There’s no wrong way to put your spin on these cups, and I’d love to hear what delicious variations you come up with!
Serving & Storage Tips
To serve these beauties, arrange them on a pretty platter for maximum effect. They look delightful on a simple plate or dressed up with some fresh raspberries or a mint leaf as a garnish. If you happen to have any leftovers (which I doubt!), store them in an airtight container in the fridge. They should keep well for about 3-4 days. To enjoy them again, just let them sit at room temperature for a while or pop one in the microwave for about 10 seconds — it’ll taste like they just came out of the oven!
Helpful Tips
As a seasoned baker, I’ve learned a few tricks along the way that just might save you some headaches. One of the biggest mistakes I see is overmixing the dough — be gentle! Also, if your cookies seem to spread too much, try chilling the dough for about 20-30 minutes before scooping it into the muffin tin. Lastly, don’t skip out on checking the cookies for doneness a minute or two before the timer goes off, as all ovens are slightly different. That little proactive step can keep your cookie cups from overbaking!
Special Equipment
- Muffin Tin: This is essential for shaping our cookie cups — one without this might find it hard to achieve that lovely shape!
- Mixing Bowls: I always recommend having a set of these in various sizes for easy mixing and prep work. No need to be constantly washing one bowl!
- Hand Mixer or Stand Mixer: While you can mix everything by hand, a hand mixer or stand mixer makes creaming the butter and sugar a breeze.
How can I make these gluten-free?
No problem! You can easily swap the all-purpose flour for a gluten-free flour blend. Just make sure to check that all other ingredients are gluten-free, too!
Can I make the dough ahead of time?
Absolutely! You can prepare the dough a day in advance and keep it covered in the fridge. Just remember to let it come back to room temperature before scooping and baking.
What if I don’t have food coloring?
If you find yourself without red food coloring, you can still enjoy a chocolate cookie cup! It may not have that classic red velvet appearance, but the flavors will still be amazing. You could also use beet juice or powder for a natural coloring option!
Can I freeze the cookie cups?
Yes, you can freeze them! Just make sure to freeze them without the filling. Store the cooled cookie cups in an airtight container, and they should keep well for about 2-3 months. When you’re ready to enjoy, thaw them, and then fill them with the cream cheese mixture.
Conclusion
So, there you have it — warm, inviting Red Velvet Cookie Cups that bring a slice of happiness to any occasion! They embody the kind of bake that makes you feel all cozy inside, and they’ll surely become a favorite in your home. Whether you’re celebrating a special moment or simply enjoying a quiet night, I hope you’ll try making them soon. And if you do, I’d love to hear how they turn out! Leave a comment below and share your experience — let’s keep this warm kitchen chat going! Until next time, happy baking and remember, it’s always a good day for cookies!
Print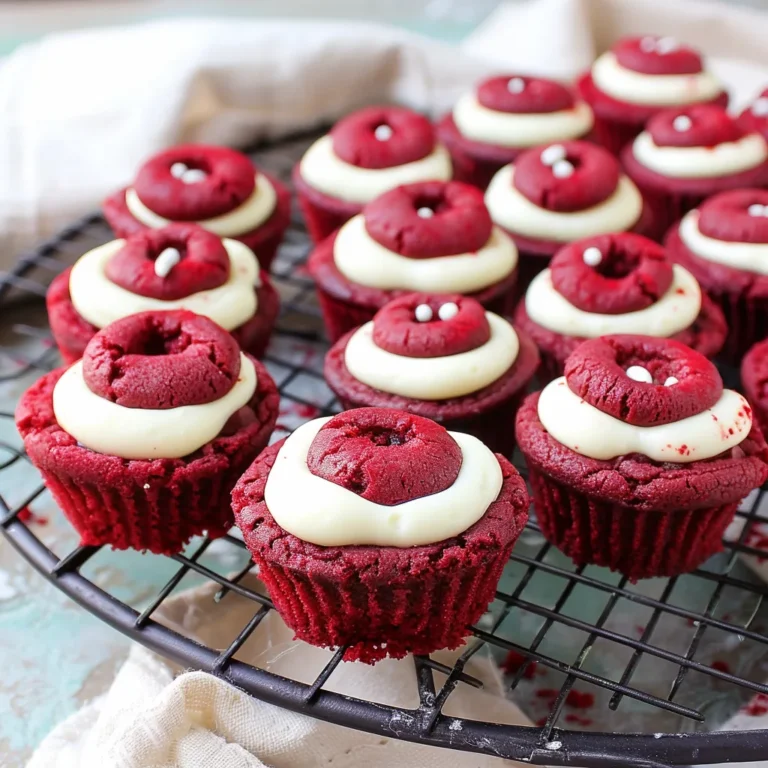
Deliciously Chewy Red Velvet Cookie Cups Easy Homemade Treats
Savor the rich flavor of these Red Velvet Cookie Cupseasy homemade treats that are perfect for any occasion Try it today for a delightful dessert
- Total Time: 32 minutes
- Yield: 12 cookie cups 1x
Ingredients
Instructions
Notes
Warm, vibrant Red Velvet Cookie Cups with a chocolatey core and cream cheese filling, perfect for sharing or treating yourself.
- Prep Time: 20 minutes
- Cook Time: 12 minutes
- Category: Dessert
- Cuisine: American
Nutrition
- Serving Size: 12 cookie cups
- Calories: 200
- Sugar: 15g
- Fat: 9g
- Carbohydrates: 28g
- Fiber: 1g
- Protein: 2g
Keywords: Red Velvet, Cookie Cups, Dessert, Baking, Treats


