There’s something magical about key lime pie—it takes me straight back to sun-soaked summer days, the kind where the air is thick with the sound of laughter and the scent of fresh citrus. I remember making my first pie with my grandmother, her gentle hands guiding mine as we whisked together tangy key lime juice and sweetened condensed milk. The anticipation of that first bite, the blend of tart and sweet, and the creamy texture has been forever etched in my memory. This recipe for Key Lime Pie Bars brings back that nostalgia, but with the added bonus of being incredibly easy to prepare!
These bars celebrate the iconic flavors of key lime pie without the fuss of a pie crust. All you need are basic ingredients, a bit of prep time, and then—it’s just a wait for that magical moment when you get to slice into those bright, zesty squares. They’re perfect for summer barbecues, potlucks, or just a sunny afternoon treat. Trust me, you’ll love making (and eating) them!
Why You’ll Love This Recipe
This Key Lime Pie Bars recipe is your go-to when you want something truly delicious but easy. They’re quick to put together, perfect for a crowd, and let’s be honest—who doesn’t love a dessert that balances tartness with sweetness? These bars are the ideal canvas for showcasing those refreshing citrus flavors, making them a delightful treat year-round! Plus, you don’t have to worry about crumbling pie crusts; it’s all about those creamy layers and that sweet and tangy filling. You’ll find yourself going back for seconds (and maybe thirds!).
What It Tastes Like
Imagine biting into a creamy bar that dances on your taste buds—a burst of citrus with just the right amount of sweetness, with a hint of graham cracker crunch providing texture. The tartness of the key limes is bright and invigorating, reminiscent of sunshine on a lazy day. The creamy filling is smooth and balanced, while the slight tang tingles on your tongue. It’s like a little slice of summer happiness, transporting you to a tropical paradise, even when you’re sitting at your kitchen table. The experience is both refreshing and comforting; like a warm hug from an old friend.
Ingredients You’ll Need
- For the crust:
- 1 ½ cups graham cracker crumbs: These form the delicious base that adds a sweet crunch.
- ⅓ cup granulated sugar: A touch of sweetness helps balance the rich flavors of the filling.
- ⅓ cup unsalted butter, melted: This binds the crumbs together for a perfect crust.
- For the filling:
- 1 can (14 ounces) sweetened condensed milk: This lends creaminess and sweetness—essential for key lime pie magic.
- ½ cup fresh key lime juice: The star of the show! It brings that signature zing.
- 3 large egg yolks: They add richness and help set the filling.
- For the topping (optional):
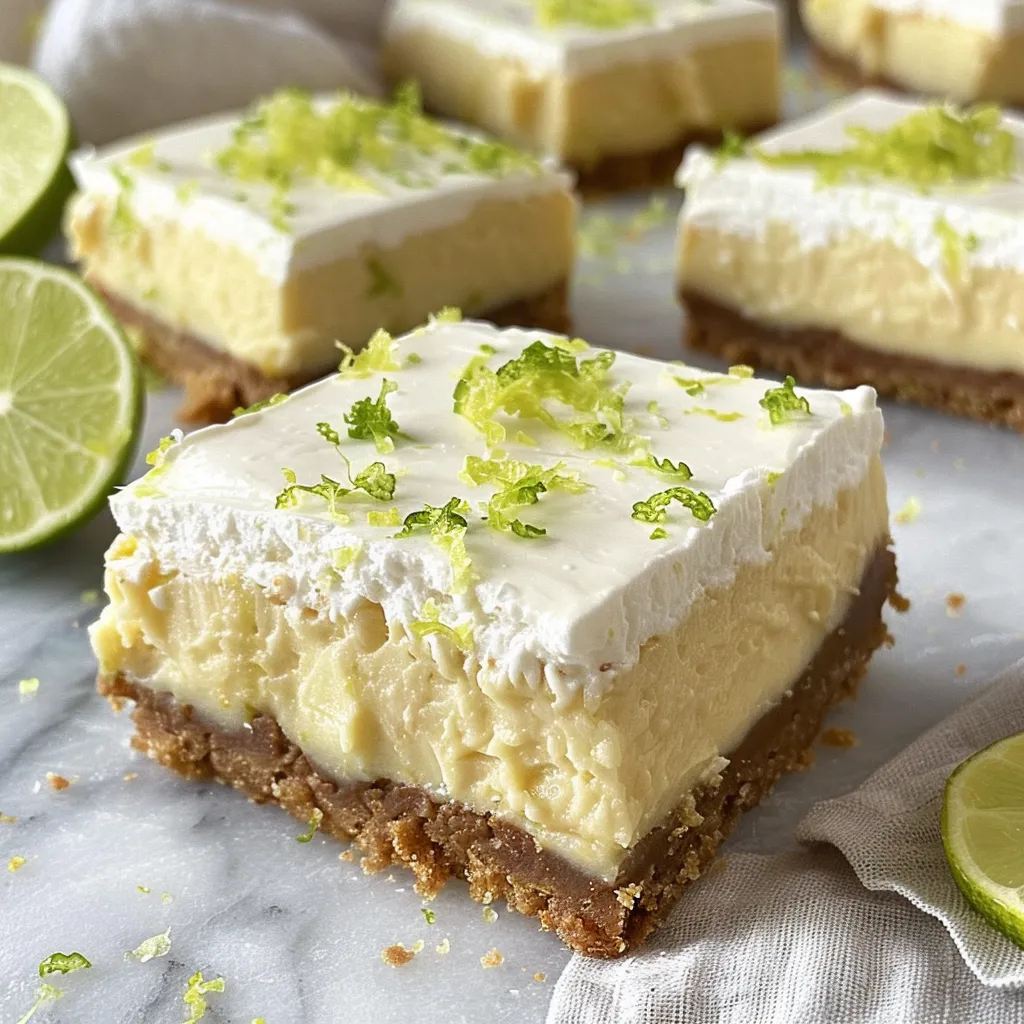
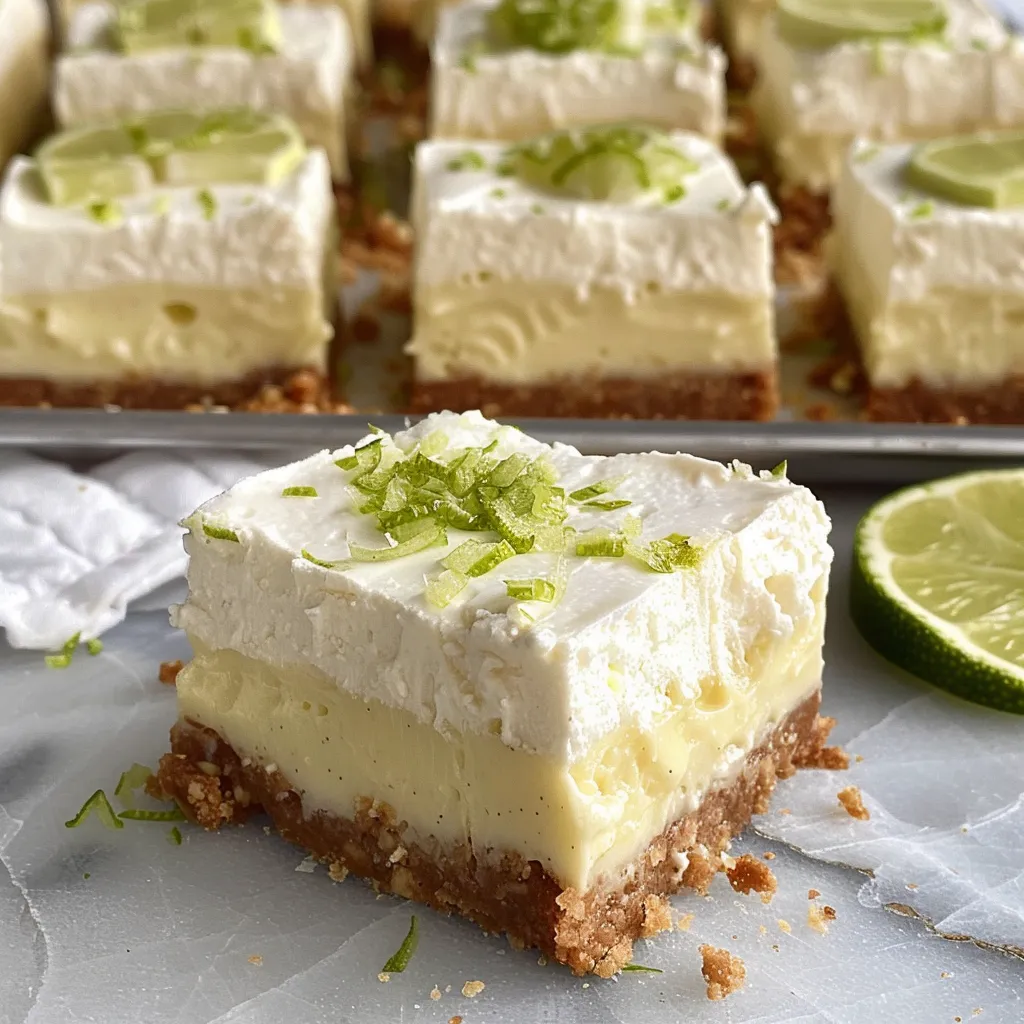
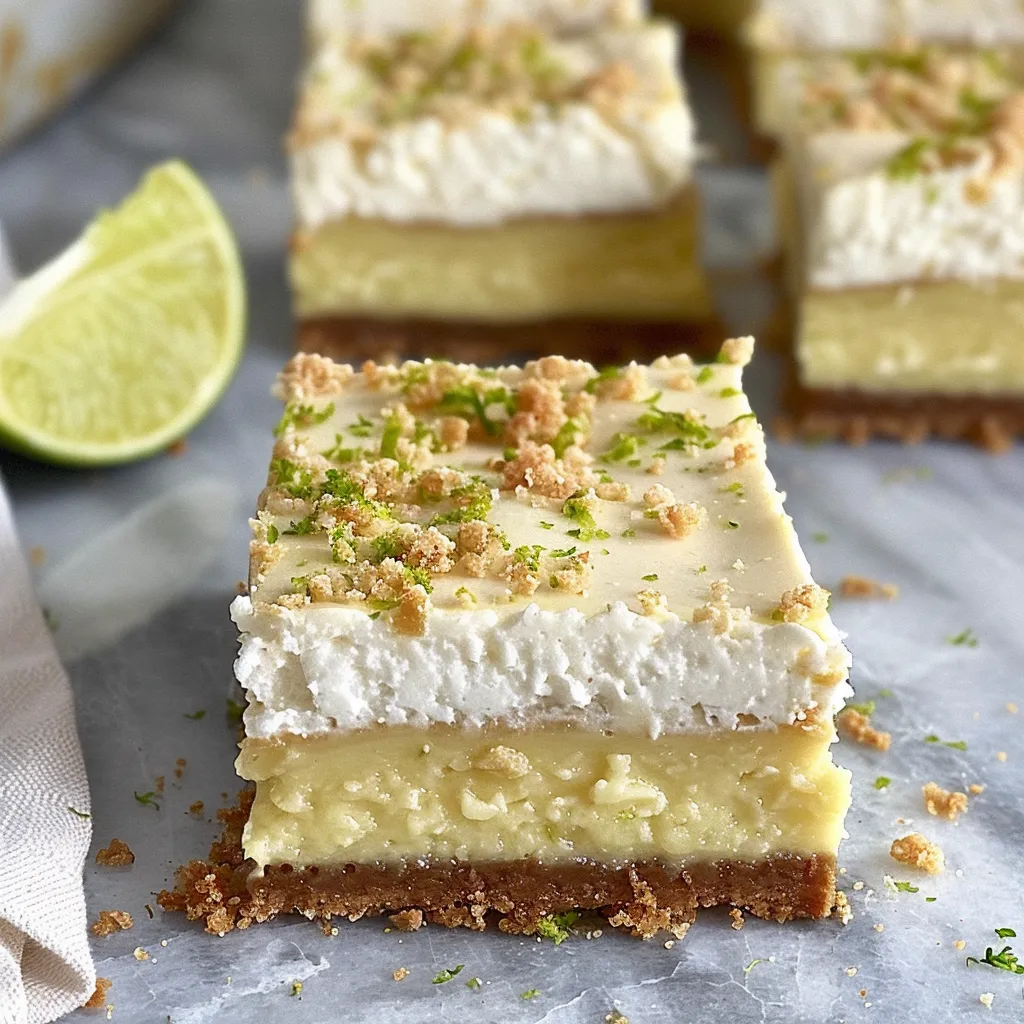
- Whipped cream: A dollop on top gives a lovely finish.
- Key lime zest: A sprinkle adds vibrant color and flavor.
Now, if you want to switch things up a bit, consider these fun options:
- Optional Additions: Throw in a teaspoon of vanilla extract for enhanced depth or mix in a bit of coconut milk for a tropical twist!
- Special Garnishes: Try crushed pistachios or toasted coconut for a unique crunch that complements the flavors beautifully.
Step-by-Step Instructions
Ready to create some kitchen magic? Here we go:
- Make the crust: Preheat your oven to 350°F (175°C). In a medium bowl, combine the graham cracker crumbs, sugar, and melted butter. Mix until all crumbs are moistened. Press this mixture firmly into the bottom of a greased 8×8-inch baking dish. It should feel solid, but don’t fret if it looks a bit rustic—both texture and taste matter here!
- Bake the crust: Bake in the preheated oven for about 10 minutes, or until slightly golden. Remove and let it cool while you prepare the filling—don’t skip this step, it’s where the magic happens!
- Prepare the filling: In a medium bowl, whisk together the sweetened condensed milk, key lime juice, and egg yolks until smooth. Be sure to mix well—no one likes rogue lumps.
- Mix and pour: Pour the filling over the cooled crust, spreading it evenly. It should be a beautiful, creamy layer atop that golden crust.
- Bake again: Return the dish to the oven and bake for another 15–20 minutes, until just set—but remember, you want it firm but not cracked. Overbaking is a common mistake; it’s meant to be smooth.
- Cool it down: Let the pie bars cool at room temperature, then chill in the refrigerator for at least 2 hours before slicing—this helps everything set up nicely.
That’s it—pretty easy, right? Now you’ve got some gorgeous bars ready to serve!
Serving & Storage Tips
When you’re ready to serve, slice these bars into generous squares and top with whipped cream and a sprinkle of key lime zest for that professional touch. They look beautiful on any dessert table! If you have leftovers (which I doubt you will), simply store them in an airtight container in the fridge for up to 4 days. You can enjoy them cold, or let them sit at room temperature for a bit—both ways are delightful!
Helpful Tips
Here’s where I share my hard-earned wisdom! I used to overbake mine until I learned this crucial trick: take them out when they look slightly underdone. They’ll finish setting as they cool! And if you want the filling super smooth, strain the mixture through a fine-mesh sieve before pouring it into the crust to catch any bits of cooked egg yolks. Trust me on this one—it makes all the difference.
Special Equipment
- Mixing bowls: Softened or melted ingredients mix better when you have a good set of bowls that fit snugly in your hands.
- Whisk: A good whisk makes mixing the filling a breeze and helps achieve that smooth texture.
- 8×8-inch baking dish: This is key for the perfect thickness. Plus, it’s a common size that fits in most ovens.
- Spatula: A silicone spatula is your best friend for scraping out every last bit of that delicious filling!
Frequently Asked Questions
Can I use regular limes instead of key limes?
Sure! Regular limes will work just fine; however, the flavor will be slightly different—less tart and complex than key limes. If you can find key limes, I’d recommend using those for that authentic taste!
How do I know when the bars are done?
Your bars are done when the edges look set but the center still has a slight jiggle. They’ll continue to firm up as they cool!
Can I make these bars in advance?
Absolutely! In fact, they taste better after chilling for a day. Just make sure to store them well covered in the refrigerator.
What’s the best way to cut the bars?
Use a sharp knife and clean it between cuts for nice, clean edges. You might even want to run it under hot water before cutting—this helps with getting that perfect slice!
Can I freeze Key Lime Pie Bars?
Yes, you can freeze them! Just wrap the bars well in plastic wrap and then foil, and they should keep well for a couple of months. Thaw them in the refrigerator overnight before serving.
Conclusion
So there you have it—my beloved Key Lime Pie Bars that weave together sweet memories with zesty flavor. They’re sure to bring a bit of sunshine to your day, whether you’re enjoying them on your patio or sharing with friends at a get-together. I encourage you to give this recipe a try! Once you do, I bet it’ll become a staple in your dessert rotation. Happy baking, and I can’t wait to hear how yours turns out! Share your experiences or any fun twists you added in the comments below. Warmly, and enjoy those tasty bites!
Print
Key Lime Pie Bars
Satisfy your sweet tooth with these easy Key Lime Pie Bars! Creamy, zesty, and perfect for summer gatherings. Try it today for a refreshing treat!
- Total Time: 2 hours 45 minutes
- Yield: 16 servings 1x
Ingredients
Instructions
Notes
These Key Lime Pie Bars celebrate the iconic flavors of key lime pie without the fuss of a pie crust. Bright, zesty, and incredibly easy to prepare!
- Prep Time: 15 minutes
- Cook Time: 30 minutes
- Category: Dessert
- Cuisine: American
Nutrition
- Serving Size: 16 servings
- Calories: 250
- Sugar: 20g
- Fat: 10g
- Carbohydrates: 35g
- Fiber: 1g
- Protein: 3g
Keywords: Key Lime Pie Bars, dessert, easy recipes, summer desserts, citrus dessert


